“Are you seriously telling me we have to eat *again* out of a box tonight?” That’s the line I heard from my teenager one hectic Tuesday evening, right as I was dragging myself in from a long day. I’d already planned to throw something together fast, but honestly, I didn’t want to settle for frozen meals or takeout. That’s when I remembered the batch of easy freezer-friendly chicken enchilada filling I’d made last weekend. It was like a lifesaver in my freezer, waiting to rescue nights when time and energy were just not on my side. I tossed it into a skillet, warmed it up, and within minutes, the whole house smelled like a cozy Mexican kitchen. Even the skeptic in the family was asking for seconds.
It’s funny how a simple idea—cooking up a big batch of shredded chicken with spices and sauce, then freezing it—turned into my go-to quick meal trick. I didn’t have to worry about last-minute grocery runs or scrambling for dinner ideas. Over the past few months, I found myself making extra batches just to have on hand for those crazy nights, and honestly, it’s been a game-changer for busy evenings.
What stuck with me was how this easy freezer-friendly chicken enchilada filling keeps its flavor and texture even after freezing. No weird mushy bits or dryness—just tender, saucy chicken ready to be rolled up, layered, or spooned over rice whenever I need it. It’s comforting but uncomplicated, and you know what? Having this in the freezer feels like a little secret weapon for feeding my family well without the stress. That quiet realization—that I could enjoy tasty Mexican-inspired meals any night, no fuss—made this recipe something I trust to bring warmth and convenience all at once.
Why You’ll Love This Recipe
Honestly, this easy freezer-friendly chicken enchilada filling is one of those recipes you keep coming back to because it fits so perfectly into real life. I’ve tested this over and over (yes, sometimes twice in a week—no shame!) to make sure it’s not just quick but also tasty every time.
- Quick & Easy: This filling comes together in about 30 minutes, perfect for those evenings when you’re short on time but craving something homemade.
- Simple Ingredients: You’ll find everything in your pantry or fridge—no need for specialty stores or exotic spices.
- Perfect for Meal Prep: Make a big batch, freeze in portions, and pull it out whenever you want enchiladas, burritos, or even nachos.
- Crowd-Pleaser: Family, friends, or unexpected guests—everyone loves the comforting blend of seasoned chicken and sauce.
- Unbelievably Delicious: The balance of spices, tomato, and a hint of smokiness makes this filling stand out from store-bought versions.
What really sets this recipe apart is the technique I use for shredding the chicken and simmering it gently in the sauce so it soaks up flavor deeply without drying out. Plus, the way it freezes and reheats keeps the texture just right. I’ve even swapped out the usual tomato sauce with a smoky chipotle blend sometimes, giving it a little kick that’s perfect for taco nights. If you want a bit more inspiration, you might appreciate how this filling pairs with dishes like quick creamy garlic butter shrimp linguine for a fun surf-and-turf twist on dinner.
What Ingredients You Will Need
This recipe relies on straightforward, pantry-friendly ingredients that come together to create bold, comforting flavors. You won’t need to hunt for anything unusual, which is why it’s so great for freezer meals.
- Cooked shredded chicken: About 3 cups (450g) – I usually use rotisserie chicken or poach chicken breasts for tenderness.
- Onion: 1 medium, finely chopped – adds a sweet, savory base.
- Garlic: 3 cloves, minced – for that essential aromatic kick.
- Tomato sauce: 1 cup (240ml) – plain or with mild seasoning works; for a smoky flavor, try chipotle tomato sauce.
- Enchilada sauce: 1 cup (240ml) – store-bought or homemade, it brings that signature tangy, spicy vibe.
- Spices: 1 tsp chili powder, 1 tsp cumin, ½ tsp smoked paprika, ½ tsp oregano – these create the classic enchilada flavor profile.
- Salt and pepper: To taste – balancing the spices is key.
- Olive oil: 1 tbsp – for sautéing the onion and garlic.
- Fresh cilantro: Optional, chopped, for garnish or mixing in after cooking.
- Optional additions: ½ cup (120ml) chicken broth for thinning the sauce, diced green chilies for extra heat, or a squeeze of lime juice for brightness.
I usually pick up my chicken from a trusted local market, but if you want to go gluten-free, just double-check your enchilada sauce ingredients or swap in a homemade version. For a dairy-free meal, this filling works beautifully without cheese or with a sprinkle of vegan cheese later on. When tomatoes are in season, fresh tomato sauce can be a nice swap to make the flavor even fresher.
Equipment Needed
- Large skillet or sauté pan: For cooking the filling evenly. A heavy-bottomed pan works best to prevent burning.
- Mixing bowl: To shred the chicken and mix ingredients if prepping separately.
- Cutting board and chef’s knife: For chopping onion, garlic, and optional garnishes.
- Measuring cups and spoons: Accurate spices and liquids make all the difference.
- Freezer-safe containers or resealable bags: For portioning and storing the filling. I like using BPA-free plastic containers with tight lids for stacking.
- Optional: Slow cooker or Instant Pot if you prefer cooking chicken there first, which saves stove space.
Personally, I find that a non-stick skillet speeds up the cooking and cleanup—honestly, no one wants to scrub tomato sauce stuck to the pan after a long day. If you’re on a budget, a basic stainless steel pan works just fine, just be sure to stir often. When freezing, labeling your containers with dates helps avoid mystery meals later!
Preparation Method
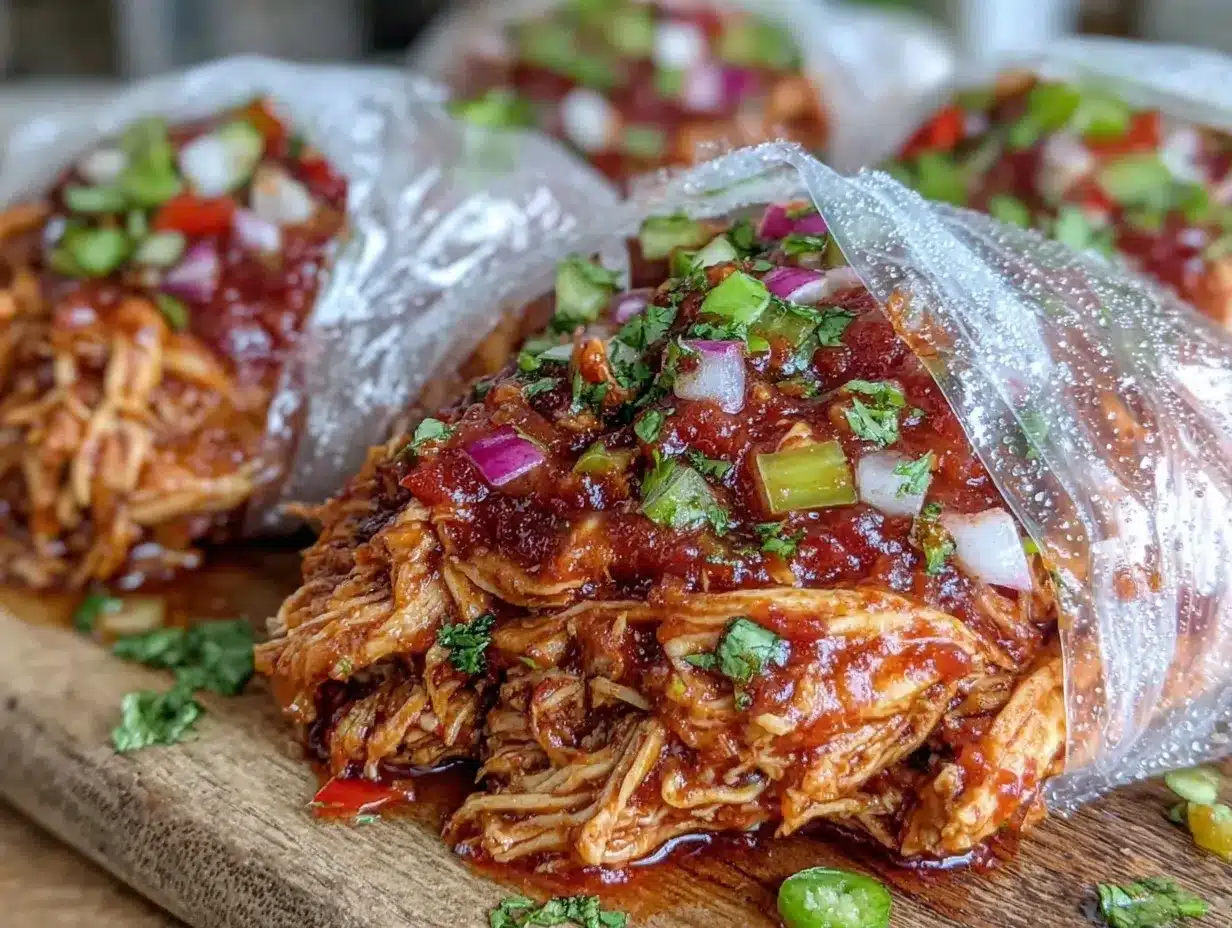
- Prepare the chicken: If not using pre-cooked chicken, poach 2 large chicken breasts in simmering water for 15-20 minutes until cooked through (internal temp 165°F/74°C). Let cool, then shred using two forks or a mixer with paddle attachment for quick, even shredding.
- Sauté the aromatics: Heat 1 tbsp olive oil in a large skillet over medium heat. Add the chopped onion and cook for about 4-5 minutes until softened and translucent. Toss in the minced garlic and cook for another 30 seconds until fragrant (don’t let it burn!).
- Add spices: Stir in chili powder, cumin, smoked paprika, oregano, salt, and pepper. Toast the spices for 1 minute to deepen their flavor, stirring constantly.
- Combine sauces: Pour in 1 cup tomato sauce and 1 cup enchilada sauce. If the mixture looks too thick, add up to ½ cup chicken broth to loosen it slightly. Bring to a gentle simmer.
- Mix in the chicken: Add the shredded chicken to the sauce, stirring well to coat every bite. Let simmer on low heat for 8-10 minutes, allowing flavors to meld. Stir occasionally to prevent sticking.
- Final taste and adjust: Taste the filling and adjust salt, pepper, or spice level if needed. If you like it tangier, a squeeze of fresh lime juice adds brightness here.
- Cool and portion: Let the filling cool completely before transferring to freezer-safe containers or heavy-duty zip-top bags. Flatten bags to remove air for better freezing.
- Freeze: Label with the date and freeze for up to 3 months. To use, thaw overnight in the fridge and reheat gently on the stove or microwave.
Pro tip: When reheating, adding a splash of chicken broth keeps the filling moist and saucy. Also, if your filling seems a little dry before freezing, don’t worry—it loosens up perfectly during reheating.
Cooking Tips & Techniques
From my kitchen experiments, I learned that shredding the chicken while it’s still slightly warm makes the process effortless. If you wait until it’s cold, it tends to clump and takes longer to shred finely. Using a hand mixer for shredding is a secret shortcut I swear by.
Don’t rush the sauté step—soft onions and toasted spices build the backbone of flavor here. I’ve seen recipes that just dump everything in cold, but trust me, the small extra minutes here make a huge difference.
Another trick is to keep stirring gently during simmering so the filling doesn’t stick or dry out. If you notice it thickening too much, adding broth or water keeps it saucy and perfect for rolling into tortillas.
Sometimes I make double batches and freeze half, which means I’m set for weeks. When you’re ready to assemble enchiladas or burritos, the filling is ready to go—no thawing marathon necessary if you plan ahead just a bit.
If you want to speed things up on a busy night, you can warm the filling in the microwave in 1-minute increments, stirring in between to heat evenly. Just be careful not to overcook or it might dry out.
Variations & Adaptations
- Spicy Kick: Add diced jalapeños or more chipotle powder for a smoky heat that wakes up the filling.
- Vegetarian Version: Swap chicken for black beans or shredded jackfruit with the same sauce base—equally satisfying and freezer-friendly.
- Cheesy Goodness: Stir in shredded cheese (cheddar, Monterey Jack, or a Mexican blend) at the end of cooking to melt into the filling before freezing.
- Slow Cooker Adaptation: Toss all ingredients (except fresh cilantro) into a slow cooker, cook on low for 4-6 hours, then shred chicken right in the pot for an even easier prep.
- Low-Carb Option: Use this filling as a topping for cauliflower rice bowls or stuffed peppers instead of tortillas.
One personal favorite is mixing in a handful of frozen corn kernels near the end of simmering for a pop of sweetness and texture. It’s a fun twist that kids especially love.
Serving & Storage Suggestions
This filling shines as the star in enchiladas, burritos, quesadillas, or even as a taco topping. I like warming it through and spooning it into soft corn or flour tortillas, then baking with cheese on top until bubbly and golden.
Serve with a dollop of sour cream, fresh cilantro, diced avocado, or a squeeze of lime for extra fresh flavor. Side dishes like Mexican street corn or a simple salad are perfect complements—if you want to try an excellent street corn recipe, check out my Mexican street corn esquites cups for inspiration.
For storage, keep the filling in airtight containers or freezer bags for up to 3 months. Thaw overnight in the fridge for best results, then reheat gently on the stove or microwave. If you reheat slowly in a covered pan, the flavors deepen nicely and the texture stays tender.
Nutritional Information & Benefits
Per serving (about ½ cup cooked filling): approximately 180 calories, 25g protein, 5g fat, and 6g carbohydrates. This recipe is a solid source of lean protein thanks to the chicken and low in carbs, making it suitable for many diets.
The inclusion of spices like cumin and chili powder not only boosts flavor but also adds antioxidants. Using fresh garlic and onions contributes to immune support, and opting for low-sodium sauces helps keep salt levels reasonable.
This filling is naturally gluten-free if you check your sauce labels, and it’s easy to adapt for dairy-free diets by skipping cheese toppings. For a balanced meal, pair it with fiber-rich sides like beans or a bright salad.
Conclusion
This easy freezer-friendly chicken enchilada filling has become a quiet hero in my kitchen — the kind of recipe I rely on when time is tight but I want comfort food that tastes homemade. It’s flexible, forgiving, and packed with flavor, making it easy to customize for your family’s tastes or dietary needs. Honestly, I love how it turns stressful weeknights into cozy, satisfying meals with minimal effort.
Whether you roll it into enchiladas, layer it in casseroles, or spoon it over rice, this filling is ready to help you relax and enjoy dinner without the hustle. Give it a try, tweak it your way, and share how you make it your own—I’m always curious how different kitchens put their spin on it!
Frequently Asked Questions
Can I use frozen chicken for this enchilada filling?
Yes, but thaw it completely before shredding to get the best texture. Cooking from frozen may result in uneven shredding.
How long can I keep the filling in the freezer?
Store it in airtight containers or freezer bags for up to 3 months. Beyond that, quality and flavor may decline.
Is this recipe spicy?
It has a mild to medium spice level by default, but you can easily adjust heat by adding more chili powder, jalapeños, or chipotle sauce.
Can I prepare the filling in a slow cooker?
Absolutely! Combine all ingredients in the slow cooker and cook on low for 4-6 hours, then shred the chicken before serving or freezing.
What’s the best way to reheat the filling?
Reheat gently on the stove over low heat with a splash of broth or in the microwave in short bursts, stirring between intervals to keep it moist.
Pin This Recipe!
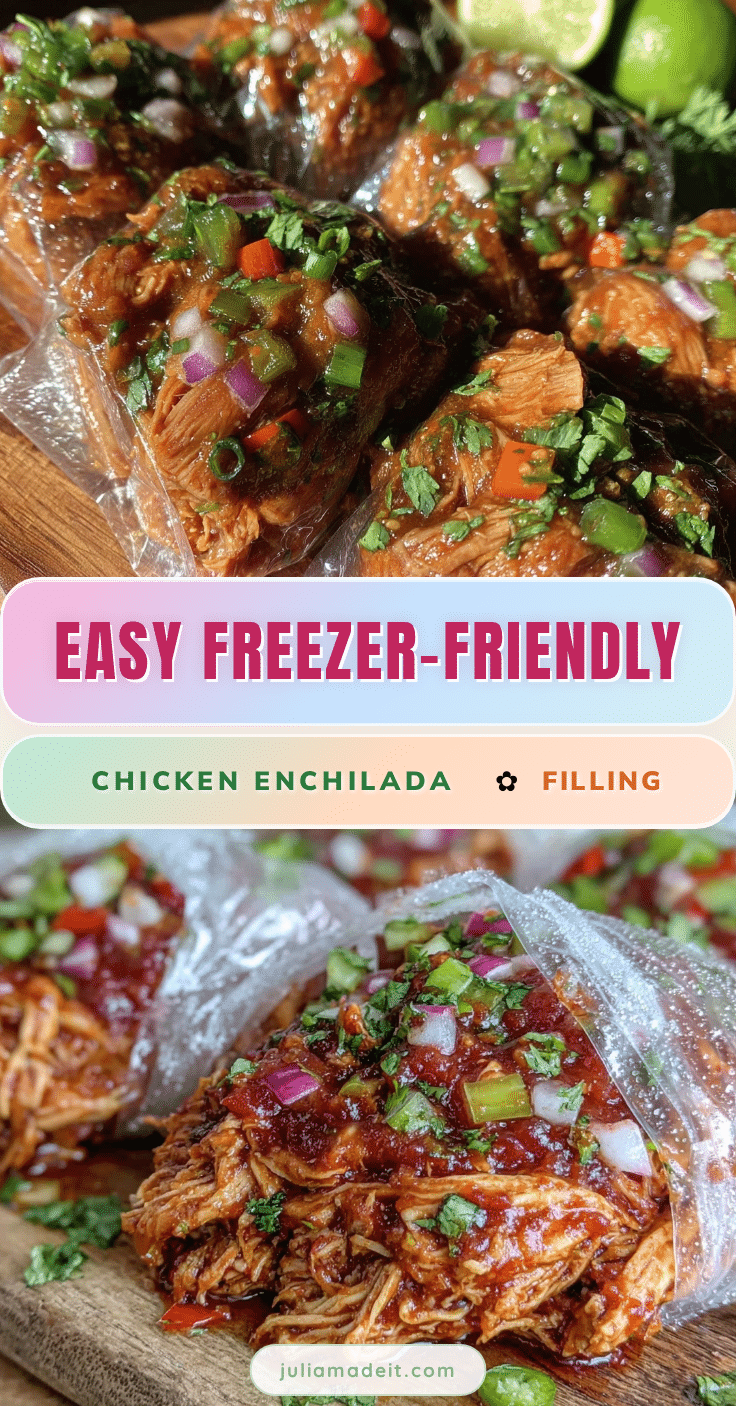
Easy Freezer-Friendly Chicken Enchilada Filling Recipe for Quick Meals

A quick and flavorful chicken enchilada filling that can be made in advance, frozen, and used for easy homemade Mexican-inspired meals. Perfect for busy weeknights and meal prep.
- Prep Time: 10 minutes
- Cook Time: 30 minutes
- Total Time: 40 minutes
- Yield: 6 servings 1x
- Category: Main Course
- Cuisine: Mexican
Ingredients
- 3 cups cooked shredded chicken (about 1 lb or 450g)
- 1 medium onion, finely chopped
- 3 cloves garlic, minced
- 1 cup tomato sauce (8 fl oz or 240 ml)
- 1 cup enchilada sauce (8 fl oz or 240 ml)
- 1 tsp chili powder
- 1 tsp cumin
- ½ tsp smoked paprika
- ½ tsp oregano
- Salt and pepper to taste
- 1 tbsp olive oil
- Optional: fresh cilantro, chopped
- Optional: ½ cup chicken broth (4 fl oz or 120 ml) for thinning sauce
- Optional: diced green chilies
- Optional: squeeze of lime juice
Instructions
- If not using pre-cooked chicken, poach 2 large chicken breasts in simmering water for 15-20 minutes until cooked through (internal temp 165°F/74°C). Let cool, then shred using two forks or a mixer with paddle attachment.
- Heat 1 tbsp olive oil in a large skillet over medium heat. Add chopped onion and cook for 4-5 minutes until softened and translucent.
- Add minced garlic and cook for 30 seconds until fragrant, being careful not to burn.
- Stir in chili powder, cumin, smoked paprika, oregano, salt, and pepper. Toast spices for 1 minute, stirring constantly.
- Pour in tomato sauce and enchilada sauce. If mixture is too thick, add up to ½ cup chicken broth. Bring to a gentle simmer.
- Add shredded chicken to the sauce and stir well to coat. Simmer on low heat for 8-10 minutes, stirring occasionally.
- Taste and adjust seasoning with salt, pepper, or lime juice as desired.
- Let the filling cool completely before transferring to freezer-safe containers or resealable bags. Flatten bags to remove air for better freezing.
- Label with date and freeze for up to 3 months. To use, thaw overnight in the fridge and reheat gently on stove or microwave.
Notes
Shred chicken while still warm for easier shredding. Toast spices to deepen flavor. Add chicken broth if filling thickens too much. Label containers with date for freezer storage. Reheat gently with splash of broth to keep moist. Can be adapted for slow cooker. Optional additions include diced jalapeños, cheese, or frozen corn for texture.
Nutrition
- Serving Size: About ½ cup cooked f
- Calories: 180
- Fat: 5
- Carbohydrates: 6
- Protein: 25
Keywords: chicken enchilada filling, freezer-friendly, quick meals, meal prep, Mexican, easy recipe, shredded chicken, enchilada sauce