Introduction
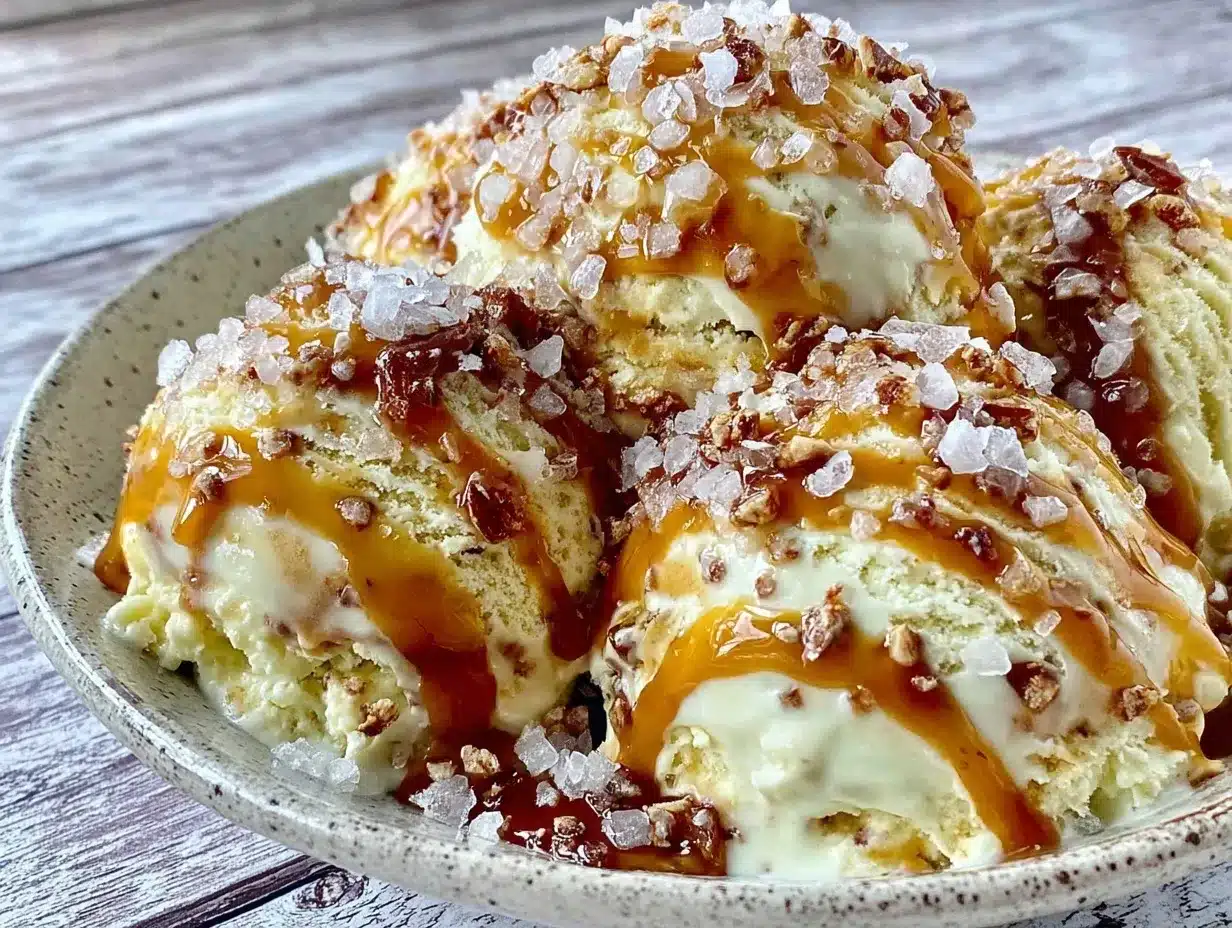
Silky ribbons of salted caramel swirl through the ice cream like molten gold veins, and that’s the whole point. The way the caramel seeps into every creamy fold, inviting your fingertips to trace its glossy curves before a single spoonful even touches your lips — that texture is what made me obsessed with crafting this no-churn salted caramel ice cream recipe. Honestly, I wasn’t aiming for anything fancy. I just wanted an ice cream that felt like a soft, cool hug with tiny pockets of salty-sweet surprise that you’d catch mid-bite, that little tug at your senses. It’s funny how something as simple as the contrast between smooth cream and the sticky, sweet caramel can become so captivating.
I remember the first time I dared to stir caramel into my ice cream base without the usual fancy machines. I was skeptical—would it freeze too hard, lose that luscious softness? But the texture turned out exactly as I’d dreamed: creamy, yet with a velvety, slightly chewy caramel swirl that felt almost handmade. It made me realize that ice cream isn’t just about taste; it’s about the way it moves, melts, and plays on your tongue. That’s why this no-churn salted caramel ice cream recipe stuck with me—it’s a texture lover’s dream, made easy in your own kitchen without the churn fuss.
There’s a quiet joy in knowing this recipe can turn a few simple ingredients into a dessert that feels like a tiny celebration every time you scoop. No gimmicks, just pure, indulgent creaminess with that addictive salty caramel twist. You don’t have to be a fancy chef to pull this off, and that’s the kind of kitchen magic I trust.
Why You’ll Love This Recipe
After testing countless versions of salted caramel ice cream, this no-churn recipe quickly became my go-to for several reasons. It’s straightforward, yet it doesn’t sacrifice the luxurious texture and rich flavor that make ice cream truly special. Here’s what sets it apart:
- Quick & Easy: This recipe comes together in under 15 minutes, making it perfect for last-minute dessert cravings without needing an ice cream maker.
- Simple Ingredients: Pantry staples like sweetened condensed milk, heavy cream, and homemade caramel sauce are all you need—no complicated or hard-to-find items.
- Perfect for Any Occasion: Whether it’s a cozy family night or an impromptu summer gathering, this creamy no-churn salted caramel ice cream fits right in.
- Crowd-Pleaser: The balance of sweet and saltiness gets rave reviews from kids and adults alike—honestly, it disappears fast.
- Unbelievably Delicious: The texture is velvety smooth, with pockets of gooey caramel that add that “wow” factor in every bite.
What really makes this recipe stand out is the technique of folding in whipped cream gently to keep the ice cream light and airy, along with the slow-cooked caramel that’s not too sweet but perfectly salted. It’s different from the usual store-bought stuff because it’s less icy and more luscious—like a creamy cloud that melts effortlessly. Plus, the no-churn method means anyone can make it at home, even if you don’t own an ice cream machine.
This recipe isn’t just delicious; it’s the kind of dessert that makes you pause and savor the moment. It’s comfort food with a bit of flair, easy enough for a weeknight but special enough for guests. Honestly, it’s my way of bringing a little magic to ordinary days.
What Ingredients You Will Need
This recipe uses simple, wholesome ingredients to deliver bold flavor and satisfying texture without the fuss. Most of these are pantry staples, and if you decide to make your own caramel sauce, it’s surprisingly straightforward. Here’s what you’ll need:
- Sweetened condensed milk (14 oz / 400g): The base that adds sweetness and creaminess without extra churn.
- Heavy cream (2 cups / 480 ml), cold and fresh: Whipped to soft peaks to give the ice cream its airy texture.
- Granulated sugar (1 cup / 200g): For making the salted caramel sauce; a good-quality sugar like Domino works well.
- Unsalted butter (6 tbsp / 85g), softened: Adds richness to the caramel sauce.
- Sea salt flakes (1 tsp): For that perfect salty punch in the caramel.
- Pure vanilla extract (1 tsp): Boosts depth and warmth in the ice cream base.
For the caramel sauce, I always recommend using a heavy-bottomed pan to avoid hot spots and burning. If you want to try a shortcut, you can buy a good-quality store-bought caramel sauce, but making it from scratch is surprisingly easy and worth the effort.
For substitutions, you can swap heavy cream with coconut cream for a dairy-free version, and use almond milk condensed milk alternatives if you’re avoiding dairy, though the texture might shift slightly. Also, if you’re after a gluten-free dessert, rest assured all these ingredients are naturally gluten-free.
Equipment Needed
One of the best things about this creamy no-churn salted caramel ice cream recipe is the minimal equipment needed. Here’s what you’ll want on hand:
- Mixing bowls: A large bowl for whipping cream and another for combining ingredients works best.
- Electric hand mixer or stand mixer: To whip the heavy cream — it needs to be fluffy but not overwhipped. If you don’t have one, a sturdy whisk and some elbow grease can do the job, but it takes longer.
- Heavy-bottomed saucepan: Essential for making the caramel sauce evenly without burning.
- Rubber spatula: Perfect for folding whipped cream gently into the condensed milk without deflating it.
- Freezer-safe container: To freeze your ice cream. I like using a loaf pan lined with parchment paper for easy removal.
- Measuring cups and spoons: Accuracy counts, especially for sugar and salt in the caramel.
For those on a budget, you can get by with basic kitchen tools. Just make sure your mixing bowl is chilled before whipping cream — it helps achieve the right texture faster. Also, keeping your butter at room temperature makes caramel making smoother.
Preparation Method
- Make the Salted Caramel Sauce (about 15 minutes):
- In a heavy-bottomed saucepan over medium heat, add 1 cup (200g) of granulated sugar. Stir constantly with a heatproof spatula as the sugar melts and turns amber. This takes patience—don’t rush or walk away.
- Once fully melted and smooth, quickly stir in 6 tbsp (85g) of softened unsalted butter. The mixture will bubble vigorously—this is normal. Stir until butter melts completely.
- Remove from heat and slowly whisk in 1/2 cup (120 ml) of heavy cream. The caramel will bubble again; keep whisking until fully combined and smooth.
- Stir in 1 tsp of sea salt flakes and 1 tsp pure vanilla extract. Set aside to cool to room temperature (about 20-30 minutes). The caramel should thicken but remain pourable.
- Prepare the Ice Cream Base (10 minutes):
- In a large bowl, pour 14 oz (400g) sweetened condensed milk.
- In a separate chilled bowl, whip 2 cups (480 ml) of cold heavy cream using an electric mixer until soft peaks form. Be careful not to overwhip—stop when the cream holds shape but is still silky.
- Gently fold the whipped cream into the condensed milk using a rubber spatula. Fold carefully to keep the mixture light and airy.
- Assemble the Ice Cream (5 minutes):
- Pour half of the ice cream base into your freezer-safe container.
- Drizzle half of the cooled salted caramel sauce over the base.
- Use a knife or skewer to gently swirl the caramel into the base—don’t overmix; you want pretty ribbons of caramel.
- Repeat layering with remaining ice cream base and caramel sauce, swirling again.
- Cover the container tightly with a lid or plastic wrap.
- Freeze: Freeze for at least 6 hours or overnight until solid but scoopable. If the ice cream hardens too much, let it sit at room temperature for 5-10 minutes before scooping.
Pro tip: When making the caramel, don’t walk away from the stove. Sugar can go from perfect to burnt in seconds. Also, folding whipped cream gently is key—overmixing will make your ice cream dense rather than fluffy. I’ve learned these the hard way with previous attempts!
Cooking Tips & Techniques
Getting the perfect texture for no-churn ice cream can be tricky, but a few tips make all the difference:
- Whip cream just right: Stop whipping once soft peaks form—overwhipping leads to grainy ice cream texture.
- Caramel patience: Let the caramel cool to room temperature before swirling it in. Warm caramel will melt the ice cream base and ruin that pretty ribbon effect.
- Swirling technique: Use a butter knife or skewer in gentle, circular motions. Don’t overdo it or the caramel will blend completely, losing the distinct salty pockets.
- Freezing container: Use a shallow, wide container like a loaf pan for faster freezing and easier scooping later.
- Temperature control: Before whipping, chill your mixing bowl and beaters in the fridge for 10 minutes. It helps the cream whip faster and hold peaks better.
- Multitasking: While the caramel cools, whip the cream and prepare your base. This saves time and prevents caramel from setting too hard.
I once tried stirring caramel into warm ice cream base and ended up with a watery mess. Lesson learned: temperature matters. Also, don’t rush the freezing time; patience pays off with rich, creamy texture.
Variations & Adaptations
This creamy no-churn salted caramel ice cream recipe is a great canvas for your own twists. Here are some ways to mix things up:
- Nutty Caramel Crunch: Add toasted pecans or walnuts mixed into the ice cream before freezing for a crunchy texture contrast.
- Chocolate Swirl: Drizzle melted dark chocolate along with the caramel ribbons for a salted caramel-chocolate combo that’s irresistible.
- Dairy-Free Version: Use coconut cream instead of heavy cream and a plant-based condensed milk to make this recipe vegan-friendly.
- Spiced Caramel: Stir in a pinch of cinnamon or cardamom into the caramel sauce for a warm, aromatic twist.
- Fruit-Infused: Top with fresh sliced peaches or bourbon brown sugar grilled peaches (like in my bourbon brown sugar grilled peaches recipe) to add a summery contrast.
One variation I tried recently was folding in crushed pretzels for a salty crunch. It was a surprising hit—salty, sweet, creamy, and crunchy all at once.
Serving & Storage Suggestions
This no-churn salted caramel ice cream is best served chilled but not rock hard. Let it sit at room temperature for about 5 minutes before scooping to soften slightly. Presentation-wise, a simple bowl with a drizzle of extra caramel sauce and a sprinkle of flaky sea salt makes it feel extra special.
It pairs beautifully with warm desserts—try it with a slice of brown butter nectarine almond galette or alongside some fresh berries for a fresh contrast.
Store leftover ice cream in an airtight container in the freezer for up to 2 weeks. To avoid ice crystals, press a piece of parchment paper directly on the surface before sealing. When reheating leftovers, warming the spoon slightly with hot water helps with smooth scooping.
Over time, the flavors mellow and the caramel ribbons soften just enough to blend beautifully with the creamy base, making each scoop a little different from the last.
Nutritional Information & Benefits
Estimated per serving (1/8 of recipe):
| Calories | 320 kcal |
|---|---|
| Fat | 18g |
| Saturated Fat | 11g |
| Carbohydrates | 36g |
| Sugars | 34g |
| Protein | 4g |
This recipe provides a rich source of energy and calcium from the dairy ingredients. The sea salt flakes add trace minerals, and the caramel’s moderate use of sugar balances sweetness without overwhelming. If you’re watching sugar intake, you can reduce the caramel sugar slightly, but that might change the texture. Good quality ingredients mean better flavor and a more satisfying treat, which helps curb overindulgence.
For those interested in incorporating more wholesome desserts, pairing this ice cream with fresh fruit or lighter dishes can create a balanced meal experience.
Conclusion
This creamy no-churn salted caramel ice cream recipe is a celebration of texture and flavor made simple. It’s the kind of dessert that feels like a little indulgence without the fuss, perfect for anyone who loves the creamy richness of homemade ice cream with that addictive caramel twist. I love how easy it is to customize, and honestly, it’s become a staple in my kitchen for both everyday treats and special occasions.
Feel free to make it your own—add nuts, chocolate, or spices to suit your taste. And if you’re looking for more homemade dessert inspiration that pairs perfectly with this ice cream, try my brown butter nectarine almond galette or the bourbon brown sugar grilled peaches recipe for an unforgettable combo.
Let me know how your salted caramel ice cream turns out, and don’t hesitate to share your own twists. There’s something so satisfying about homemade ice cream—this recipe makes it easy for everyone to enjoy that joy in their own kitchen.
FAQs
- Can I make this salted caramel ice cream without an ice cream maker?
Yes! This recipe is designed as a no-churn ice cream, so no machine is needed. Just whip the cream and fold it into the condensed milk, then freeze. - How do I prevent the caramel from becoming too hard in the ice cream?
Allow the caramel sauce to cool to room temperature before mixing it into the ice cream base. This keeps it soft enough to swirl but not so warm that it melts the base. - Can I prepare this recipe in advance?
Absolutely. You can make the ice cream base and caramel sauce ahead of time. Just assemble and freeze when ready. - What’s the best way to store leftover ice cream?
Use an airtight container and press parchment paper on the surface before sealing to minimize ice crystals. Store in the freezer up to two weeks. - Can I use store-bought caramel sauce instead of making my own?
Yes, though homemade caramel sauce gives the best flavor and texture. If using store-bought, choose a high-quality sauce with real butter and cream.
Pin This Recipe!
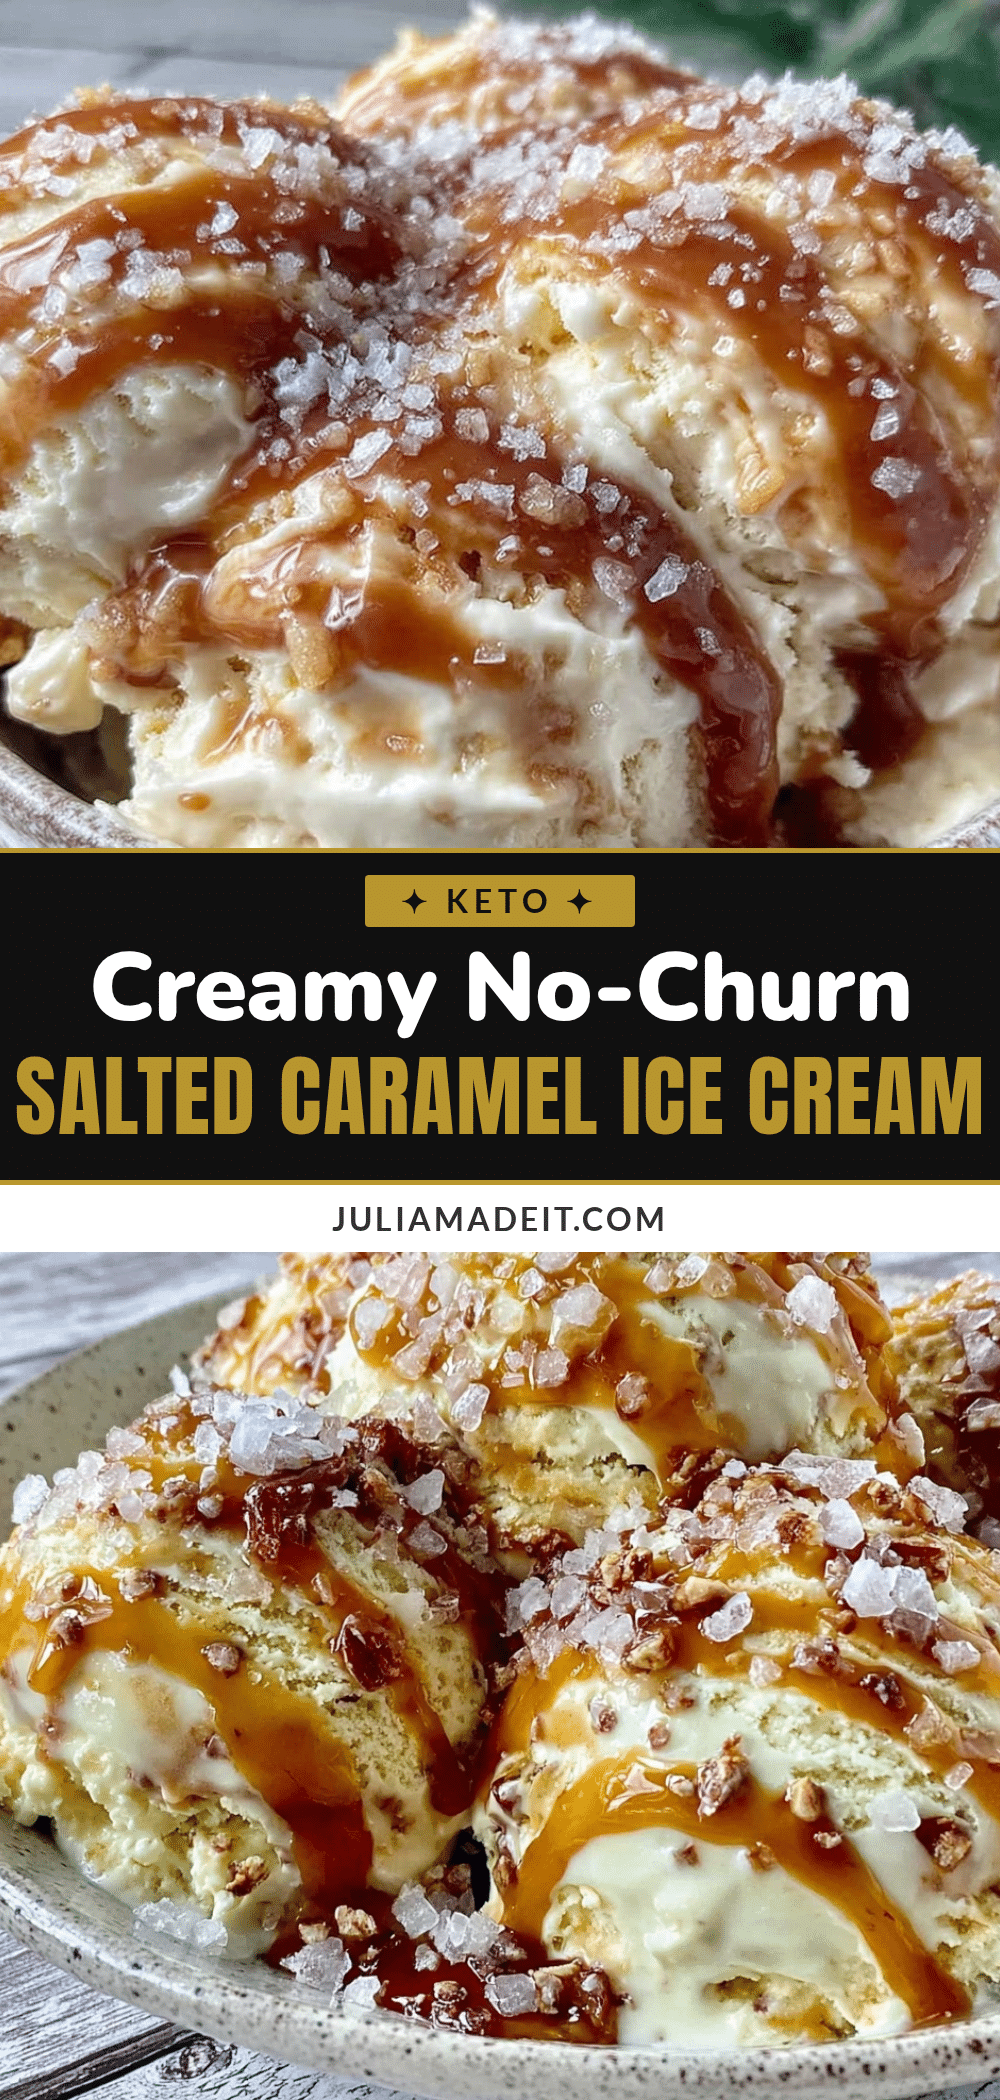
Creamy No-Churn Salted Caramel Ice Cream
A silky, no-churn ice cream featuring velvety smooth texture with gooey salted caramel ribbons. Easy to make at home without an ice cream maker, perfect for any occasion.
- Prep Time: 15 minutes
- Cook Time: 15 minutes
- Total Time: 6 hours 30 minutes
- Yield: 8 servings 1x
- Category: Dessert
- Cuisine: American
Ingredients
- 14 oz (400g) sweetened condensed milk
- 2 cups (480 ml) heavy cream, cold and fresh
- 1 cup (200g) granulated sugar
- 6 tbsp (85g) unsalted butter, softened
- 1 tsp sea salt flakes
- 1 tsp pure vanilla extract
- 1/2 cup (120 ml) heavy cream (for caramel sauce)
Instructions
- Make the Salted Caramel Sauce (about 15 minutes): In a heavy-bottomed saucepan over medium heat, add 1 cup (200g) granulated sugar. Stir constantly with a heatproof spatula as the sugar melts and turns amber.
- Once fully melted and smooth, quickly stir in 6 tbsp (85g) softened unsalted butter. Stir until butter melts completely.
- Remove from heat and slowly whisk in 1/2 cup (120 ml) heavy cream. Keep whisking until fully combined and smooth.
- Stir in 1 tsp sea salt flakes and 1 tsp pure vanilla extract. Set aside to cool to room temperature (20-30 minutes).
- Prepare the Ice Cream Base (10 minutes): Pour 14 oz (400g) sweetened condensed milk into a large bowl.
- In a separate chilled bowl, whip 2 cups (480 ml) cold heavy cream using an electric mixer until soft peaks form.
- Gently fold the whipped cream into the condensed milk using a rubber spatula to keep the mixture light and airy.
- Assemble the Ice Cream (5 minutes): Pour half of the ice cream base into a freezer-safe container.
- Drizzle half of the cooled salted caramel sauce over the base.
- Use a knife or skewer to gently swirl the caramel into the base without overmixing.
- Repeat layering with remaining ice cream base and caramel sauce, swirling again.
- Cover the container tightly with a lid or plastic wrap.
- Freeze for at least 6 hours or overnight until solid but scoopable. Let sit at room temperature for 5-10 minutes before scooping if too hard.
Notes
Do not walk away while melting sugar to avoid burning. Fold whipped cream gently to keep ice cream light and airy. Let caramel cool to room temperature before swirling to maintain ribbons. Chill mixing bowl before whipping cream for better texture. Use a shallow, wide container for faster freezing and easier scooping.
Nutrition
- Serving Size: 1/8 of the recipe
- Calories: 320
- Sugar: 34
- Fat: 18
- Saturated Fat: 11
- Carbohydrates: 36
- Protein: 4
Keywords: no-churn ice cream, salted caramel ice cream, homemade dessert, easy ice cream recipe, no ice cream maker, creamy ice cream, caramel swirl