Introduction
Let me tell you, the scent of crushed Oreos mingling with rich cream cheese and a hint of vanilla is enough to make anyone’s mouth water. The first time I made this Creamy No-Bake Oreo Cheesecake Delight, I was instantly hooked—honestly, it was the kind of moment where you pause, take a deep breath, and just smile because you know you’re onto something truly special. I stumbled upon this recipe years ago during a lazy weekend when I wanted something sweet but didn’t want to heat up the kitchen or fuss with complicated baking. When I was knee-high to a grasshopper, cheesecake was always a baked affair in our family, but this no-bake version quickly became my go-to for quick celebrations and last-minute guests.
My family couldn’t stop sneaking pieces off the cooling rack (and I can’t really blame them). It’s dangerously easy to whip up yet offers pure, nostalgic comfort with every bite. You know, this recipe is perfect for potlucks, sweet treats for your kids, or just brightening up your Pinterest cookie board with something that looks as good as it tastes. After testing this recipe a handful of times (in the name of research, of course), it’s become a staple for family gatherings and gifting—truly a creamy, dreamy delight you’re going to want to bookmark.
Why You’ll Love This Recipe
This Creamy No-Bake Oreo Cheesecake Delight isn’t just any dessert—it’s a tried-and-true favorite that feels like a warm hug on a plate. What sets it apart? Let me break it down for you:
- Quick & Easy: Comes together in under 20 minutes, perfect for busy weeknights or last-minute cravings.
- Simple Ingredients: No fancy grocery trips needed; you likely already have everything in your kitchen pantry.
- Perfect for Any Occasion: Whether it’s brunch, potlucks, cozy dinners, or holiday mornings, this cheesecake fits right in.
- Crowd-Pleaser: Always gets rave reviews from kids and adults alike—trust me, they’ll be asking for seconds.
- Unbelievably Delicious: The creamy texture combined with crunchy Oreo bits is next-level comfort food.
This isn’t just another cheesecake recipe. The magic lies in the perfectly balanced sweetness and the smooth, luscious filling that doesn’t need baking to taste like a dream. Plus, it’s got that Oreo crunch that makes every bite exciting. It’s comfort food reimagined—faster, easier, but with all the soul-soothing satisfaction you crave. Perfect for impressing guests without the stress or turning a simple dessert into something memorable.
What Ingredients You Will Need
This Creamy No-Bake Oreo Cheesecake Delight uses simple, wholesome ingredients to deliver bold flavor and satisfying texture without fuss. Most are pantry staples, and substitutions are easy!
- For the crust:
- 24 Oreo cookies, crushed (about 2 cups) – I like to use the classic brand for that perfect chocolate crunch
- 6 tablespoons unsalted butter, melted (about 85g) – adds richness and helps the crust hold together
- For the filling:
- 16 ounces (450g) cream cheese, softened – the star of the show for creamy texture
- 1 cup (240ml) heavy whipping cream, cold – whipped to soft peaks for that fluffy touch
- ¾ cup (90g) powdered sugar – balances the tang of cream cheese with gentle sweetness
- 1 teaspoon pure vanilla extract – for a warm, comforting note
- 12 Oreo cookies, roughly chopped – adds those delightful chocolate chunks inside
Substitutions: Use dairy-free cream cheese and coconut cream for a vegan version. Swap the regular Oreos with gluten-free cookies if needed. If you prefer a less sweet cheesecake, reduce powdered sugar to ½ cup.
Equipment Needed
- 9-inch (23 cm) springform pan – makes removing the cheesecake a breeze
- Mixing bowls – one large for the filling, one for whipping cream
- Electric mixer or stand mixer – whipping the cream and cream cheese is much easier with one
- Food processor or plastic bag and rolling pin – for crushing Oreos (I’ve used both; the rolling pin method works fine in a pinch)
- Spatula – for folding ingredients gently
- Measuring cups and spoons – for precise ingredient amounts
If you don’t have a springform pan, a regular pie dish works too, just be careful when serving. For budget-friendly options, hand mixing and crushing Oreos in a ziplock bag is totally doable but takes a bit more elbow grease. Keep your mixer beaters clean and dry for best whipping results!
Preparation Method
- Prepare the crust: Crush 24 Oreo cookies finely using a food processor or place them in a ziplock bag and bash with a rolling pin until you have fine crumbs. Pour crumbs into a bowl and stir in 6 tablespoons melted unsalted butter until the mixture looks like wet sand.
- Form the crust: Press the Oreo crust mixture evenly into the bottom of the 9-inch springform pan, making sure to pack it down firmly (this helps avoid a crumbly crust). Chill in the refrigerator for 15 minutes to set.
- Whip the cream cheese: In a large bowl, beat 16 ounces softened cream cheese with an electric mixer until smooth and creamy. This usually takes 2-3 minutes at medium speed—no lumps allowed here!
- Add sugar and vanilla: Gradually add ¾ cup powdered sugar and 1 teaspoon vanilla extract, mixing until combined. Taste and adjust sweetness if you like (I sometimes sneak in a little extra powdered sugar).
- Whip the heavy cream: In a separate chilled bowl, beat 1 cup cold heavy whipping cream until soft peaks form (when the beaters are lifted, the cream holds its shape but tips over slightly). This usually takes about 3-4 minutes on high speed.
- Fold whipped cream into cream cheese mixture: Gently fold the whipped cream into the cream cheese mixture using a spatula, taking care not to deflate the airy texture—you want it fluffy and light!
- Add chopped Oreos: Fold in 12 roughly chopped Oreo cookies to distribute crunchy bits throughout the filling for that delightful surprise in every bite.
- Assemble the cheesecake: Pour the filling over the chilled crust and smooth the top with a spatula. Cover with plastic wrap and refrigerate for at least 4 hours, preferably overnight, so it sets perfectly.
- Serve: When ready, remove the springform pan’s sides carefully. Slice with a warm knife for clean cuts (dip your knife in hot water and wipe dry between slices).
Pro tip: If you see the filling too loose after chilling, give it a bit more time in the fridge. Patience pays off for that perfect slice!
Cooking Tips & Techniques
Whipping cream to the right consistency is a game-changer here—too soft and your filling won’t hold, too stiff and it can get grainy. Keep your bowl and beaters chilled, and watch closely as it whips.
When folding the whipped cream into the cream cheese, use a gentle hand. I learned the hard way that over-mixing turns the filling dense and loses that cloud-like texture.
Crushing Oreos finely for the crust ensures it binds well with the melted butter, but don’t pulverize them into powder—some texture is good for bite.
Want perfectly clean slices? Warm your knife under hot water before slicing and wipe between each cut. It makes serving look professional without the fuss.
Lastly, don’t rush the chilling step—this cheesecake needs time to set properly. Trust me, it’s worth the wait.
Variations & Adaptations
- Chocolate lover’s twist: Add ½ cup mini chocolate chips into the filling or drizzle melted chocolate over the top before chilling.
- Berry Oreo cheesecake: Fold in ½ cup fresh or frozen raspberries or strawberries for a tangy contrast.
- Vegan adaptation: Use vegan cream cheese and coconut cream whipped until fluffy, and swap Oreos for a vegan-friendly cookie brand.
- Gluten-free option: Use gluten-free chocolate sandwich cookies for both crust and filling chunks.
- Personal favorite: I like sprinkling crushed peppermint Oreos during the holidays to add a festive, minty pop.
Serving & Storage Suggestions
This cheesecake is best served chilled straight from the fridge. Let it sit out for 5-10 minutes before slicing if you want softer edges. For presentation, garnish with a few whole Oreos or a dusting of cocoa powder to impress.
Pair it with a cup of strong coffee or a glass of cold milk—both are perfect companions to balance the sweetness.
Store leftovers covered in the refrigerator for up to 4 days. You can freeze individual slices wrapped tightly in plastic wrap and foil for up to 1 month. Thaw overnight in the fridge before serving.
Flavors actually deepen after a day or two, making it even better the next day—if it lasts that long!
Nutritional Information & Benefits
Each slice (based on 12 servings) provides approximately 350 calories, 28g fat, 20g carbohydrates, and 5g protein. Cream cheese and heavy cream provide a good dose of calcium and vitamin A. Oreos add sugar and carbs, so enjoy this dessert as an occasional sweet treat.
This recipe can be modified to reduce sugar or use dairy-free alternatives, making it more suitable for various dietary needs. It’s gluten-free when using gluten-free Oreos, and can fit low-carb diets if you swap cookies for keto-friendly options.
Honestly, it’s a dessert that reminds me to enjoy the little indulgences in life while sharing smiles around the table.
Conclusion
This Creamy No-Bake Oreo Cheesecake Delight is absolutely worth trying if you want a dessert that’s easy, impressive, and downright delicious. Customize it with your favorite cookie variations or mix-ins to make it your own. I love this recipe because it combines simplicity with that classic Oreo flavor we all crave—no oven required!
Give it a whirl, and don’t be shy to leave a comment below sharing your twists or how it went. Pin it, share it, and let this cheesecake become your next crowd-pleaser. Remember, good food brings good vibes—happy baking!
FAQs
Can I make this cheesecake ahead of time?
Absolutely! It actually tastes better after chilling overnight, giving the flavors time to meld and the filling to set perfectly.
What if I don’t have a springform pan?
A regular 9-inch pie dish works fine; just be careful when serving as you won’t be able to remove the sides. You can serve it straight from the dish with a pie server.
Can I use low-fat cream cheese or milk instead of heavy cream?
Low-fat cream cheese tends to make the filling less creamy and stable, and milk won’t whip properly like heavy cream. I recommend sticking to full-fat for best results.
How do I store leftovers?
Cover and refrigerate leftovers for up to 4 days. For longer storage, freeze individual slices tightly wrapped for up to 1 month.
Is this recipe suitable for kids?
Definitely! Kids love the sweet, creamy texture and the Oreo chunks inside. Just watch out for any allergies to dairy or gluten and adjust accordingly.
Pin This Recipe!
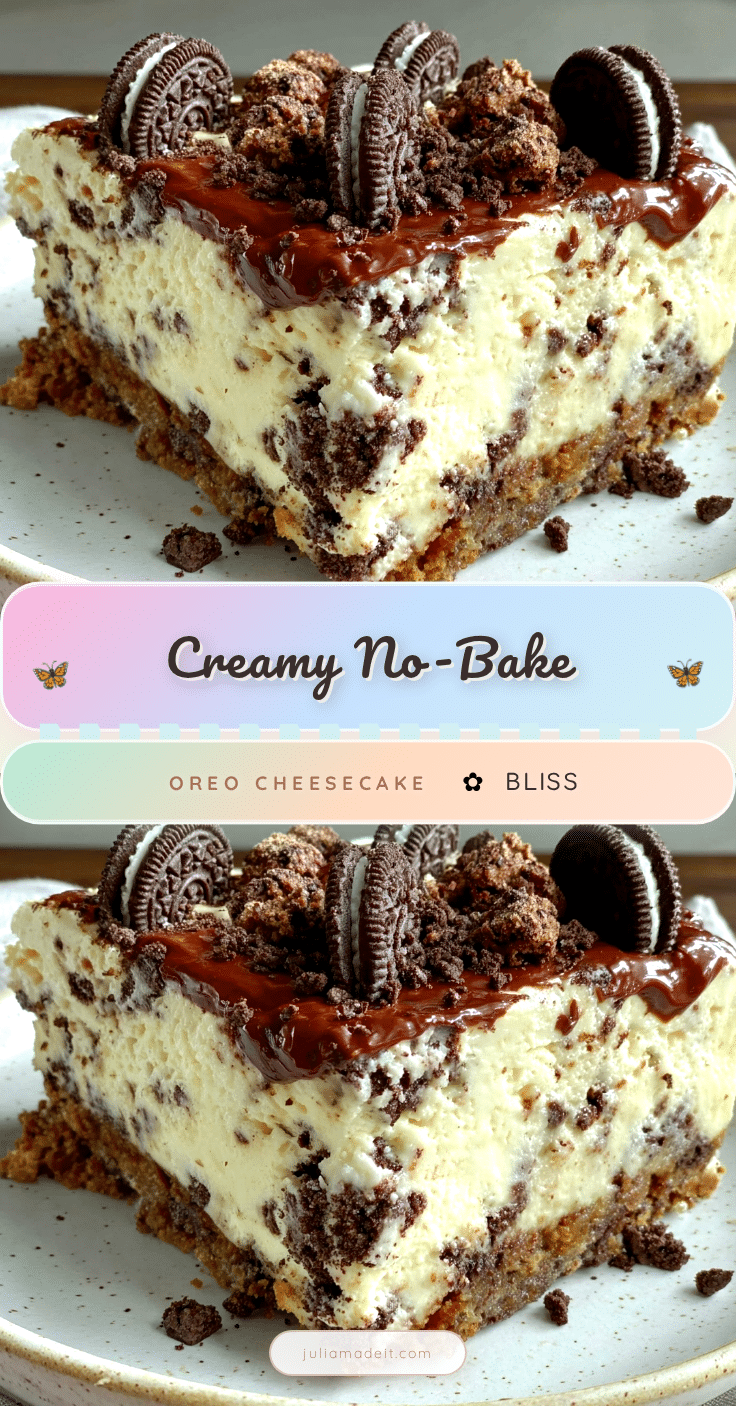
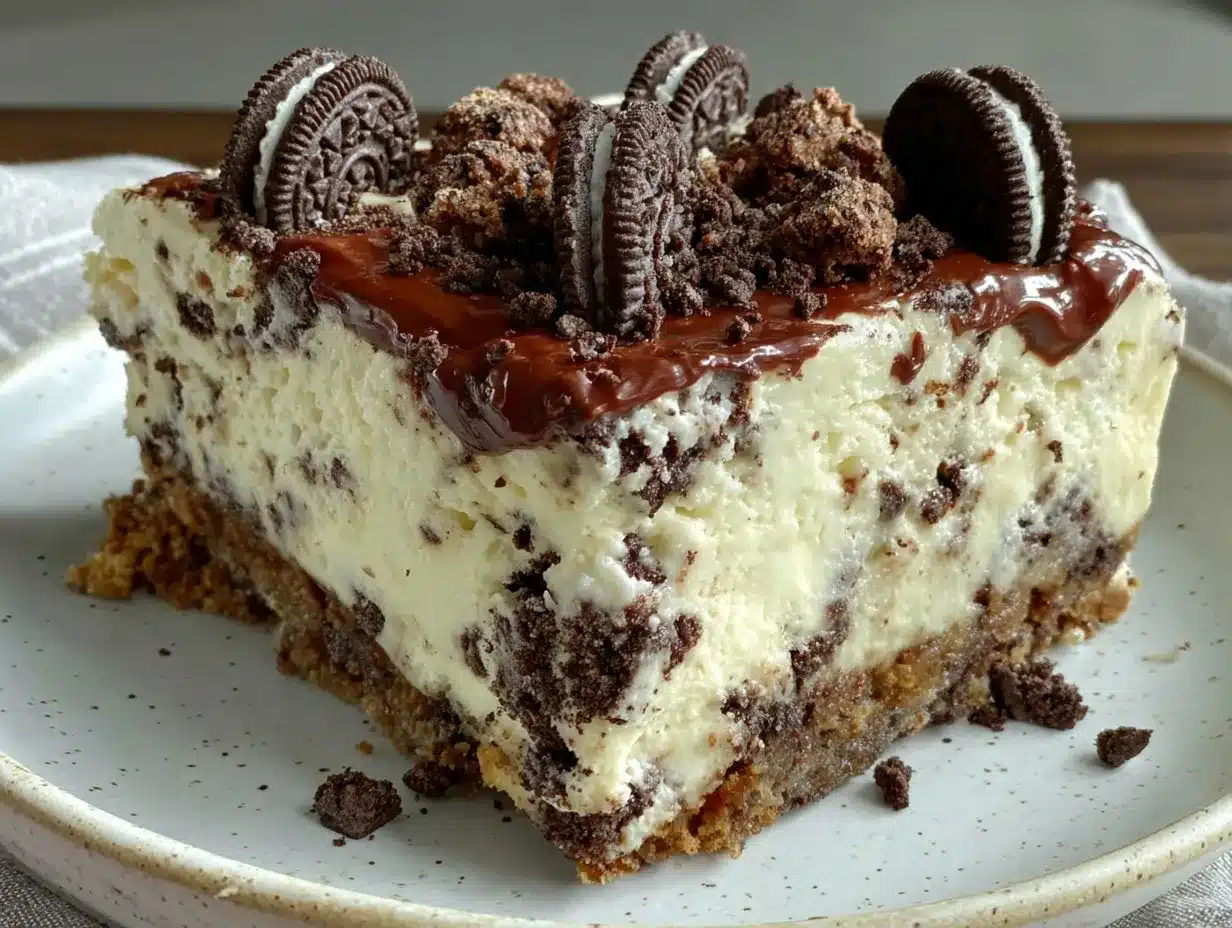
Creamy No-Bake Oreo Cheesecake Delight
A quick and easy no-bake cheesecake featuring a crunchy Oreo crust and a creamy, fluffy filling with Oreo chunks. Perfect for any occasion and loved by kids and adults alike.
- Prep Time: 15 minutes
- Cook Time: 0 minutes
- Total Time: 4 hours 15 minutes
- Yield: 12 servings 1x
- Category: Dessert
- Cuisine: American
Ingredients
- 24 Oreo cookies, crushed (about 2 cups)
- 6 tablespoons unsalted butter, melted (about 85g)
- 16 ounces (450g) cream cheese, softened
- 1 cup (240ml) heavy whipping cream, cold
- ¾ cup (90g) powdered sugar
- 1 teaspoon pure vanilla extract
- 12 Oreo cookies, roughly chopped
Instructions
- Crush 24 Oreo cookies finely using a food processor or place them in a ziplock bag and bash with a rolling pin until you have fine crumbs.
- Pour crumbs into a bowl and stir in 6 tablespoons melted unsalted butter until the mixture looks like wet sand.
- Press the Oreo crust mixture evenly into the bottom of the 9-inch springform pan, packing it down firmly.
- Chill the crust in the refrigerator for 15 minutes to set.
- In a large bowl, beat 16 ounces softened cream cheese with an electric mixer until smooth and creamy (2-3 minutes at medium speed).
- Gradually add ¾ cup powdered sugar and 1 teaspoon vanilla extract, mixing until combined.
- In a separate chilled bowl, beat 1 cup cold heavy whipping cream until soft peaks form (3-4 minutes on high speed).
- Gently fold the whipped cream into the cream cheese mixture using a spatula, keeping it fluffy and light.
- Fold in 12 roughly chopped Oreo cookies to distribute throughout the filling.
- Pour the filling over the chilled crust and smooth the top with a spatula.
- Cover with plastic wrap and refrigerate for at least 4 hours, preferably overnight, to set.
- Remove the springform pan’s sides carefully before serving.
- Slice with a warm knife dipped in hot water and wiped dry between slices for clean cuts.
Notes
Use dairy-free cream cheese and coconut cream for a vegan version. Swap Oreos for gluten-free cookies if needed. Chill the bowl and beaters before whipping cream for best results. Warm knife before slicing for clean cuts. Let cheesecake chill overnight for best texture.
Nutrition
- Serving Size: 1 slice (1/12th of c
- Calories: 350
- Fat: 28
- Carbohydrates: 20
- Protein: 5
Keywords: no-bake cheesecake, Oreo cheesecake, easy dessert, creamy cheesecake, no oven dessert, Oreo dessert, quick cheesecake