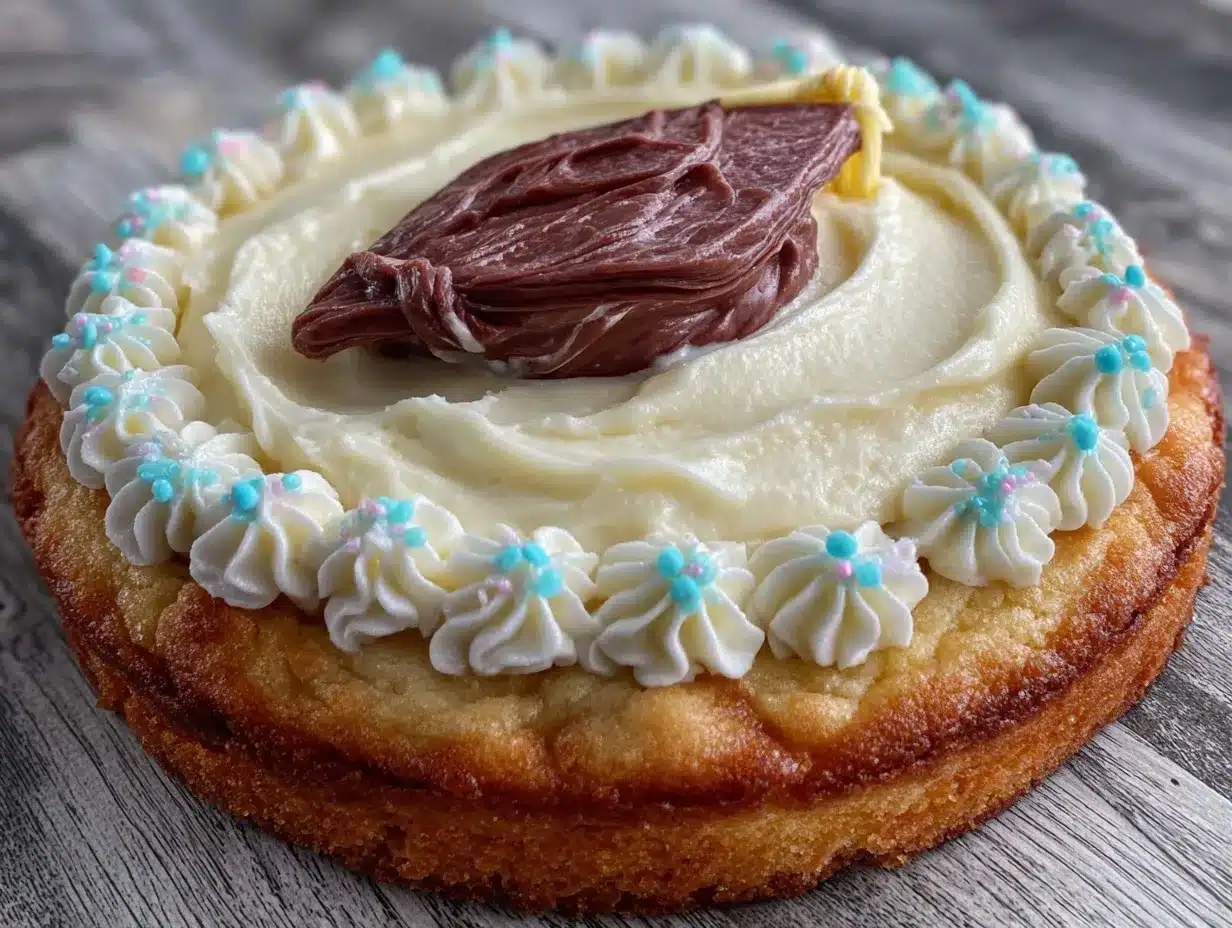
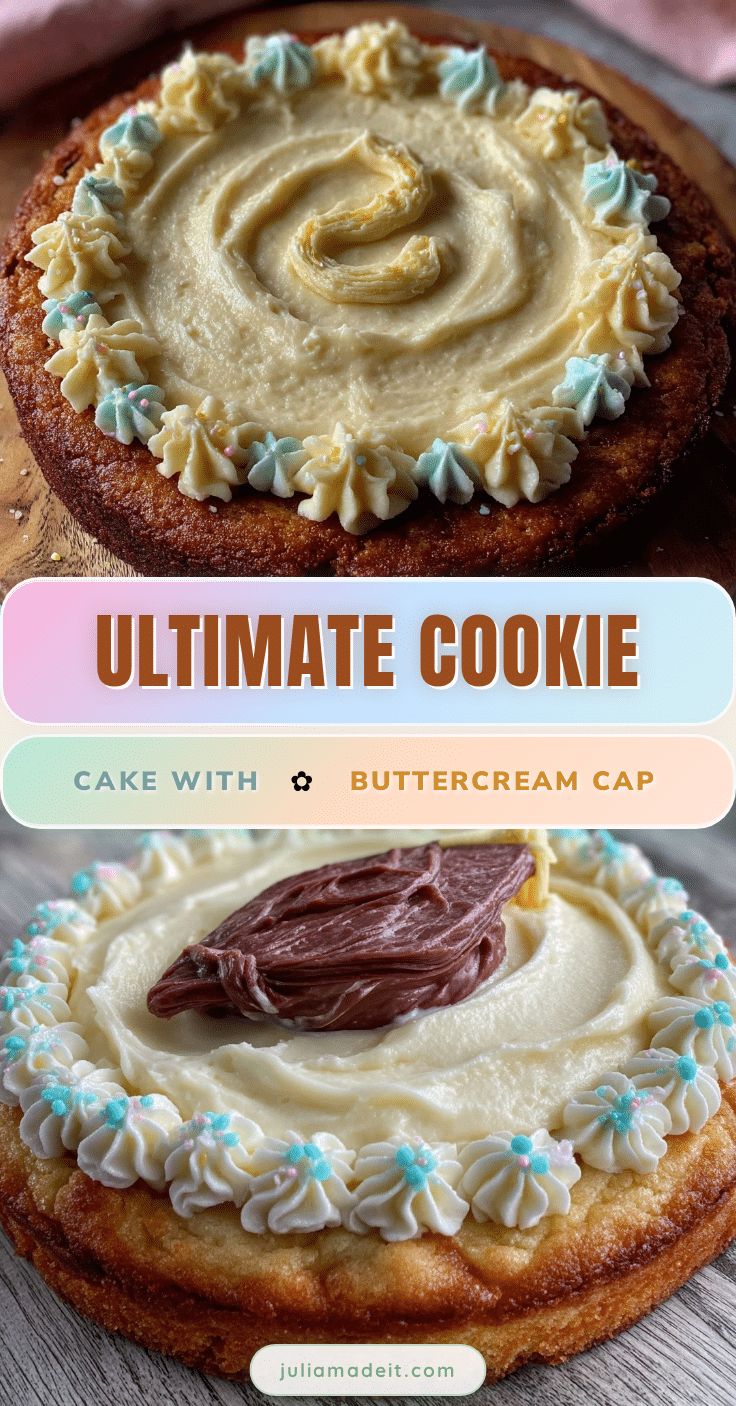
“You seriously think a cookie can be a cake?” my friend asked, eyebrows raised as I pulled out this giant, golden cookie from the oven. Honestly, I was just trying to whip up something last-minute for a graduation party—no fancy layers, no fuss. The idea was simple: a cookie, but big enough to slice and share. And then, well, I got carried away with the decoration. The buttercream graduation cap design? It was a spontaneous doodle that turned into the star of the show.
The smell of warm vanilla and brown sugar filled the kitchen, making the chaotic weekend feel a little more manageable. I figured, why not combine the best of both worlds—a cookie’s chewy goodness with a celebratory cake’s presence? Turns out, this “perfect cookie cake” is exactly what everyone needed that day. What started as a last-minute plan became a new tradition every graduation season. It’s not just the taste; it’s the way it brings people together, slice by slice.
After making this cookie cake more times than I can count (and tweaking the buttercream design to get just the right balance of fun and elegant), I realized this recipe sticks because it’s approachable and surprisingly impressive. And hey, if you don’t have a lot of time or fancy baking gear, that’s totally fine—the magic’s in the mix and the simple joy of sharing it. So, here’s the recipe for the perfect cookie cake with a buttercream graduation cap design that’s as much about memories as it is about flavor.
Why You’ll Love This Recipe
Having tested countless cookie recipes and frosting techniques, I can confidently say this cookie cake recipe stands out for several reasons. From quick prep to guaranteed smiles, here’s why this cookie cake with buttercream graduation cap design will be your go-to for celebrations:
- Quick & Easy: Comes together in under 30 minutes prep time and bakes in 20, which is perfect when time’s tight and the party’s starting soon.
- Simple Ingredients: You don’t need a trip to a specialty store; most ingredients are pantry staples like butter, brown sugar, and vanilla.
- Perfect for Graduation Parties: This cookie cake is a fun alternative to traditional cakes, especially with the easy buttercream cap design that’s festive but not intimidating.
- Crowd-Pleaser: Kids and adults alike keep coming back for more. The chewy edges and soft center hit that perfect cookie note everyone loves.
- Unbelievably Delicious: The balance of buttery sweetness and the creamy, smooth frosting is next-level comfort food—like your favorite cookie and cake had a very happy marriage.
This isn’t just another cookie cake. The trick is in the texture—slightly crisp on the outside, tender inside—and the buttercream that holds the graduation cap design without overpowering the flavor. Plus, the frosting is easy to pipe, so you don’t have to be a pro decorator to pull off that classic grad cap look. It’s the kind of recipe that brings a quiet little moment of pride when you see smiles and hear “Can I have another slice?”
What Ingredients You Will Need
This recipe uses simple, wholesome ingredients that come together to deliver bold flavor and a satisfying, soft-chewy texture without any fuss. Almost all are pantry basics, so you can probably start baking right away.
- For the Cookie Cake:
- 1 cup (225g) unsalted butter, softened (I like using Land O’Lakes for consistency)
- 1 cup (220g) packed light brown sugar (adds that rich caramel note)
- ½ cup (100g) granulated sugar
- 2 large eggs, room temperature
- 2 teaspoons pure vanilla extract (fresh vanilla makes a world of difference)
- 2 ½ cups (315g) all-purpose flour
- 1 teaspoon baking soda
- ½ teaspoon salt
- Optional: 1 cup (175g) semi-sweet chocolate chips or chunks for a little extra indulgence
- For the Buttercream Graduation Cap Design:
- 1 cup (225g) unsalted butter, softened
- 3-4 cups (360-480g) powdered sugar, sifted (adjust for desired sweetness and consistency)
- 2-3 tablespoons whole milk or heavy cream (use dairy-free milk if needed)
- 1 teaspoon vanilla extract
- Black gel food coloring (for the graduation cap)
- Optional: A little bit of cocoa powder mixed in for a natural black-ish tone if you prefer no food coloring
Substitutions: You can swap all-purpose flour for gluten-free 1:1 baking flour if needed, and almond or coconut milk works well in the buttercream if you need a dairy-free option. For a fun twist, try mixing in chopped nuts or dried fruit into the cookie dough, but keep in mind the buttercream design may be trickier with chunky additions.
Equipment Needed
- 9-inch (23 cm) round cake pan or a similar-sized springform pan (for easy removal)
- Mixing bowls (preferably one large and one medium)
- Electric mixer or stand mixer (hand mixers work fine, but the full power helps cream butter smoothly)
- Measuring cups and spoons (accuracy is key for baking)
- Spatula and wooden spoon for mixing
- Offset spatula or butter knife for spreading buttercream smoothly
- Piping bags and small round piping tips (size #3 or #4 works great for the cap outline)
- Cooling rack to let the cookie cake cool evenly
If you don’t have a cake pan, a rimmed baking sheet can work, but the edges won’t be as neat. For piping, zip-top bags with a small hole cut in the corner are a budget-friendly alternative to proper piping bags. Keep your tools clean and dry, especially the mixer beaters, to get that perfect buttercream texture. I once tried piping with a slightly warm buttercream and ended up with a messy cap—lesson learned!
Preparation Method
- Preheat the Oven: Set your oven to 350°F (175°C). Grease your 9-inch round cake pan generously with butter or line it with parchment paper for easy removal.
- Cream Butter and Sugars: In a large bowl, beat 1 cup softened butter with 1 cup brown sugar and ½ cup granulated sugar until fluffy and pale—about 3-5 minutes with an electric mixer on medium speed. The mixture should look light and airy, almost like whipped cream.
- Add Eggs and Vanilla: Beat in the eggs one at a time, making sure each one is fully incorporated before adding the next. Then, stir in 2 teaspoons vanilla extract. You’ll notice the batter becomes smoother and glossy.
- Mix Dry Ingredients: In a separate bowl, whisk together 2 ½ cups all-purpose flour, 1 teaspoon baking soda, and ½ teaspoon salt. This ensures even distribution of the leavening agent and salt.
- Combine Wet and Dry: Gradually add the dry ingredients into the wet, mixing on low speed just until combined. Avoid overmixing to keep the cookie tender.
- Add Chocolate Chips: Fold in 1 cup chocolate chips, if using, with a spatula. This gives pockets of melty chocolate in every bite.
- Press Dough into Pan: Transfer the dough to the prepared pan and press it evenly with your hands or the back of a spoon. The dough will be thick—don’t worry, it bakes into a soft, giant cookie cake.
- Bake: Place the pan in the oven and bake for 20-25 minutes. The edges should be golden brown while the center remains slightly soft. A toothpick inserted near the center should come out with a few moist crumbs but not wet batter.
- Cool Completely: Let the cookie cake cool in the pan for 15 minutes, then transfer to a cooling rack to cool fully. This step is crucial for the buttercream to spread without melting.
- Prepare Buttercream: Beat 1 cup softened butter on medium speed until creamy (about 2 minutes). Gradually add 3 cups powdered sugar, mixing on low. Add 2 tablespoons milk and 1 teaspoon vanilla. Beat on medium-high until fluffy, about 3-4 minutes. Adjust consistency with milk or powdered sugar as needed.
- Color Buttercream: Reserve a small portion for the tassel (leave it white or tint with a color of your choice). Add black gel food coloring to the majority of the buttercream, mixing until you reach a deep, even black.
- Decorate: Using a piping bag fitted with a small round tip, pipe the outline of a graduation cap in black buttercream on the cookie cake. Fill it in carefully and add details like the mortarboard and tassel. Don’t rush this step—steady hands make a difference, but if you mess up, a clean spatula can fix edges before it sets.
Patience during cooling and frosting is key. I once tried frosting a warm cookie cake and ended up with a melty mess. Trust me, wait it out. The contrast between the soft cookie and the creamy buttercream is worth it.
Cooking Tips & Techniques
To get the perfect texture, make sure your butter is softened but not melted—that soft stage helps trap air for fluffiness without greasy batter. When creaming the butter and sugars, take your time; this step is what creates that tender crumb.
Overmixing once the flour is added is a common mistake. It tightens gluten strands, making the cookie dense. Mix just until you don’t see flour.
When baking, ovens vary. Start checking at 20 minutes and remember the cookie cake continues to cook a bit as it cools. If the edges brown too quickly, tent the pan with foil.
For the buttercream, if it feels too stiff, add milk one teaspoon at a time. Too soft? Add more powdered sugar gradually. The frosting should hold shape but spread easily.
Practice piping on parchment paper before decorating the cake to get comfortable with pressure and design. I once made a batch where the cap looked more like a sad hat—practice saves the day.
Multitasking tip: While the cookie bakes, prepare the buttercream so you’re ready once it cools. It saves time and keeps the workflow smooth.
Variations & Adaptations
This cookie cake is flexible and can be adapted to suit various tastes and dietary needs:
- Flavor Variations: Swap chocolate chips for white chocolate, butterscotch, or chopped nuts to mix up the flavor profile.
- Dietary Adjustments: Use gluten-free flour blends for a gluten-free version and substitute dairy-free butter and milk in the frosting for vegan-friendly treats.
- Seasonal Twists: For spring or summer graduations, add fresh berries on top after frosting or mix in dried cranberries for a tart contrast.
- Alternative Designs: Instead of the graduation cap, try a simple “Congrats” script or school colors in the buttercream, making it more personal to the grad.
- Cooking Methods: If pressed for time, you can bake the cookie in a large cast iron skillet for a rustic look, but adjust baking times accordingly—usually 5-7 minutes longer.
I once swapped the buttercream for a cream cheese frosting for a tangy edge, which got rave reviews, though the design was a bit softer. It’s fun to experiment, just keep the frosting stiffness in mind when decorating.
Serving & Storage Suggestions
Serve the cookie cake at room temperature for the best texture and flavor. Slice it like a cake—thick wedges that showcase the tender chew inside. It pairs beautifully with cold milk, coffee, or even a scoop of vanilla ice cream for an extra treat.
This cookie cake also shines as part of a dessert spread. If you’re hosting a party, pairing it with an irresistible dessert charcuterie board adds variety and wow factor without extra fuss.
For storage, wrap leftover slices tightly in plastic wrap or store in an airtight container at room temperature for up to 3 days. The buttercream keeps it moist and fresh. You can refrigerate for up to a week, but bring it back to room temperature before serving.
Freezing is also an option—wrap the whole cake or individual slices in foil and place in a freezer bag; freeze up to 3 months. Thaw overnight in the fridge and then let it sit on the counter to soften.
Interestingly, the flavors tend to deepen after a day, making the cookie cake even better the next day. So, if you’re planning ahead, this recipe plays well with patience.
Nutritional Information & Benefits
This perfect cookie cake is a treat, but it also offers some nutritional benefits. Here’s an estimate per serving (assuming 12 servings):
| Calories | 320 |
|---|---|
| Fat | 18g |
| Saturated Fat | 10g |
| Carbohydrates | 38g |
| Sugar | 25g |
| Protein | 3g |
Key ingredients like butter and eggs provide healthy fats and protein, while vanilla extract adds flavor without calories. The powdered sugar and brown sugar contribute sweetness but can be moderated by adjusting quantities or using natural sweeteners.
For those with allergies, this recipe contains gluten, dairy, and eggs, so substitutions are necessary if avoiding these. Using gluten-free flour blends and dairy-free butter or milk alternatives can help make it more inclusive.
From a wellness perspective, this cookie cake is a perfect occasional indulgence—comfort food that brings people together and celebrates milestones without fuss or stress.
Conclusion
This perfect cookie cake recipe with its easy buttercream graduation cap design is more than just dessert—it’s a celebration in every slice. Whether you’re a novice baker or someone who makes cookies all the time, the simplicity and charm of this recipe make it a winner. It’s customizable, forgiving, and absolutely delicious.
Feel free to tweak the design, switch up the flavors, or add your personal touch. That’s the joy of baking something that’s both fun and meaningful. Personally, I love how this cookie cake turns a simple gathering into a memorable moment, with the buttery scent filling the room and smiles all around.
If you try this recipe, I’d love to hear your twists or how you decorated your cookie cake! Sharing your experience keeps the tradition alive and growing.
Frequently Asked Questions
Can I make the cookie cake ahead of time?
Yes! Bake the cookie cake a day ahead and store it tightly covered at room temperature. Add the buttercream and decoration the day of the event for the freshest look.
What if I don’t have black food coloring for the graduation cap?
You can mix cocoa powder into the buttercream for a dark brown shade or try a dark blue or school color instead. The design will still be impressive!
Can I freeze the cookie cake with the buttercream already on it?
It’s better to freeze the plain cookie cake and add buttercream after thawing for the best texture. However, you can freeze frosted cake if wrapped well, but the frosting might soften slightly.
How do I prevent the buttercream from melting on the cookie?
Make sure the cookie cake is completely cool before frosting. Also, keep the buttercream consistency firm but spreadable, and store in a cool place until serving.
Is this recipe suitable for vegans?
This recipe uses butter and eggs, so it’s not vegan. But you can experiment with vegan butter and flax eggs, though the texture and taste may vary.
And for those planning a full celebration spread, pairing this cookie cake with an easy epic charcuterie board makes the party effortless and impressive every time.
Pin This Recipe!
Perfect Cookie Cake Recipe with Easy Buttercream Graduation Cap Design
A giant, chewy cookie cake decorated with a simple buttercream graduation cap design, perfect for celebrations and easy to make with pantry staples.
- Prep Time: 25 minutes
- Cook Time: 20-25 minutes
- Total Time: 50 minutes
- Yield: 12 servings 1x
- Category: Dessert
- Cuisine: American
Ingredients
- 1 cup (225g) unsalted butter, softened
- 1 cup (220g) packed light brown sugar
- ½ cup (100g) granulated sugar
- 2 large eggs, room temperature
- 2 teaspoons pure vanilla extract
- 2 ½ cups (315g) all-purpose flour
- 1 teaspoon baking soda
- ½ teaspoon salt
- Optional: 1 cup (175g) semi-sweet chocolate chips or chunks
- For Buttercream:
- 1 cup (225g) unsalted butter, softened
- 3–4 cups (360-480g) powdered sugar, sifted
- 2–3 tablespoons whole milk or heavy cream
- 1 teaspoon vanilla extract
- Black gel food coloring
- Optional: Cocoa powder for natural black-ish tone
Instructions
- Preheat oven to 350°F (175°C). Grease a 9-inch round cake pan or line with parchment paper.
- In a large bowl, beat 1 cup softened butter with 1 cup brown sugar and ½ cup granulated sugar until fluffy and pale, about 3-5 minutes.
- Beat in eggs one at a time, then stir in 2 teaspoons vanilla extract until smooth and glossy.
- In a separate bowl, whisk together 2 ½ cups flour, 1 teaspoon baking soda, and ½ teaspoon salt.
- Gradually add dry ingredients to wet mixture on low speed just until combined; avoid overmixing.
- Fold in 1 cup chocolate chips if using.
- Press dough evenly into prepared pan.
- Bake for 20-25 minutes until edges are golden and center is slightly soft; toothpick should come out with moist crumbs.
- Cool in pan for 15 minutes, then transfer to cooling rack to cool completely.
- For buttercream, beat 1 cup softened butter until creamy (about 2 minutes). Gradually add 3 cups powdered sugar, mixing on low.
- Add 2 tablespoons milk and 1 teaspoon vanilla; beat on medium-high until fluffy, about 3-4 minutes. Adjust consistency as needed.
- Reserve a small portion of buttercream for tassel; tint majority with black gel food coloring.
- Pipe graduation cap outline and details on cooled cookie cake using piping bag with small round tip.
- Let frosting set before slicing and serving.
Notes
Ensure butter is softened but not melted for best texture. Avoid overmixing flour to keep cookie tender. Cool cookie completely before frosting to prevent melting. Practice piping on parchment paper before decorating. Adjust buttercream consistency with milk or powdered sugar as needed. Can substitute gluten-free flour and dairy-free milk/butter for dietary needs. Freeze plain cookie cake for up to 3 months; add frosting after thawing for best texture.
Nutrition
- Serving Size: 1 slice (1/12 of cak
- Calories: 320
- Sugar: 25
- Fat: 18
- Saturated Fat: 10
- Carbohydrates: 38
- Protein: 3
Keywords: cookie cake, graduation cake, buttercream, easy dessert, celebration dessert, chocolate chip cookie, party dessert