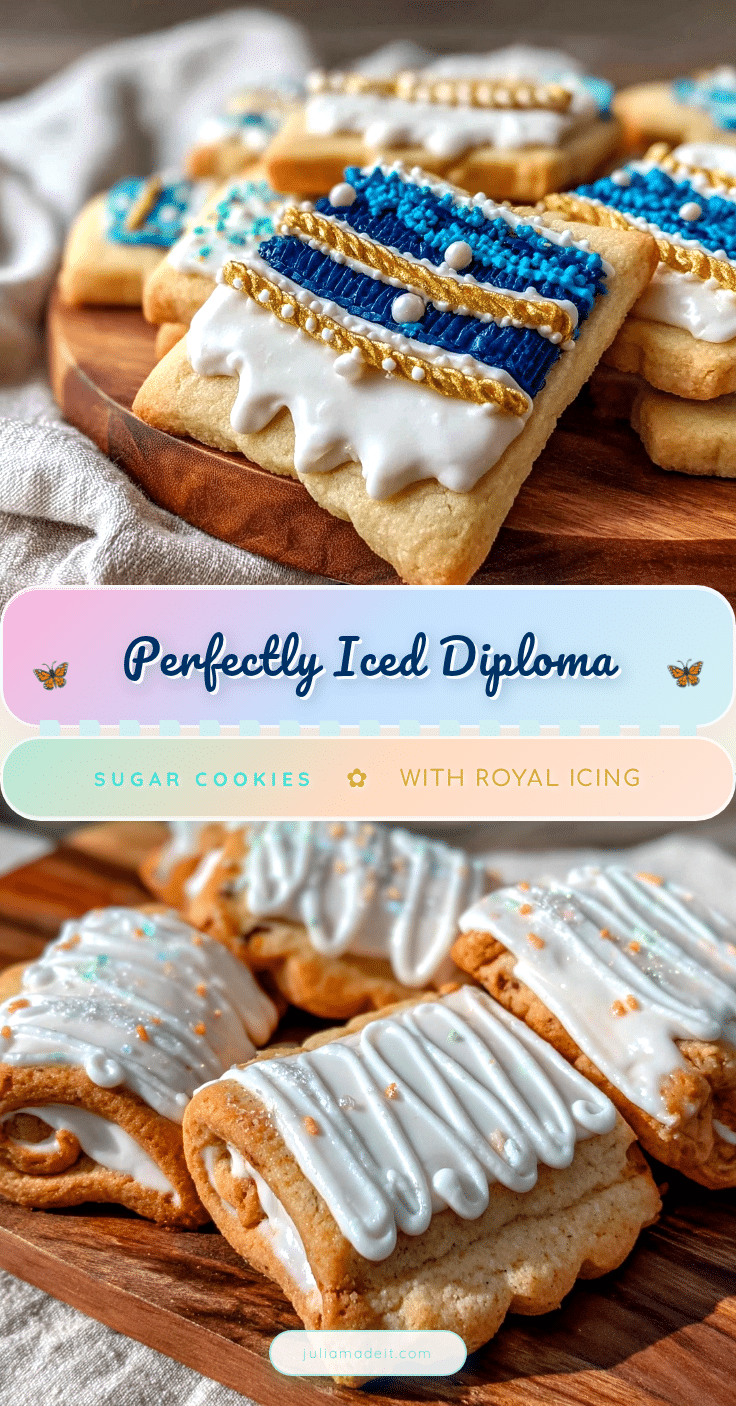
“Hey, you really nailed the diploma cookies!” my friend texted me after the graduation party. Honestly, I was half-surprised myself. I’d whipped up these perfect diploma-shaped sugar cookies with royal icing on a whim, mostly because I was scrambling to make something festive and fun for the celebration. The whole thing started when I found a diploma cookie cutter tucked away in my baking drawer—forgotten from last year’s batch of graduation treats. I was skeptical at first, thinking these would be just another cookie disaster, but it turns out, they quickly became the star of the party.
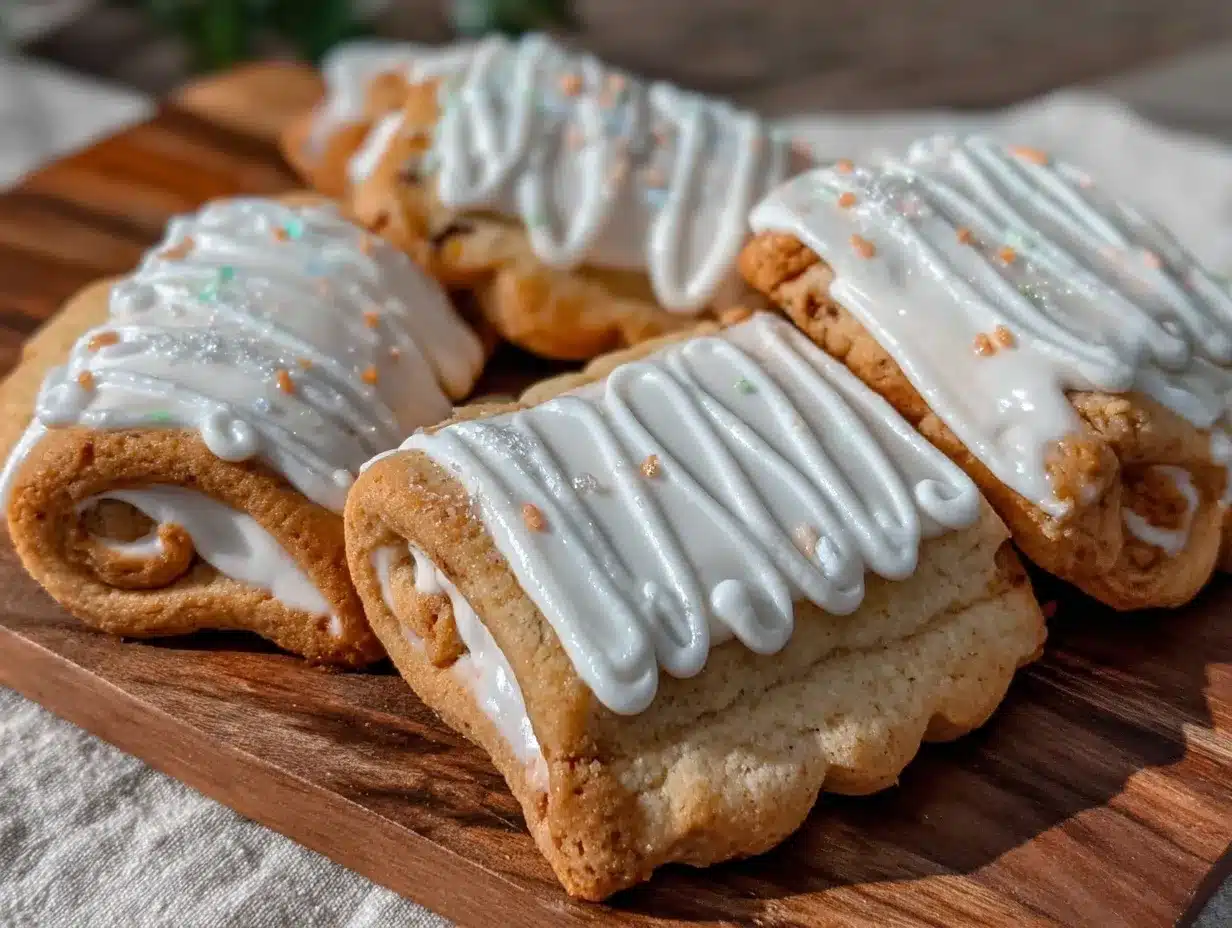
The crisp edges, the smooth icing, and that little rolled “diploma” effect made these sugar cookies feel like little works of edible art. And you know, there’s something satisfying about creating a cookie that looks so polished but tastes even better. They’re sweet but not cloying, with just the right balance of buttery dough and sugary glaze. Honestly, it’s the kind of recipe that stuck with me because it’s approachable and impressive all at once—perfect for a last-minute celebration or when you want to give a sweet nod to someone’s big achievement.
Making these diploma-shaped sugar cookies wasn’t just about baking; it was a quiet reminder of the joy in crafting something meaningful with simple ingredients. They’re the kind of treats I’m already planning to make again next graduation season, or maybe even for a fun twist on zesty lemon poppy seed cookies when I want a change-up. It’s funny how a small cookie cutter and some royal icing can turn into such a sweet moment.
Why You’ll Love This Recipe
After testing these diploma-shaped sugar cookies multiple times—yes, more than once a week during graduation season—I can confidently say this recipe hits all the right notes for both beginners and seasoned bakers. Here’s why it’s a keeper:
- Quick & Easy: The dough comes together in under 20 minutes, and the royal icing dries fast enough so you can decorate and serve the same day.
- Simple Ingredients: No fancy or hard-to-find products here—just pantry staples like flour, sugar, and eggs. I usually recommend brands like King Arthur Flour for the best texture in the dough.
- Perfect for Celebrations: Whether it’s a graduation party, an academic milestone, or even a quirky office send-off, these cookies add a festive, personalized touch without the fuss.
- Crowd-Pleaser: Kids, adults, cookie critics—they all rave about how tender, buttery, and just-right-sweet these cookies are.
- Unbelievably Delicious: The royal icing isn’t just for looks; it adds a smooth, melt-in-your-mouth sweetness that complements the cookie perfectly.
What sets this recipe apart is the attention to the royal icing’s texture—thick enough to hold crisp edges but still easy to pipe and smooth out. Plus, the dough has that classic sugar cookie snap without being too hard, which is something I struggled with until I tweaked the butter-to-flour ratio just right. This isn’t just another sugar cookie recipe; it’s the one I trust to deliver consistent, picture-perfect results every time.
Honestly, these diploma-shaped sugar cookies bring a little celebration into the kitchen itself. It’s fun, approachable, and you’ll want to keep making them long after the tassels have turned.
What Ingredients You Will Need
This recipe uses simple, wholesome ingredients to deliver bold flavor and satisfying texture without the fuss. Most of these are probably hanging out in your pantry right now.
- For the Sugar Cookie Dough:
- 2 ¾ cups (345 g) all-purpose flour (King Arthur Flour works wonderfully here)
- 1 teaspoon baking powder
- ½ teaspoon salt
- 1 cup (227 g) unsalted butter, softened (adds richness and tenderness)
- 1 ½ cups (300 g) granulated sugar
- 1 large egg, room temperature
- 1 ½ teaspoons pure vanilla extract
- 2 tablespoons whole milk (or dairy-free milk if needed)
- For the Royal Icing:
- 3 cups (360 g) powdered sugar, sifted
- 2 large egg whites (or 4 tablespoons meringue powder + 6 tablespoons water for a safer alternative)
- 1 teaspoon lemon juice (helps balance sweetness and stabilizes icing)
- Food coloring gels (optional, for colorful accents)
- 1 teaspoon vanilla or almond extract (optional for flavor)
Look for firm, fresh eggs and use fresh lemon juice for the best icing texture. If you prefer a gluten-free option, swapping the all-purpose flour with an almond flour blend can work, though the texture will be a bit different—less crisp, more tender. I sometimes add a pinch of cream of tartar to the royal icing for extra stability when piping fine details.
Equipment Needed
- Rolling pin (a silicone one is great to prevent sticking)
- Diploma-shaped cookie cutter (or a rectangular cutter with a small circle cutter to mimic the rolled scroll)
- Mixing bowls
- Electric mixer (handheld or stand mixer) for creaming butter and mixing icing
- Cooling racks
- Piping bags and small round piping tips (size #1 or #2 recommended for detail work)
- Offset spatula or butter knife for smoothing icing
If you don’t have a diploma-shaped cutter, a sharp knife and a bit of patience can help shape rectangles, and a small round cookie cutter or even the end of a straw can create the scroll effect. I’ve found that investing in a good-quality piping bag makes a world of difference—especially if you plan to try other decorated cookies like the tangy lemon bars I made last summer.
Preparation Method
- Mix Dry Ingredients: In a medium bowl, whisk together 2 ¾ cups (345 g) flour, 1 teaspoon baking powder, and ½ teaspoon salt. Set aside. (About 5 minutes)
- Cream Butter and Sugar: Using an electric mixer, beat 1 cup (227 g) softened unsalted butter with 1 ½ cups (300 g) granulated sugar on medium speed until light and fluffy—about 3-5 minutes. This step really makes the cookies tender and airy.
- Add Wet Ingredients: Beat in 1 large egg and 1 ½ teaspoons vanilla extract until fully incorporated. Then mix in 2 tablespoons whole milk. The batter should be smooth, not runny.
- Combine Dry and Wet: Gradually add the flour mixture to the wet ingredients, mixing on low speed until just combined. Avoid overmixing—this keeps the cookies tender but firm.
- Chill Dough: Divide dough in half, flatten into disks, wrap in plastic wrap, and chill for at least 1 hour (or overnight). Chilling prevents spreading and helps with clean edges during cutting.
- Preheat Oven & Prepare Baking Sheets: Preheat your oven to 350°F (175°C). Line baking sheets with parchment paper or silicone mats.
- Roll and Cut Cookies: On a lightly floured surface, roll dough to about ¼ inch (6 mm) thickness. Use your diploma-shaped cutter to cut out cookies. Place them 2 inches apart on baking sheets.
- Bake: Bake for 8-10 minutes until edges are just starting to turn golden. Cookies should be set but still soft in the center. (Watch closely to avoid overbaking.) Cool on baking sheets for 5 minutes, then transfer to wire racks to cool completely.
- Prepare Royal Icing: In a clean bowl, whisk 3 cups (360 g) powdered sugar with 2 large egg whites and 1 teaspoon lemon juice until smooth and glossy. Adjust consistency with small amounts of water or powdered sugar as needed. Divide and color if desired.
- Decorate: Fill piping bags with icing. Outline the cookies first, then flood the center with thinner icing. Use piping tips to add details like the diploma scroll lines or writing. Let dry at room temperature for several hours or overnight.
Pro tip: If your icing starts to dry out while decorating, add a few drops of water and stir to soften. And if your cookies puff up too much in the oven, it usually means the dough was too warm or not chilled enough—so don’t skip that step!
Cooking Tips & Techniques
Royal icing can feel intimidating, but I’ve learned a few tricks that make it manageable for even casual bakers. First, always sift your powdered sugar—it makes a huge difference in getting a smooth, lump-free icing. When mixing, start slow to avoid a sugar cloud explosion!
Consistency is king here. For outlines, the icing should hold its shape on a spoon without dripping. For flooding, thin it with a little water until it flows easily but still covers the surface without pooling. I use a toothpick to spread icing gently if it’s not flowing perfectly.
One mistake I made early on was piping too thickly or too fast, which caused the icing to run over edges. Slow and steady wins the race. Also, let your cookies cool completely before icing; warm cookies melt the icing and ruin the smooth finish.
To speed up drying, place decorated cookies near a fan or in a cool, dry room. Avoid the fridge—it can cause condensation. If you’re multitasking, I like to prepare the dough the day before and decorate the next day, so everything feels less rushed.
Variations & Adaptations
- Flavor Twists: Add lemon zest or almond extract to the dough for extra flavor. For a chocolate diploma cookie, swap ½ cup (60 g) flour with cocoa powder.
- Dietary Options: Use gluten-free flour blends for a gluten-free version. For royal icing, substitute meringue powder for raw egg whites if concerned about food safety.
- Seasonal Flair: Decorate with pastel colors for spring graduations or school colors for a personalized touch. I once added edible gold dust for a fancy finish that impressed everyone.
- Different Shapes: If you don’t have a diploma cutter, try using a rectangular cutter and roll up a small circle of dough separately to attach as the scroll, then decorate accordingly.
One variation I tried was piping a little “seal” with red icing to mimic the wax seal on a diploma—such a neat detail that made the cookies feel extra special. It’s fun to tweak this recipe for different occasions, like turning them into chewy snickerdoodles with the same royal icing technique for a sweet holiday gift.
Serving & Storage Suggestions
These diploma-shaped sugar cookies are best served at room temperature, allowing the buttery flavor and royal icing to shine. They make a perfect centerpiece on a graduation dessert table or a thoughtful gift in a decorated box.
Pair them with a rich coffee or tea—for something creamy and smooth, a cold brew like the vanilla sweet cream cold brew complements the sweetness beautifully.
Store the cookies in an airtight container at room temperature for up to 5 days. If you want to keep them longer, freeze undecorated cookies in a single layer, then decorate after thawing. Decorated cookies freeze best wrapped individually in plastic wrap and stored in a freezer-safe container—thaw at room temperature to avoid condensation ruining the icing.
Flavors tend to mellow and meld after a day, so if you can resist, let the cookies rest overnight for a more harmonious taste.
Nutritional Information & Benefits
Each diploma-shaped sugar cookie (about 2.5 inches long) contains approximately 150-180 calories, with around 7 grams of fat, 25 grams of carbohydrates, and 2 grams of protein. The treats are indulgent but small enough to enjoy without guilt.
Using real butter adds a lovely richness and some beneficial fats, while the vanilla extract brings a comforting aroma without extra calories. The recipe is naturally gluten-free if you swap the flour, and dairy-free options work with plant-based milk and butter substitutes.
While not a health food per se, these cookies fit nicely into a balanced lifestyle—perfect for marking milestones and creating memories without overdoing the sugar.
Conclusion
If you’re looking for a sweet way to celebrate academic achievements (or just want a fun, festive cookie), these perfect diploma-shaped sugar cookies with royal icing are a solid bet. They’re approachable, visually impressive, and honestly, a little addictive once you start decorating!
Feel free to tweak the flavors, colors, or shapes to suit your style. This recipe is as much about the joy of creating as it is about the final treat. I still catch myself smiling whenever I see a batch cooling on the rack, knowing it’s a tiny celebration in cookie form.
Give them a try—you might find yourself baking them for every occasion, just like I do. And if you try adding your own spins, I’d love to hear how they turned out!
FAQs
How long does royal icing take to dry?
Royal icing typically takes 4-6 hours to dry to the touch at room temperature, but for best results, let it dry overnight.
Can I make the cookie dough ahead of time?
Yes! The dough can be wrapped and refrigerated for up to 48 hours or frozen for up to 3 months before rolling and cutting.
What if I don’t have a diploma-shaped cookie cutter?
You can use a rectangular cutter and add a small rolled circle of dough for the scroll detail, or cut rectangles by hand with a knife.
Is it safe to use raw egg whites in royal icing?
Using raw egg whites carries some risk. For safety, you can substitute meringue powder mixed with water as directed on the package.
How should I store decorated cookies to keep icing intact?
Store in a single layer in an airtight container at room temperature. Avoid stacking to prevent smudging the royal icing.
Pin This Recipe!
Perfect Diploma-Shaped Sugar Cookies Easy Royal Icing Recipe Tutorial

These diploma-shaped sugar cookies feature a tender, buttery dough and smooth royal icing, perfect for graduation celebrations or any festive occasion. The recipe is approachable for beginners and yields beautifully decorated cookies with crisp edges and a melt-in-your-mouth sweetness.
- Prep Time: 20 minutes
- Cook Time: 10 minutes
- Total Time: 1 hour 30 minutes
- Yield: 24 cookies 1x
- Category: Dessert
- Cuisine: American
Ingredients
- 2 ¾ cups (345 g) all-purpose flour
- 1 teaspoon baking powder
- ½ teaspoon salt
- 1 cup (227 g) unsalted butter, softened
- 1 ½ cups (300 g) granulated sugar
- 1 large egg, room temperature
- 1 ½ teaspoons pure vanilla extract
- 2 tablespoons whole milk (or dairy-free milk if needed)
- 3 cups (360 g) powdered sugar, sifted
- 2 large egg whites (or 4 tablespoons meringue powder + 6 tablespoons water)
- 1 teaspoon lemon juice
- Food coloring gels (optional)
- 1 teaspoon vanilla or almond extract (optional)
Instructions
- In a medium bowl, whisk together 2 ¾ cups (345 g) flour, 1 teaspoon baking powder, and ½ teaspoon salt. Set aside.
- Using an electric mixer, beat 1 cup (227 g) softened unsalted butter with 1 ½ cups (300 g) granulated sugar on medium speed until light and fluffy, about 3-5 minutes.
- Beat in 1 large egg and 1 ½ teaspoons vanilla extract until fully incorporated. Then mix in 2 tablespoons whole milk.
- Gradually add the flour mixture to the wet ingredients, mixing on low speed until just combined. Avoid overmixing.
- Divide dough in half, flatten into disks, wrap in plastic wrap, and chill for at least 1 hour or overnight.
- Preheat oven to 350°F (175°C). Line baking sheets with parchment paper or silicone mats.
- On a lightly floured surface, roll dough to about ¼ inch (6 mm) thickness. Use diploma-shaped cutter to cut out cookies. Place 2 inches apart on baking sheets.
- Bake for 8-10 minutes until edges start to turn golden. Cool on baking sheets for 5 minutes, then transfer to wire racks to cool completely.
- In a clean bowl, whisk 3 cups (360 g) powdered sugar with 2 large egg whites and 1 teaspoon lemon juice until smooth and glossy. Adjust consistency with water or powdered sugar as needed. Divide and color if desired.
- Fill piping bags with icing. Outline cookies first, then flood centers with thinner icing. Use piping tips to add details like diploma scroll lines or writing. Let dry at room temperature for several hours or overnight.
Notes
Chill dough for at least 1 hour to prevent spreading and ensure clean edges. Use fresh eggs and lemon juice for best royal icing texture. If icing dries out while decorating, add a few drops of water to soften. Let decorated cookies dry overnight for best results. Store decorated cookies in a single layer in an airtight container at room temperature to avoid smudging.
Nutrition
- Serving Size: 1 cookie (about 2.5
- Calories: 165
- Sugar: 15
- Sodium: 90
- Fat: 7
- Saturated Fat: 4.5
- Carbohydrates: 25
- Protein: 2
Keywords: diploma sugar cookies, royal icing cookies, graduation cookies, decorated sugar cookies, easy sugar cookie recipe, festive cookies