I spent the better part of two years buying those store-bought lunch kits for my kids, telling myself it was a necessary evil. You know the ones—the plastic trays with the weirdly perfect meat circles and crackers that taste faintly of cardboard. I hated every single one, but convenience won every single Tuesday. Then one morning, I was staring at the grocery bill, and it hit me: I was paying a premium for someone else to assemble the most basic components of a snack. And honestly? My version tasted better. I just wasn’t trying.
The first time I made these homemade Lunchable boxes, my kids didn’t even notice the switch. They just ate them. That’s the thing about these Easy Homemade Turkey and Cracker Lunchable Boxes—they’re not trying to reinvent the wheel. They’re just a better, fresher, more honest version of something you already know. No preservatives, no plastic guilt, and definitely no weird mystery meat.
Why You’ll Love This Recipe
This isn’t just a recipe—it’s a system. And once you start making your own lunch kits, you’ll wonder why you ever bought the packaged ones. Here’s why this version wins:
- Quick & Easy: These come together in under 10 minutes. Seriously. If you can slice cheese and fold turkey, you’ve got this handled.
- Simple Ingredients: No weird additives or unpronounceable chemicals. Just real turkey, real cheese, and crackers you actually enjoy.
- Perfect for Busy Mornings: Whether you’re packing school lunches, work lunches, or a road trip snack, these boxes are a lifesaver.
- Crowd-Pleaser: Kids love the interactive element, and adults appreciate the portion control and freshness.
- Unbelievably Customizable: You control the quality, the portions, and the flavor combos. It’s lunch liberation.
The secret here isn’t a technique—it’s the mindset. Instead of assembling a meal, you’re building a snack experience. The combination of salty turkey, creamy cheese, and crunchy crackers hits all the right notes. Plus, when you make them yourself, you can swap ingredients based on what’s in your fridge. That’s real flexibility.
This recipe is the kind that makes you feel like you’ve got your act together, even on chaotic mornings. It’s comfort food convenience, reimagined with better ingredients and zero stress.
What Ingredients You Will Need
This recipe uses simple, wholesome ingredients to deliver a satisfying snack without the fuss. Most of these are pantry staples or fridge basics you probably already have on hand.
For the Turkey and Cracker Boxes
- Turkey, sliced: 6–8 ounces (170–225 g) of your favorite deli turkey. I prefer oven-roasted or smoked turkey for the best flavor. Look for low-sodium options if you’re watching your salt intake.
- Crackers: 12–16 crackers per box. I love buttery Ritz-style crackers, but whole wheat or gluten-free crackers work beautifully too.
- Cheese, sliced: 4–6 slices (about 100–150 g) of cheddar, provolone, or Swiss. I recommend sharp cheddar for a bold flavor punch.
- Optional add-ins: A handful of grapes, cherry tomatoes, baby carrots, or apple slices for a fresh crunch.
- Condiment (optional): A small container of honey mustard, ranch dressing, or Dijon mustard for dipping.
Ingredient Selection Tips
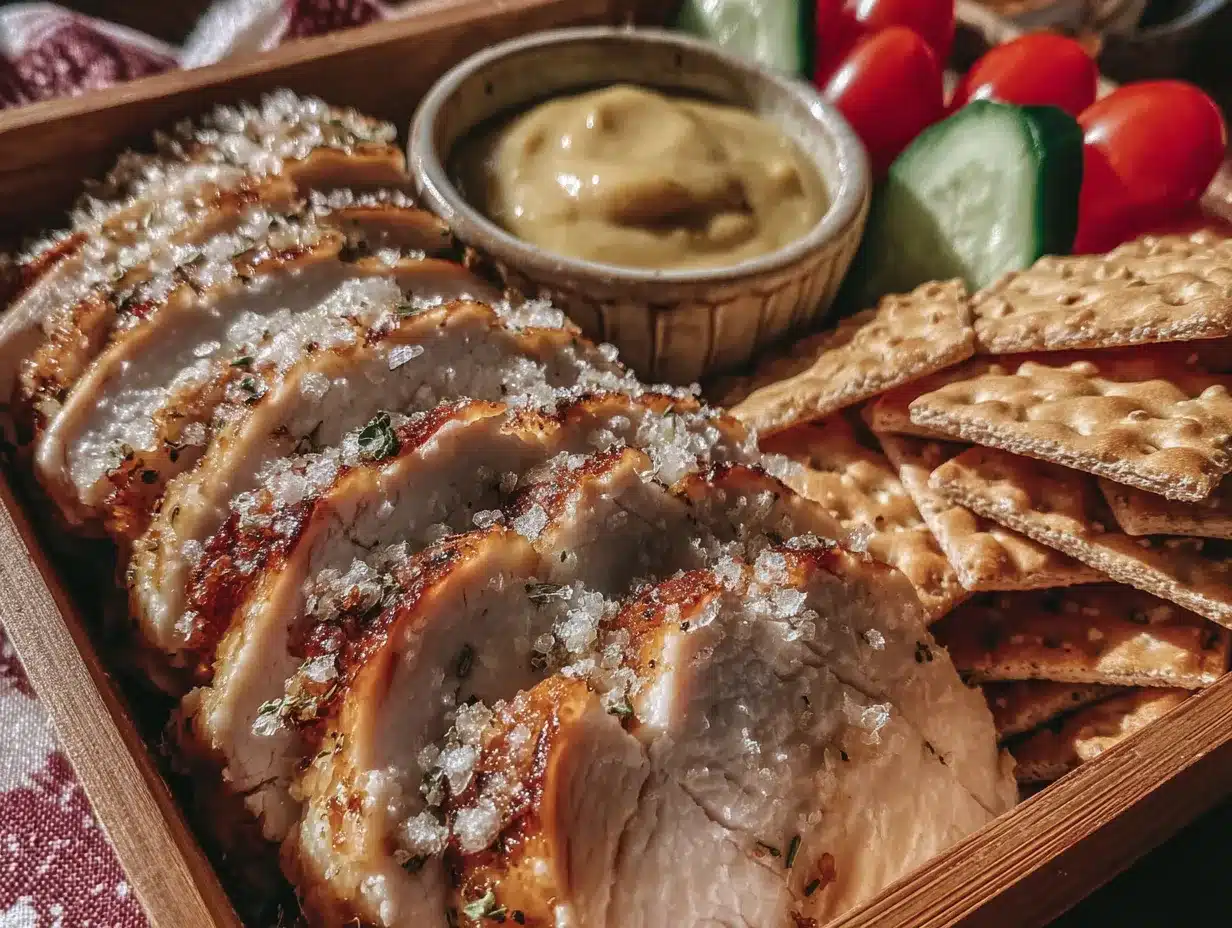
For the best texture, ask for freshly sliced turkey at the deli counter rather than pre-packaged slices. The pre-sliced stuff tends to be drier and more uniform. I personally love Boar’s Head or Applegate Farms for clean ingredients. If you’re using block cheese, slice it yourself—it stays fresher longer and tastes better.
For crackers, feel free to mix and match. I often use a combination of saltines and buttery crackers for variety. If you’re packing these for school lunches, consider using mini crackers or cheese crackers for a fun twist.
Substitution note: If you’re avoiding dairy, swap the cheese for dairy-free slices or skip it entirely and add extra protein like hard-boiled eggs. For a gluten-free option, use rice crackers or gluten-free pretzels. You can also swap the turkey for ham, roast beef, or even a plant-based deli slice.
Equipment Needed
- Lunch containers: Bento boxes or compartmentalized lunch containers work best. I use these reusable silicone bento boxes—they’re dishwasher safe and leakproof.
- Cutting board: A sturdy one for slicing cheese and prepping any add-ins.
- Sharp knife: For clean cheese slices. A dull knife will tear the cheese.
- Small containers or silicone cups: For any dips or sauces. These prevent sogginess.
- Optional: Cookie cutters to cut cheese into fun shapes (stars, hearts, animals) for kids.
You don’t need anything fancy. If you don’t have a bento box, a regular lunch container with separate compartments or even a muffin tin works in a pinch. I’ve used everything from mason jars to silicone cupcake liners to keep things organized.
Preparation Method
These Easy Homemade Turkey and Cracker Lunchable Boxes come together in under 10 minutes. Here’s how to build them:
- Prep your ingredients: Take the turkey and cheese out of the fridge about 5 minutes before assembling. Cold ingredients are harder to handle and less flavorful. If the turkey slices are stuck together, gently separate them.
- Slice the cheese: Cut your cheese into squares or triangles roughly the same size as your crackers. Aim for about 1-inch (2.5 cm) pieces. This makes stacking easy and neat. If you’re using pre-sliced cheese, just cut each slice into quarters.
- Prepare the turkey: Fold each turkey slice into quarters or roll them into small pinwheels. This makes them easier to grab and eat. For younger kids, cut the turkey into bite-sized pieces with kitchen shears.
- Wash and prep produce: If you’re adding grapes, cherry tomatoes, or baby carrots, wash them thoroughly and pat dry. Cut grapes in half lengthwise for younger children to prevent choking. Slice apples or pears and toss them with a little lemon juice to prevent browning.
- Assemble the boxes: Place the crackers in one compartment, the turkey in another, and the cheese in a third. If using a bento box, arrange the produce in the remaining spaces. Keep wet ingredients (like grapes or tomatoes) separate from dry crackers to prevent sogginess.
- Add condiments: If including a dip, spoon it into a small container or silicone cup and place it in the box. Honey mustard pairs beautifully with turkey and cheddar.
- Seal and store: Close the containers tightly. If packing for later, refrigerate immediately. These boxes stay fresh for up to 3 days in the fridge.
Pro tip for texture: If you’re packing these for a school lunch, place a paper towel in the container to absorb excess moisture. This keeps the crackers crunchy and the cheese from getting sweaty.
Sensory cue: When you open the box, you should smell the smoky turkey and sharp cheese. The crackers should feel firm and snap when bitten. If the crackers feel soft, they’ve absorbed too much moisture—adjust your packing method next time.
Cooking Tips & Techniques
These aren’t complicated, but a few small tricks make a big difference. I learned most of these through trial and error—and a few soggy lunches.
- Keep crackers separate: This is non-negotiable. Moisture from turkey, cheese, or fruit will turn crackers into sad, limp discs. Use compartmentalized containers or small silicone cups to keep them dry.
- Don’t skip the paper towel trick: Place a folded paper towel in the fruit compartment to absorb excess moisture. It sounds silly, but it extends the freshness by a full day.
- Toast the crackers slightly: If you’re packing these for later in the day, lightly toast the crackers in a dry pan for 30 seconds. They’ll stay crunchier longer.
- Use room temperature ingredients: Cold cheese and turkey don’t have as much flavor. Let them sit out for 5 minutes before assembling for a more satisfying taste.
- Prep in batches: On Sunday, slice all the cheese, portion out the turkey, and wash the produce. Then assembling daily lunch boxes takes 2 minutes flat.
I once forgot to separate the crackers and grapes in my own lunch. By noon, the crackers were basically edible paste. Learn from my mistake—compartmentalization is your friend.
Variations & Adaptations
This recipe is endlessly customizable. Here are a few of my favorite twists:
- Italian-style: Swap the turkey for salami or prosciutto, use provolone or mozzarella, and add a few olives or roasted red peppers. Serve with rosemary crackers.
- Everything bagel version: Use cream cheese spread instead of sliced cheese, turkey, and everything bagel seasoning on the crackers. It’s like a deconstructed bagel sandwich.
- Veggie-packed box: Replace the turkey with hummus or roasted chickpeas, use cucumber slices and bell pepper strips as dippers, and add cheese cubes. Perfect for Meatless Monday.
- Sweet and savory: Add a small handful of dried cranberries or golden raisins to the box. The sweetness balances the salty turkey and cheese beautifully.
- Keto-friendly: Swap crackers for cucumber rounds or celery sticks. Use full-fat cheese and add a few almonds for crunch.
My personal favorite variation is the Italian-style box. I pack it with a small container of balsamic glaze for dipping the salami and cheese. It feels fancy, but it takes the same 10 minutes to assemble.
Serving & Storage Suggestions
These boxes are best enjoyed cold or at room temperature. If you’re packing them for later, here’s how to keep everything fresh:
- Serving temperature: Serve straight from the fridge or let it sit at room temperature for 10 minutes before eating. The flavors are more pronounced when not ice-cold.
- Storage: Assemble the boxes up to 3 days in advance. Store them in the refrigerator in airtight containers. Keep crackers in a separate bag or compartment until ready to eat.
- Freezing: I don’t recommend freezing assembled boxes. The cheese and turkey will become watery when thawed. However, you can freeze sliced turkey and cheese separately for up to 2 months.
- Reheating: These are served cold—no reheating needed. If you’re using a dip like warm honey mustard, heat it separately and add it right before serving.
- Flavor development: The flavors actually meld nicely after a few hours in the fridge. The turkey absorbs a bit of the cheese’s creaminess, and everything comes together beautifully.
For school lunches, pack the box in an insulated lunch bag with an ice pack to keep everything safe until lunchtime. If you’re taking these on a road trip, they’re perfect for a cooler bag alongside a cold drink.
Nutritional Information & Benefits
These homemade lunch boxes are a balanced snack option. Here’s the approximate nutritional breakdown for one serving (based on 4 oz turkey, 2 oz cheese, and 12 crackers):
- Calories: 350–400
- Protein: 25–30 g
- Fat: 15–20 g
- Carbohydrates: 20–25 g
- Fiber: 1–2 g
Health benefits: Turkey is a lean source of protein that helps keep you full and supports muscle health. Cheese provides calcium for strong bones and teeth. Crackers offer quick energy from carbohydrates. Adding fresh fruit or vegetables boosts vitamins and fiber.
Dietary considerations: This recipe is naturally low in added sugar. For a lower-sodium option, choose low-sodium turkey and cheese. For a gluten-free version, use gluten-free crackers. For a dairy-free version, omit the cheese or use plant-based alternatives.
Allergen note: This recipe contains dairy (cheese) and gluten (crackers). Adjust as needed for your dietary needs.
Conclusion
These Easy Homemade Turkey and Cracker Lunchable Boxes are proof that simple doesn’t mean boring. With just a few minutes of prep, you can create a lunch that’s fresher, healthier, and more satisfying than anything from a plastic tray. The best part? You’re in control—of the ingredients, the portions, and the flavors.
I love this recipe because it makes me feel like I’ve got my lunch game together, even on the busiest mornings. It’s the kind of simple win that makes the rest of the day feel manageable. And honestly? Watching my kids actually eat their lunch without complaints is a victory I’ll take every time.
I’d love to hear how you customize your boxes! Drop a comment below and share your favorite add-ins or variations. And if you loved this recipe, don’t forget to pin it on Pinterest for later. Happy snacking!
Frequently Asked Questions
Can I use any type of deli meat?
Absolutely! Ham, roast beef, salami, or even leftover grilled chicken work wonderfully. Just make sure the meat is sliced thin for easy stacking and eating.
How long do these lunch boxes stay fresh in the fridge?
Assembled boxes will stay fresh for up to 3 days when stored in an airtight container. Keep the crackers separate if possible to maintain their crunch.
Can I make these for a party or gathering?
Yes! These are perfect for parties, picnics, or road trips. Just assemble them in larger trays or individual containers for guests. They’re always a hit.
What are the best crackers to use?
Buttery crackers like Ritz, whole wheat saltines, or even cheese crackers work beautifully. For a healthier option, try seed crackers or rice cakes. The key is choosing crackers that hold up well without crumbling.
Can I add fruit without making the crackers soggy?
Yes! Just keep the fruit in a separate compartment or use a small silicone cup. Wash and dry fruit thoroughly before adding to prevent excess moisture.
Pin This Recipe!
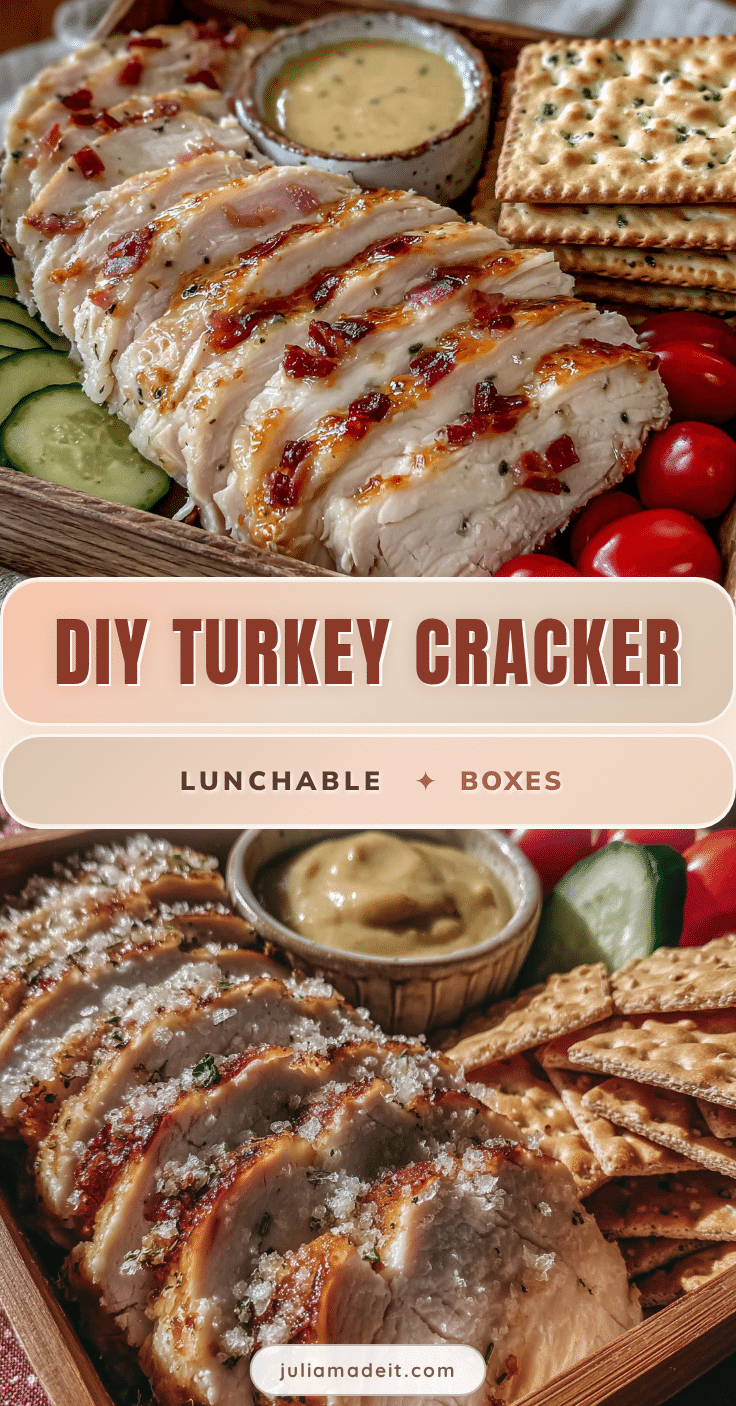
Easy Homemade Turkey and Cracker Lunchable Boxes

These homemade Lunchable boxes are a fresher, healthier alternative to store-bought kits. Made with real turkey, cheese, and crackers, they come together in under 10 minutes and are perfect for busy mornings, school lunches, or road trips.
- Prep Time: 10 minutes
- Cook Time: 0 minutes
- Total Time: 10 minutes
- Yield: 4 servings 1x
- Category: Lunch
- Cuisine: American
Ingredients
- 6–8 ounces (170–225 g) sliced deli turkey (oven-roasted or smoked preferred)
- 12–16 crackers per box (buttery Ritz-style, whole wheat, or gluten-free)
- 4–6 slices (about 100–150 g) cheddar, provolone, or Swiss cheese
- Optional add-ins: grapes, cherry tomatoes, baby carrots, or apple slices
- Optional condiment: honey mustard, ranch dressing, or Dijon mustard
Instructions
- Take the turkey and cheese out of the fridge about 5 minutes before assembling to bring to room temperature.
- Slice the cheese into squares or triangles roughly the same size as your crackers (about 1-inch pieces). If using pre-sliced cheese, cut each slice into quarters.
- Fold each turkey slice into quarters or roll into small pinwheels. For younger kids, cut into bite-sized pieces with kitchen shears.
- If adding produce, wash and pat dry. Cut grapes in half lengthwise for young children. Toss sliced apples or pears with lemon juice to prevent browning.
- Assemble the boxes: place crackers in one compartment, turkey in another, cheese in a third. Keep wet ingredients separate from dry crackers.
- If including a dip, spoon it into a small container or silicone cup and place in the box.
- Seal containers tightly and refrigerate immediately if packing for later. These boxes stay fresh for up to 3 days in the fridge.
Notes
Keep crackers separate from moist ingredients to prevent sogginess. Place a paper towel in the fruit compartment to absorb excess moisture. For extra crunch, lightly toast crackers in a dry pan for 30 seconds before packing. Prep ingredients in batches on Sunday for quick assembly during the week.
Nutrition
- Serving Size: 1 box
- Calories: 375
- Sugar: 2
- Sodium: 800
- Fat: 17.5
- Saturated Fat: 8
- Carbohydrates: 22.5
- Fiber: 1.5
- Protein: 27.5
Keywords: homemade lunchable, turkey and crackers, bento box lunch, easy lunch ideas, school lunch, no-cook lunch