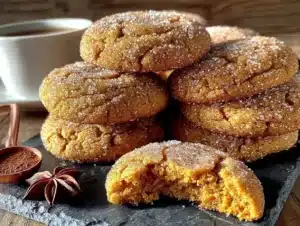
That first hit of cinnamon and nutmeg—the kind that curls up from the oven and fills your whole kitchen before you even see the cookies—still takes me straight to my tiny apartment on Maple Street. It was a gray November afternoon, the kind where the light never really showed up, and I had just enough pumpkin puree left in the fridge from a failed attempt at soup. I wasn’t trying to create anything special. I just wanted something warm, something that smelled like the fall I was desperately trying to hold onto. And honestly, I didn’t want to commit to a full batch of cookies that would sit around for a week, getting stale and sad.
So I started messing around. I took my go-to snickerdoodle recipe—the one my mom always made with cream of tartar for that signature tang—and I halved it. Then I stirred in a spoonful of pumpkin puree, a whisper of pumpkin pie spice, and I held my breath. The dough was softer than usual, a little sticky, and it smelled like everything good about October. When those little puffy clouds came out of the oven, dusted in cinnamon sugar, I knew I had stumbled onto something. They were soft, almost pillowy, with that classic snickerdoodle chew and a gentle warmth from the pumpkin that didn’t scream at you. It was quiet. It was cozy. It was exactly what I needed.
These Cozy Small-Batch Pumpkin Snickerdoodle Cookies have been my secret weapon ever since. They’re not a loud, showy dessert. They’re the kind of cookie you make on a Tuesday night when you just need a little something. They’re for when you want the ritual of baking—the measuring, the mixing, the waiting—without ending up with three dozen cookies you have to pawn off on your neighbors. This recipe makes just enough. And trust me, that’s all you’ll need.
Why You’ll Love This Recipe
Let me tell you why these little cookies have earned a permanent spot in my fall rotation. I’ve tested this recipe at least six times—yes, six—to get the texture just right. Pumpkin can make baked goods gummy if you’re not careful, and I wanted a cookie that was soft but not cakey, with that signature snickerdoodle chew. After a few batches that were, uh, a little too flat (and one that was basically a muffin top), I landed on the perfect balance.
- Small Batch, Big Flavor: This recipe makes exactly 8 cookies. No more, no less. Perfect for when you want a treat without a giant Tupperware staring at you from the counter.
- Simple Pantry Ingredients: You probably have most of this stuff already. Butter, sugar, flour, cinnamon—the usual suspects. The pumpkin puree is the only special guest, and it’s worth the invite.
- Perfect for a Cozy Night In: These cookies are made for curling up on the couch with a mug of tea or a glass of cold milk. They’re not a party cookie—they’re a you cookie.
- No Stand Mixer Required: Everything comes together in one bowl with a wooden spoon. Less cleanup, more cookie eating. That’s the math I like.
- That Irresistible Cinnamon Sugar Crunch: The classic snickerdoodle coating gets a little upgrade here. The pumpkin spice in the dough pairs perfectly with the crunchy cinnamon sugar shell.
What makes this recipe different from every other pumpkin cookie out there? It’s the texture, honestly. Most pumpkin cookies are soft and almost muffin-like. These have that slight chewiness from the cream of tartar, that little tang that makes snickerdoodles so addictive. The pumpkin is there, but it’s a supporting actor, not the star. It adds moisture and a gentle warmth without overwhelming the classic snickerdoodle vibe. It’s comfort food, but smaller. And sometimes, that’s exactly what you need.
What Ingredients You Will Need
This recipe uses simple, wholesome ingredients to create a cookie that’s soft, chewy, and full of fall flavor. Nothing fancy here—just the good stuff you probably already have in your pantry.
- Unsalted Butter (4 tablespoons, softened): I always use unsalted so I can control the salt level. Let it sit out for about 30 minutes before you start—it should be soft but not melty.
- Granulated Sugar (⅓ cup + 2 tablespoons for coating): You’ll use most of this in the dough and save a little for rolling the cookies. Regular white sugar gives that classic snickerdoodle texture.
- Pumpkin Puree (3 tablespoons): Make sure you grab pure pumpkin puree, not pumpkin pie filling. The filling has added sugar and spices that’ll mess with the balance. I like Libby’s for consistency, but any brand works.
- Large Egg Yolk (1): Just the yolk, not the whole egg. The white would add too much liquid and make the cookies spread too much. Save the white for your morning scramble!
- Vanilla Extract (½ teaspoon): Pure vanilla is best, but imitation works in a pinch. It adds that warm, cozy background note.
- All-Purpose Flour (¾ cup): Spoon and level it—don’t scoop straight from the bag or you’ll end up with dry cookies. If you’re measuring by weight, that’s about 94 grams.
- Cream of Tartar (½ teaspoon): This is the secret to the snickerdoodle tang. Don’t skip it! It also helps prevent the cookies from spreading too thin. If you don’t have it, you can substitute with 1 teaspoon of lemon juice or white vinegar, but the texture will be slightly different.
- Baking Soda (¼ teaspoon): Just enough to give them a little lift without making them puffy.
- Pumpkin Pie Spice (¼ teaspoon): You can use store-bought or make your own with cinnamon, nutmeg, ginger, and cloves. I’ve done both, and honestly, the store-bought stuff works great here.
- Cinnamon (¼ teaspoon for dough + 1 teaspoon for coating): Cinnamon is non-negotiable in a snickerdoodle. It goes in the dough and in the rolling sugar.
- Salt (¼ teaspoon): A little salt balances the sweetness and makes the flavors pop. I use fine sea salt.
For the Coating:
- Granulated Sugar (2 tablespoons): Mixed with cinnamon for that classic crackly top.
- Cinnamon (1 teaspoon): See above!
Equipment Needed
You don’t need a fancy kitchen to make these cookies. Here’s what I use every single time:
- Mixing Bowls: One medium bowl for the dough. I use a glass bowl because I can see if everything’s mixed properly, but any bowl works.
- Wooden Spoon or Rubber Spatula: For mixing. A spatula is great for scraping the sides of the bowl.
- Measuring Cups and Spoons: Accurate measurements matter in a small batch. A little too much flour and you’ll have dry cookies. I like the metal measuring spoons—they’re sturdy and easy to level.
- Baking Sheet: A standard half-sheet pan works perfectly. Line it with parchment paper for easy cleanup and to prevent sticking. I’ve used silicone baking mats too, and they work great—just watch the bake time, as they can make cookies spread a tiny bit more.
- Cookie Scoop (1.5 tablespoon): This is not strictly necessary, but it makes portioning the dough so much easier and gives you evenly sized cookies. If you don’t have one, just use a spoon and your hands.
- Cooling Rack: Let the cookies cool on the baking sheet for a few minutes, then transfer to a rack to cool completely. This prevents the bottoms from getting soggy.
- Small Bowl: For mixing the cinnamon sugar coating. A shallow bowl or a small plate works too.
Preparation Method
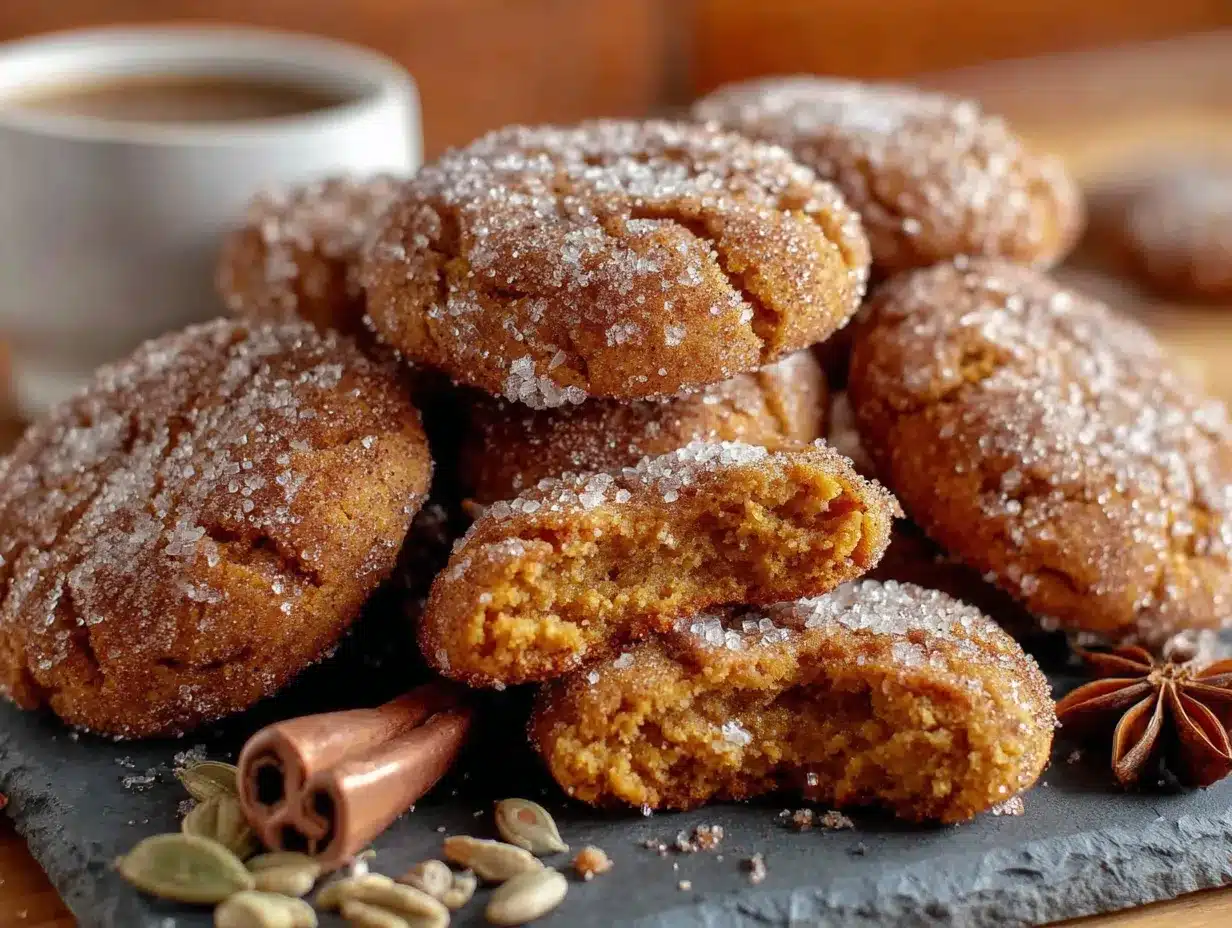
Alright, let’s make some cookies! This is the easy part. Follow these steps, and you’ll have warm, cozy cookies in about 20 minutes.
- Preheat and Prep: Preheat your oven to 350°F (175°C). Line a baking sheet with parchment paper. This is important—the cookies will stick to a bare pan, and nobody wants that.
- Cream the Butter and Sugar: In your medium bowl, beat the softened butter and ⅓ cup of granulated sugar together until light and fluffy. This takes about 2 minutes with a wooden spoon, or 1 minute with a hand mixer. You want it to look pale and airy. Scrape down the sides of the bowl halfway through.
- Add the Wet Ingredients: Mix in the pumpkin puree, egg yolk, and vanilla extract. Stir until everything is combined. The mixture will look a little curdled at first—don’t panic, that’s normal. It’ll come together as you add the dry ingredients.
- Whisk the Dry Ingredients: In a separate small bowl, whisk together the flour, cream of tartar, baking soda, pumpkin pie spice, ¼ teaspoon cinnamon, and salt. Whisking ensures everything is evenly distributed—nobody wants a pocket of baking soda in their cookie!
- Combine Wet and Dry: Gradually add the dry ingredients to the wet mixture, stirring until just combined. Do not overmix! Overmixing develops the gluten and makes the cookies tough. Stop as soon as you don’t see any more streaks of flour. The dough will be soft and slightly sticky—that’s perfect.
- Chill the Dough (Optional but Recommended): Pop the bowl in the fridge for 15-20 minutes. This firms up the butter and makes the dough easier to handle. It also prevents the cookies from spreading too much in the oven. If you’re in a hurry, you can skip this step, but your cookies will be a little flatter.
- Make the Coating: In a small bowl, mix together the 2 tablespoons of sugar and 1 teaspoon of cinnamon for the coating. Set aside.
- Shape and Coat: Using a 1.5-tablespoon cookie scoop or a spoon, portion the dough into 8 equal balls. Roll each ball between your palms until smooth, then roll it in the cinnamon sugar mixture until completely coated. Place the coated dough balls on the prepared baking sheet, spacing them about 2 inches apart. They will spread, so give them room!
- Bake: Bake for 10-12 minutes, or until the edges are set and the tops look slightly cracked and puffy. The centers will still look soft—that’s fine. They’ll continue to set as they cool. For softer, chewier cookies, bake for 10 minutes. For slightly crisper edges, go for 12.
- Cool: Let the cookies cool on the baking sheet for 5 minutes. This is crucial—they’re very fragile when they come out of the oven. After 5 minutes, transfer them to a cooling rack to cool completely. Or, you know, eat one warm. I won’t tell.
Cooking Tips & Techniques
I’ve made these cookies enough times to know exactly where things can go wrong. Here are my best tips for perfect results every time:
- Don’t Overmix the Dough: I cannot stress this enough. Mix until the flour disappears, then stop. Overmixing develops gluten, and gluten makes cookies tough. You want tender, soft cookies, not little hockey pucks.
- Measure Your Flour Correctly: Scooping flour directly from the bag packs it down, and you’ll end up with way too much. Instead, spoon the flour into your measuring cup, then level it off with a knife. This is the number one reason cookies turn out dry.
- Use Room Temperature Ingredients: Cold butter won’t cream properly, and cold egg yolk won’t incorporate smoothly. Let your butter and egg sit out for 30 minutes before you start. Your cookies will thank you.
- Watch the Bake Time: Every oven runs a little differently. My oven runs hot, so I start checking at 9 minutes. Look for set edges and puffy, slightly cracked tops. The centers should look soft but not wet. If you’re unsure, err on the side of underbaking—you can always bake them a minute longer, but you can’t unbake them!
- Chill if You Have Time: I know it’s tempting to skip the chilling step, but it really does make a difference. Chilled dough spreads less, resulting in thicker, chewier cookies. It also makes the dough less sticky and easier to roll. If you’re short on time, 10 minutes in the freezer works too.
- My Biggest Failure: The first time I made these, I forgot the cream of tartar. I thought, “How important can it be?” Very important, apparently. The cookies spread into flat, sad little discs with no tang. Don’t be like me. Don’t skip the cream of tartar.
Variations & Adaptations
One of the best things about this recipe is how easy it is to tweak. Here are a few ways to make it your own:
- Gluten-Free Version: Substitute the all-purpose flour with a 1:1 gluten-free baking flour blend. I’ve used Bob’s Red Mill and King Arthur Measure for Measure, and both worked well. The texture will be slightly more tender, but still delicious. Add an extra tablespoon of flour if the dough feels too sticky.
- Vegan Option: Use vegan butter (I like Miyoko’s) and replace the egg yolk with 1 tablespoon of aquafaba (the liquid from a can of chickpeas) or a flax egg (1 tablespoon ground flaxseed mixed with 2.5 tablespoons water, let sit for 5 minutes). The cookies will be a little less rich, but still tasty.
- Spice It Up: Add a pinch of cardamom or ginger to the dough for an extra layer of warmth. I sometimes add a tiny pinch of black pepper—sounds weird, but it really makes the pumpkin flavor pop.
- Add Some Texture: Fold in ¼ cup of chopped pecans or walnuts before chilling the dough. The crunch is a nice contrast to the soft cookie. White chocolate chips are also amazing here—about ¼ cup will do.
- Make Them Sandwich Cookies: Once the cookies are cool, spread a little cream cheese frosting or maple buttercream on the flat side of one cookie and top with another. It’s a whole new dessert!
- Pumpkin Spice Latte Version: Add 1 teaspoon of instant espresso powder to the dry ingredients. It deepens the flavor and gives the cookies a subtle coffee kick. Perfect for dipping in your morning latte.
Serving & Storage Suggestions
These cookies are best enjoyed warm, fresh from the oven, with a tall glass of cold milk or a cozy mug of chai tea. But let’s be real—they’re pretty amazing at room temperature too.
How to Serve: I like to serve these on a small plate with a dusting of extra cinnamon sugar. They’re perfect for an afternoon snack, a dessert after a light dinner, or even a special breakfast treat (no judgment here). If you’re feeling fancy, pair them with a scoop of vanilla ice cream or a dollop of whipped cream.
Storage: Store leftover cookies in an airtight container at room temperature for up to 3 days. Place a slice of bread in the container to keep them soft—the cookies will absorb the moisture from the bread. Just replace the bread slice if it gets stale.
Freezing: These cookies freeze beautifully. You can freeze the baked cookies for up to 2 months. Wrap them individually in plastic wrap, then place them in a freezer-safe bag. To thaw, just leave them at room temperature for about 30 minutes. Or, you can freeze the unbaked dough balls! Roll them in the cinnamon sugar, place them on a baking sheet, and freeze until solid. Then transfer to a freezer bag. When you’re ready to bake, just pop them on a lined baking sheet and add 2-3 minutes to the bake time. No thawing necessary.
Flavor Development: Honestly, these cookies taste even better the next day. The spices have time to meld, and the texture softens into something almost fudge-like. If you can resist eating them all on day one, you’re in for a treat on day two.
Nutritional Information & Benefits
Let’s be clear—these are cookies, not health food. But they do have a few redeeming qualities! Here’s the approximate nutritional breakdown for one cookie (based on 8 cookies):
- Calories: ~145
- Fat: 7g
- Carbohydrates: 20g
- Protein: 2g
- Fiber: 1g
- Sugar: 12g
The Good Stuff: The pumpkin puree adds a dose of Vitamin A and fiber, which is more than most cookies can say. The cinnamon has anti-inflammatory properties, and the smaller batch size means you’re less likely to overindulge. It’s all about balance, right?
Dietary Considerations: These cookies are vegetarian. They can be made gluten-free and vegan with the substitutions listed above. They contain dairy (butter), eggs, and gluten in their standard form. If you have allergies, please adjust accordingly.
My Personal Take: I’m a firm believer that food should be enjoyed, not feared. These cookies are a treat, and that’s okay. The small batch size helps me enjoy them without feeling like I have to eat my way through a mountain of cookies. It’s mindful indulgence, and I’m here for it.
Conclusion
So there you have it—my Cozy Small-Batch Pumpkin Snickerdoodle Cookies. They’re soft, they’re spiced, and they’re just the right amount of sweet. They’re the cookie I turn to when I want a little taste of fall without the fuss of a full batch. They’re for lazy Sunday afternoons, for quiet Tuesday nights, for those moments when you just need something warm and good.
I really hope you give these a try. Don’t be afraid to make them your own—add some nuts, swap the spices, or just follow the recipe exactly. The beauty of a small batch is that there’s no pressure. If they disappear in one sitting, well, that’s just a sign of success.
I’d love to hear how they turn out for you! Drop a comment below and let me know if you made any fun variations. And if you’re looking for more cozy fall treats, you might enjoy my Cozy Small-Batch Pumpkin Cheesecake for Two or my Brown Butter Pumpkin Pie Bars with Pecan Crust. Happy baking, friends!
Frequently Asked Questions
Can I use pumpkin pie filling instead of pumpkin puree?
No, please don’t! Pumpkin pie filling is pre-sweetened and spiced, which will throw off the balance of this recipe. You’ll end up with overly sweet, overly spiced cookies that might not hold their shape. Stick with 100% pure pumpkin puree.
Why do I need cream of tartar? Can I skip it?
Cream of tartar is what gives snickerdoodles their signature tangy flavor and chewy texture. It also helps stabilize the cookies so they don’t spread too thin. You can substitute with 1 teaspoon of lemon juice or white vinegar, but the texture will be slightly different. I really don’t recommend skipping it entirely.
My dough is really sticky. What did I do wrong?
Don’t worry, that’s normal! Pumpkin adds extra moisture, so the dough will be softer and stickier than a regular snickerdoodle dough. Chilling it for 15-20 minutes will make it much easier to handle. If it’s still too sticky after chilling, add a tablespoon of flour at a time until it’s manageable.
Can I double this recipe?
Absolutely! This recipe scales up beautifully. Just double all the ingredients and bake in batches. You might need to add a minute or two to the bake time for a full batch. And if you’re making a bigger batch, you might want to check out my Browned Butter Banana Bread for another small-ish batch option.
How do I know when the cookies are done?
Look for set edges and puffy, slightly cracked tops. The centers should look soft but not wet or shiny. They’ll continue to bake on the hot baking sheet after you take them out of the oven, so it’s better to underbake slightly than overbake. When in doubt, pull them out a minute early!
Pin This Recipe!
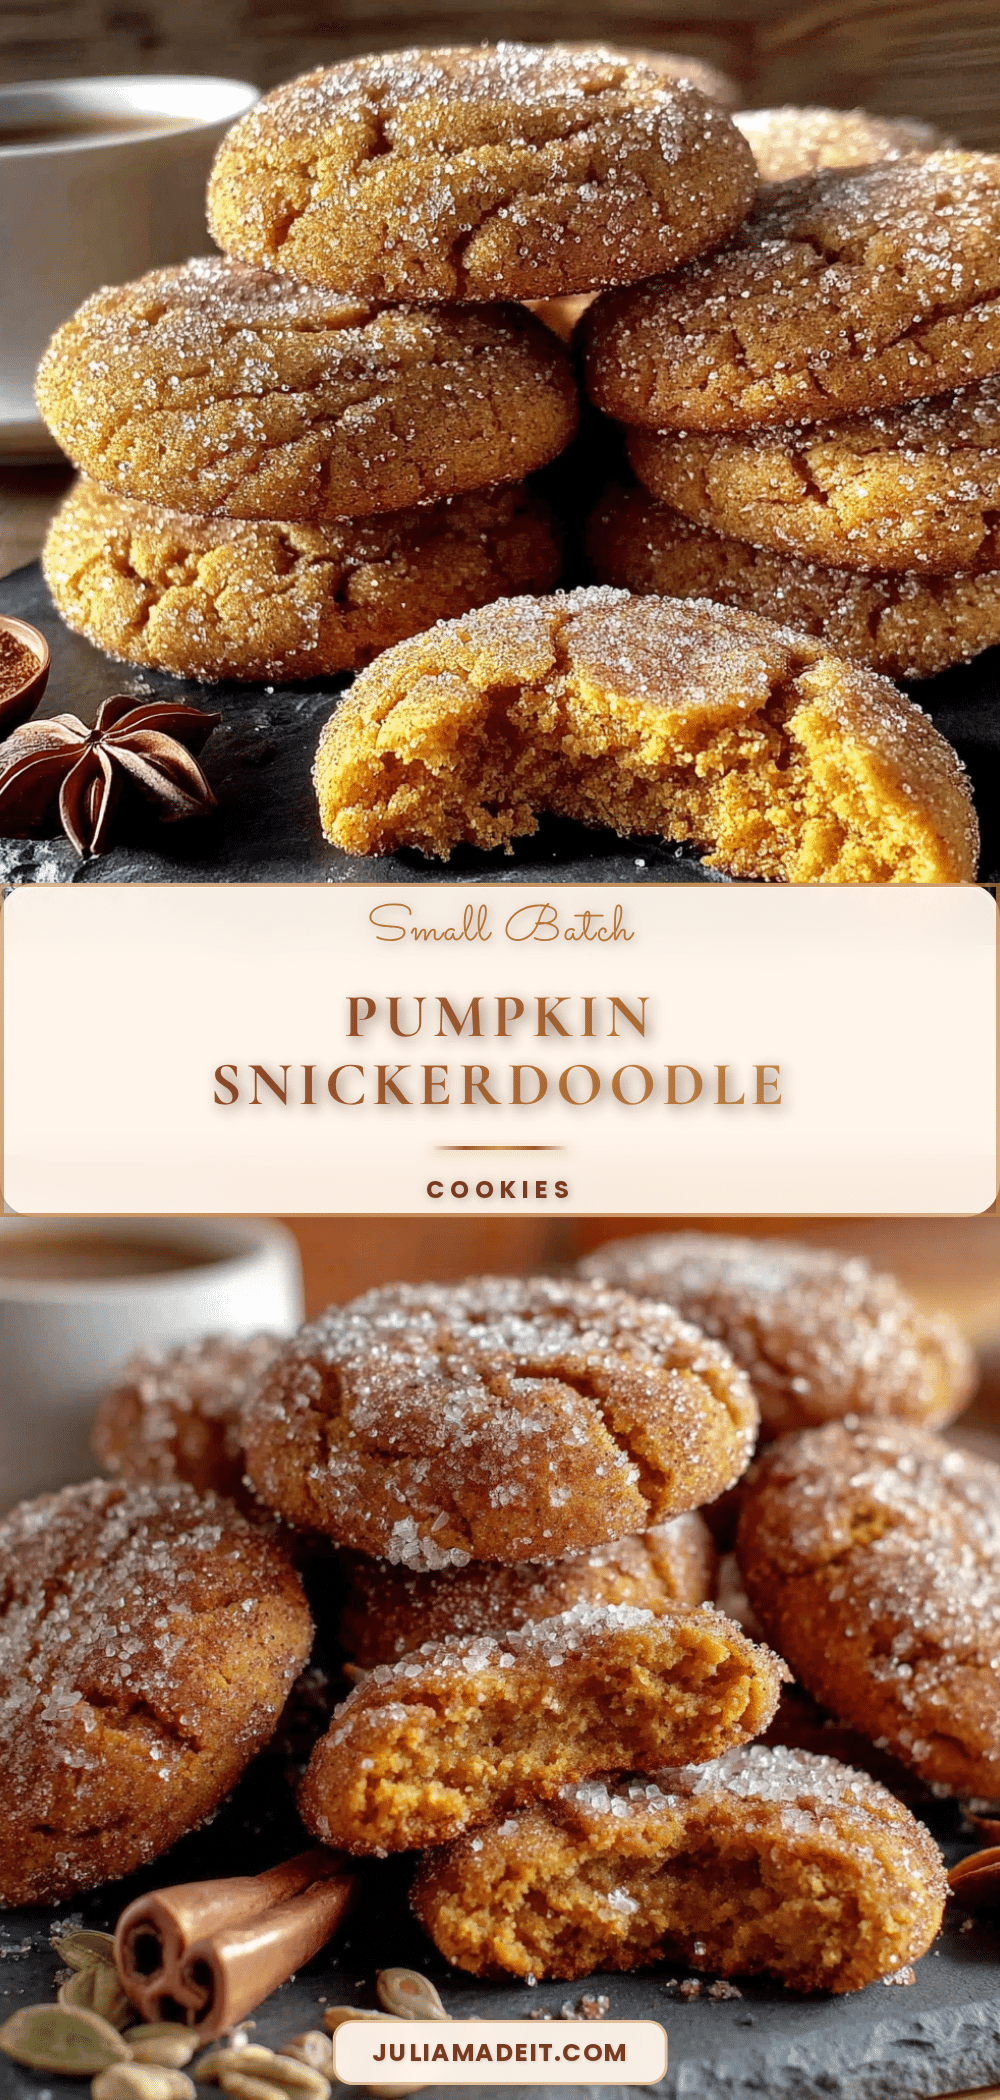
Cozy Small-Batch Pumpkin Snickerdoodle Cookies
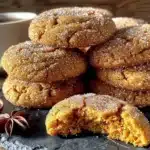
Soft, chewy snickerdoodle cookies with a gentle pumpkin warmth, made in a small batch of 8. Perfect for a cozy night in with a mug of tea or milk.
- Prep Time: 15 minutes
- Cook Time: 12 minutes
- Total Time: 27 minutes
- Yield: 8 cookies 1x
- Category: Dessert
- Cuisine: American
Ingredients
- 4 tablespoons unsalted butter, softened
- ⅓ cup granulated sugar (plus 2 tablespoons for coating)
- 3 tablespoons pumpkin puree (not pumpkin pie filling)
- 1 large egg yolk
- ½ teaspoon vanilla extract
- ¾ cup all-purpose flour (spooned and leveled, about 94g)
- ½ teaspoon cream of tartar
- ¼ teaspoon baking soda
- ¼ teaspoon pumpkin pie spice
- ¼ teaspoon cinnamon (for dough)
- ¼ teaspoon salt (fine sea salt)
- 2 tablespoons granulated sugar (for coating)
- 1 teaspoon cinnamon (for coating)
Instructions
- Preheat oven to 350°F (175°C). Line a baking sheet with parchment paper.
- In a medium bowl, beat softened butter and ⅓ cup granulated sugar together until light and fluffy, about 2 minutes with a wooden spoon or 1 minute with a hand mixer.
- Mix in pumpkin puree, egg yolk, and vanilla extract until combined. The mixture may look curdled; that’s normal.
- In a separate small bowl, whisk together flour, cream of tartar, baking soda, pumpkin pie spice, ¼ teaspoon cinnamon, and salt.
- Gradually add dry ingredients to wet mixture, stirring until just combined. Do not overmix. Dough will be soft and slightly sticky.
- Optional but recommended: Chill dough in the fridge for 15-20 minutes to firm up.
- In a small bowl, mix 2 tablespoons sugar and 1 teaspoon cinnamon for the coating.
- Using a 1.5-tablespoon cookie scoop or spoon, portion dough into 8 equal balls. Roll each ball smooth, then coat in cinnamon sugar mixture.
- Place coated dough balls on prepared baking sheet, spacing 2 inches apart.
- Bake for 10-12 minutes, until edges are set and tops look slightly cracked and puffy. Centers will still look soft.
- Let cookies cool on baking sheet for 5 minutes, then transfer to a cooling rack to cool completely.
Notes
For best results, use room temperature ingredients. Don’t skip the cream of tartar—it gives the signature tang and prevents spreading. Chill dough if possible for thicker cookies. Store in an airtight container at room temperature for up to 3 days; place a slice of bread in the container to keep them soft. Freeze baked cookies for up to 2 months or unbaked dough balls for up to 2 months (add 2-3 minutes to bake time).
Nutrition
- Serving Size: 1 cookie
- Calories: 145
- Sugar: 12
- Sodium: 95
- Fat: 7
- Saturated Fat: 4
- Carbohydrates: 20
- Fiber: 1
- Protein: 2
Keywords: pumpkin snickerdoodle, small batch cookies, fall cookies, pumpkin cookies, snickerdoodle recipe, easy pumpkin cookies