The bag of apples in my fridge was starting to look a little sad. You know the ones—a mix of whatever was left from the farmers market run last week, a few Honeycrisps, some Granny Smiths that were getting mealy, and a lone Fuji that had seen better days. I had about ten pounds of apples that were all going soft at different rates, and I couldn’t bring myself to toss them. So I grabbed a bottle of cinnamon sticks I’d been hoarding since last fall, hauled out the crockpot, and figured I’d let the appliance do the heavy lifting.
Honestly, I wasn’t expecting much. I figured I’d get something edible, maybe a little watery, probably too sweet. But what came out of that slow cooker a few hours later was genuinely shocking—like, stop-and-stare-at-the-pot shocking. The whole house smelled like autumn had moved in permanently. The apples had broken down into this velvety, naturally sweet sauce that didn’t need a drop of refined sugar. And the cinnamon sticks? They infused everything with this warm, spicy depth that you just can’t get from ground cinnamon.
I’ve made applesauce a dozen different ways since then, but this crockpot version is the one I keep coming back to. It’s the kind of recipe that makes you feel like you actually know what you’re doing in the kitchen, even when you’re just throwing apples in a pot and walking away. It stuck with me because it taught me something simple but true: the best recipes aren’t the complicated ones. They’re the ones that let the ingredients do the work while you get on with your day.
Why You’ll Love This Recipe
Let me tell you why this homemade crockpot applesauce with cinnamon sticks has earned a permanent spot in my kitchen rotation. I’ve tested this recipe at least seven times now—with different apple varieties, different cooking times, different levels of sweetness—and every single batch disappeared faster than I expected.
- Set It and Forget It : This isn’t one of those recipes that requires constant stirring or babysitting. You prep the apples, toss everything in the crockpot, and walk away for 4-6 hours. It’s practically magic for busy weekdays or lazy weekends.
- No Added Sugar Needed : When you use naturally sweet apples like Fuji, Gala, or Honeycrisp, you genuinely don’t need to add any sugar. The cinnamon sticks bring out the natural sweetness, and the slow cooking concentrates the apple flavor beautifully.
- Perfect for Fall Baking and Beyond : This applesauce isn’t just for eating straight from the jar (though you absolutely will do that). It’s incredible in my banana bread as a substitute for oil, or swirled into a batch of brown butter apple crisp for extra moisture.
- Crowd-Pleaser : I brought a jar to a family gathering last month, and my aunt—who claims she “doesn’t like applesauce”—ate half of it with a spoon before dinner was served.
- Unbelievably Easy : There’s something deeply satisfying about making something from scratch that tastes this good with minimal effort. It’s comfort food that practically makes itself.
What makes this recipe different from every other applesauce out there is the technique. Most recipes have you peel and core every single apple, which is tedious and wasteful. I leave the peels on. The slow cooking breaks down the skins completely, and you can either blend them in for extra fiber and color, or strain them out easily. Plus, the cinnamon sticks infuse the sauce with a warmth that ground cinnamon just can’t match—it’s deeper, more aromatic, and somehow tastes like it’s been simmering all day (because it has).
This is the kind of recipe that makes you close your eyes after the first bite. It’s simple, it’s honest, and it tastes like the best parts of fall.
What Ingredients You Will Need
This recipe uses simple, wholesome ingredients to deliver bold apple flavor and that signature cinnamon warmth without any fuss. Most of these are probably already in your kitchen.
- Apples (about 5-6 pounds, or roughly 10-12 medium apples): This is the star of the show. I recommend using a mix of sweet and tart varieties for the best flavor. My go-to combination is 3 pounds of Honeycrisp or Fuji (for natural sweetness) and 2 pounds of Granny Smith (for that bright, tangy balance). You can use any apples you have on hand, but avoid Red Delicious—they get mealy and don’t break down well.
- Cinnamon sticks (3-4 whole sticks): Don’t skip these. Whole cinnamon sticks infuse the applesauce with a gentle, aromatic warmth that ground cinnamon just can’t replicate. I prefer Ceylon cinnamon sticks for their milder, more complex flavor, but Cassia sticks work beautifully too. Break them in half before adding to the pot so the flavor releases more easily.
- Water (½ cup): Just enough to get the cooking process started. The apples release their own juices as they cook, so you don’t need much liquid. You can substitute apple cider for even more apple flavor.
- Fresh lemon juice (1 tablespoon): This isn’t just for brightness—it helps preserve the color of the apples and balances the sweetness. Fresh is best, but bottled works in a pinch.
- Pure vanilla extract (1 teaspoon, optional): I add this about 30 minutes before the applesauce is done. It rounds out the flavors and adds a subtle warmth that pairs beautifully with the cinnamon.
- Optional sweeteners: If your apples are on the tart side, you can add 2-3 tablespoons of maple syrup, honey, or brown sugar. I rarely need it, but taste your apples first and decide.
- Pinch of salt (¼ teaspoon): Don’t skip this. Salt doesn’t make it salty—it makes the apples taste more like apples. Trust me on this one.
Ingredient selection tips: Look for apples that are firm and free of bruises. If you’re using organic apples, you can leave the peels on for extra fiber and a rosier color. If not, you might want to peel them—but honestly, I don’t bother. The peels break down completely during the long cooking time and add beautiful color and nutrients. For the best texture, avoid apples that are already soft or mealy—they’ll turn into mush before they have a chance to develop any structure.
Substitution guidance: No cinnamon sticks? Use 2 teaspoons of ground cinnamon, but add it in the last 30 minutes of cooking to prevent bitterness. Want a different spice profile? Try a star anise pod, a vanilla bean, or a strip of orange peel. For a sugar-free version, skip the optional sweeteners entirely—the apples provide plenty of natural sweetness if you choose the right varieties.
Equipment Needed
You don’t need a lot of fancy gear for this recipe, which is part of why I love it so much.
- Crockpot or slow cooker (5-6 quart): Any size will work, but a 5-6 quart is ideal for a full batch. I’ve used my trusty 6-quart Crockpot for years, and it handles 6 pounds of apples without any issues.
- Vegetable peeler (optional): You might not even need this if you leave the peels on. I only use mine if the apples look waxed or have thick skins.
- Apple corer or a sharp knife: An apple corer makes quick work of removing the cores, but a good paring knife works just as well. I use a serrated apple corer that also slices—it’s a game-changer for large batches.
- Immersion blender or potato masher: For the final texture. An immersion blender gives you silky-smooth applesauce in seconds, while a potato masher leaves it chunky and rustic. I prefer the immersion blender for a uniform texture, but both work great.
- Fine-mesh strainer (optional): If you left the peels on and want to remove them, a strainer makes it easy. You can also use a food mill for this purpose.
- Mason jars or airtight containers: For storage. I use a mix of 16-ounce and 8-ounce jars so I can grab a small portion when I need it.
Budget-friendly tip: If you don’t have an immersion blender, let the applesauce cool slightly, then transfer it to a regular blender or food processor in batches. Just be careful with the hot liquid—don’t fill the blender more than halfway, and hold the lid down with a towel while blending.
Preparation Method
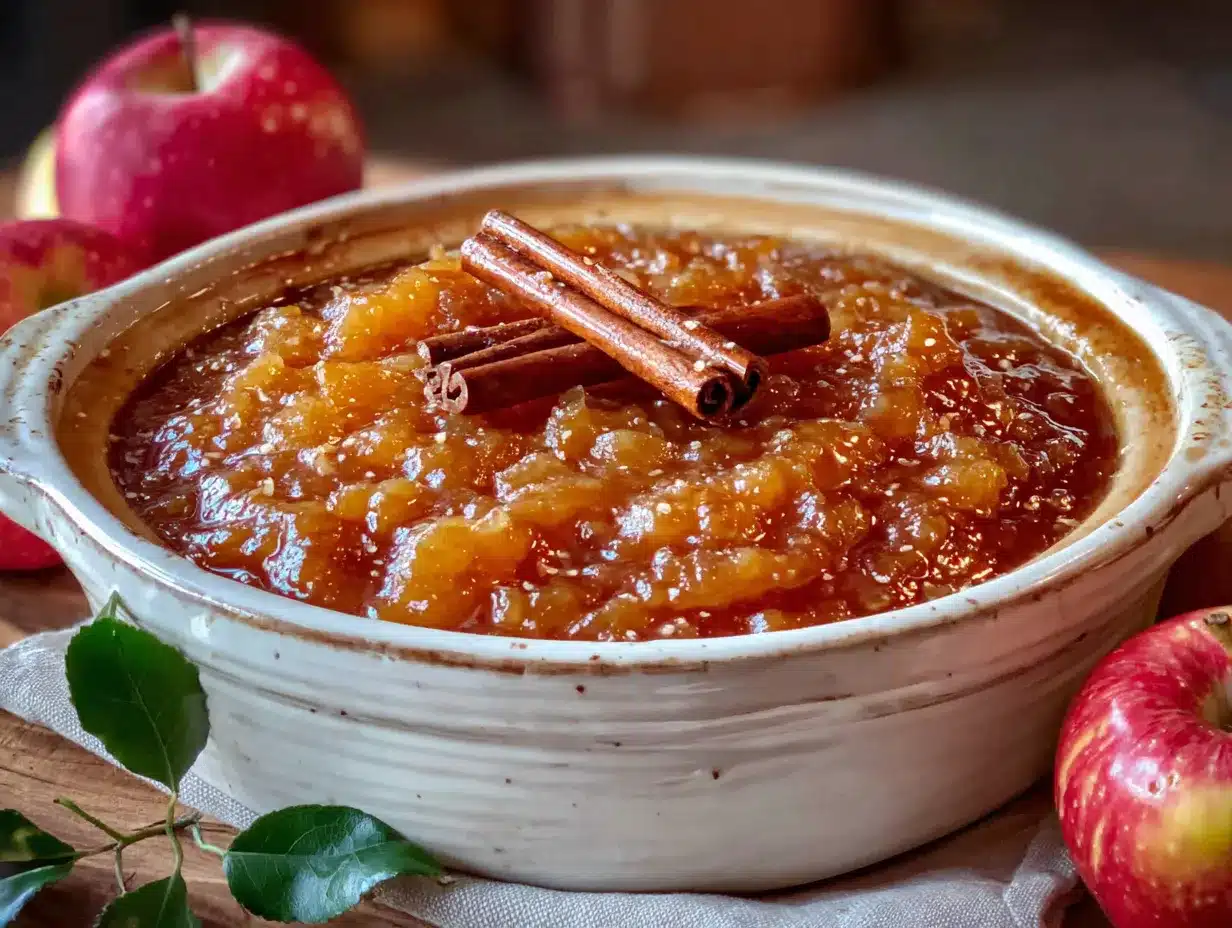
This is where the magic happens. Follow these steps, and you’ll have the best homemade applesauce of your life—I promise.
- Wash and prep the apples (10 minutes): Give your apples a good rinse under cold water to remove any dirt or wax. If you’re using organic apples and leaving the peels on, scrub them gently with a vegetable brush. Cut each apple into quarters, removing the stem and the blossom end. You don’t need to be precise—just make sure the pieces are roughly the same size so they cook evenly. If you have an apple corer, use it to remove the cores quickly. Otherwise, cut around the core with a knife. Don’t worry about getting every last seed; they’ll float to the top and you can scoop them out later.
- Layer the apples in the crockpot (5 minutes): Place the apple quarters in your crockpot. Don’t pile them too high—they’ll shrink down as they cook, but you want them to fit comfortably. Add the cinnamon sticks, broken in half, tucking them down into the apples so they’re surrounded by fruit. Sprinkle the lemon juice and the pinch of salt over the top, then pour in the ½ cup of water. Give everything a gentle stir to distribute the flavors.
- Cook on low for 6-8 hours (or high for 3-4 hours): This is the “set it and forget it” part. Cover the crockpot and cook on low for the best flavor development. After about 4 hours on low, give the apples a stir. They should be softening and releasing their juices. At the 6-hour mark, the apples should be falling apart when you poke them with a fork. If they’re still holding their shape, give them another hour. On high, start checking at 3 hours. The apples will be tender and fragrant when they’re ready.
- Add the vanilla (30 minutes before done): When the apples are nearly falling apart, stir in the vanilla extract if you’re using it. This gives the flavor time to meld without cooking off completely. If you’re adding any sweetener like maple syrup or honey, stir it in now too.
- Blend to desired consistency (5 minutes): Turn off the crockpot and let the applesauce cool for about 10 minutes. Remove the cinnamon sticks—they’ve done their job. Now decide on your texture. For smooth applesauce, use an immersion blender directly in the crockpot and blend until silky. For chunky applesauce, use a potato masher and mash to your liking. I usually blend about three-quarters of the batch and leave the rest chunky for a nice texture contrast.
- Strain if needed (5 minutes, optional): If you left the peels on and want a smoother texture, press the applesauce through a fine-mesh strainer or food mill. This removes the skins and any remaining seeds. I honestly skip this step most of the time—the peels are barely noticeable and add beautiful color and fiber. But if you’re serving this to picky eaters or want a perfectly smooth result, go ahead and strain it.
- Taste and adjust (2 minutes): Give your applesauce a taste. Is it sweet enough? If not, add a tablespoon of maple syrup or honey at a time. Does it need more cinnamon? You can stir in a pinch of ground cinnamon if the stick flavor isn’t strong enough. Remember that flavors will continue to develop as the sauce cools, so don’t over-correct while it’s still hot.
- Cool and store (30 minutes to cool, then refrigerate): Let the applesauce cool to room temperature before transferring it to storage containers. I use a wide-mouth funnel to fill mason jars without making a mess. Leave about ½ inch of headspace at the top. Refrigerate for up to 2 weeks, or freeze for up to 6 months.
Pro tip for texture perfection: If you want the most velvety applesauce you’ve ever had, let the cooked apples cool completely before blending. Cold apples break down more evenly and create a smoother emulsion. It’s a little trick I picked up from making fruit purees for baking, and it works like a charm.
Cooking Tips & Techniques
I’ve made this recipe enough times to learn a few things the hard way. Here’s what I wish someone had told me before my first batch.
Don’t rush the cooking time. I know it’s tempting to crank the heat to high and get it done in 3 hours, but low and slow really does make a difference here. The longer cooking time allows the apples to break down completely and the cinnamon to infuse deeply. My first batch was on high for 4 hours, and while it was fine, it lacked that deep, caramelized flavor that comes from a full 8-hour slow cook. The difference is subtle but real—like the difference between a quick simmer and a long braise.
Watch the liquid level. Apples release a surprising amount of water as they cook. If your applesauce looks too thin after blending, don’t panic. Let it cool completely—it will thicken significantly as it sits. If it’s still too thin after cooling, you can simmer it on the stovetop for 15-20 minutes to reduce the liquid. I’ve only had to do this once, and it was because I added too much water at the start.
Taste your apples first. This sounds obvious, but I’ve made the mistake of assuming all apples are created equal. Some batches will be naturally sweet and need no added sugar. Others will be tart and benefit from a drizzle of maple syrup. Taste one of your raw apples before you start cooking, and adjust your expectations accordingly. If your apples are bland, your applesauce will be bland—there’s no way around it.
The cinnamon stick trick. Break your cinnamon sticks in half before adding them to the pot. This exposes more surface area and allows the flavor to infuse more effectively. I also like to toast the cinnamon sticks in a dry skillet for 30 seconds before adding them—it wakes up the essential oils and makes the flavor more intense. Just watch them carefully; they burn quickly.
My biggest failure: I once tried to make a double batch in a too-small crockpot. The apples were piled so high that the ones on top barely cooked while the ones on the bottom turned to mush. If your crockpot is packed to the brim, the heat can’t circulate properly. Stick to a single layer of apples if possible, or use a larger pot. Trust me, it’s worth the wait to do it in batches.
Variations & Adaptations
This recipe is incredibly forgiving, which is one of the things I love about it. Here are some ways to make it your own.
Spiced Apple Variation: Add 1 whole star anise, 2 whole cloves, and a strip of orange peel along with the cinnamon sticks. This creates a warm, complex spice profile that’s incredible for holiday baking or serving alongside roasted pork. Just remember to remove the whole spices before blending—nobody wants to bite into a clove.
Berry-Apple Fusion: Toss in 1 cup of fresh or frozen cranberries, raspberries, or blueberries during the last hour of cooking. The berries burst and create beautiful pockets of color and tartness throughout the applesauce. This is especially good with tart Granny Smith apples—the sweetness of the apples balances the berries’ acidity perfectly.
Slow Cooker vs. Instant Pot: If you’re short on time, you can make this in an Instant Pot. Pressure cook the apples with the cinnamon sticks and water on high for 8 minutes, then let the pressure release naturally for 10 minutes. The texture will be slightly different—a bit more uniform and less caramelized—but it’s still delicious. I actually prefer the slow cooker version for the deeper flavor, but the Instant Pot is great for last-minute cravings.
Dietary Adaptations: This recipe is naturally vegan, gluten-free, dairy-free, and refined sugar-free if you skip the optional sweeteners. For a low-FODMAP version, use only apples that are low in fructose (like Granny Smith) and skip the honey—use maple syrup instead if you need sweetness.
Personal favorite variation: I once added a tablespoon of bourbon and a vanilla bean (split and scraped) along with the cinnamon sticks. It was meant for an adult-only Thanksgiving dessert sauce, but I ended up eating half of it straight from the jar. The bourbon adds a warm, oaky note that’s incredible with the cinnamon. Just make sure to cook it long enough for the alcohol to cook off if kids will be eating it.
Serving & Storage Suggestions
This applesauce is versatile enough to show up at breakfast, lunch, dinner, and dessert. Here’s how I use it.
Serving temperature: This applesauce is fantastic warm, at room temperature, or cold straight from the fridge. Warm applesauce is incredibly comforting on a cold day—just microwave a portion for 30 seconds and stir. Cold applesauce is refreshing and perfect for packing in lunchboxes.
Breakfast ideas: Swirl it into a bowl of peanut butter banana overnight oats for a fruity twist, spoon it over pancakes or waffles instead of syrup, or stir it into plain yogurt with a sprinkle of granola. It’s also incredible on top of a warm bowl of oatmeal with a drizzle of maple syrup.
Dinner pairings: This applesauce is a classic side for pork chops, roasted chicken, or sausages. The sweetness and spice cut through rich, savory flavors beautifully. I’ve also used it as a topping for roasted sweet potatoes and as a glaze for baked ham. Try it alongside my crockpot honey garlic chicken thighs for a sweet-savory dinner that comes together with almost no effort.
Baking substitute: Use this applesauce as a substitute for oil or butter in baking recipes. Replace half the oil or butter with an equal amount of applesauce for moister, lower-fat baked goods. It works beautifully in muffins, quick breads, and even some cake recipes.
Storage instructions: Transfer cooled applesauce to airtight containers and refrigerate for up to 2 weeks. For longer storage, freeze in freezer-safe containers or zip-top bags for up to 6 months. Leave about ½ inch of headspace in containers because the applesauce expands as it freezes. To thaw, move a container to the refrigerator overnight or run the sealed container under warm water for quick defrosting.
How flavors develop: Here’s something interesting—this applesauce actually tastes better on day two. The cinnamon flavor continues to deepen, and the texture sets up beautifully after a night in the fridge. If you can resist eating it all on day one, you’ll be rewarded with an even more flavorful batch the next day.
Nutritional Information & Benefits
This homemade crockpot applesauce is not just delicious—it’s genuinely good for you. Here’s what you’re getting in a ½-cup serving (made without added sugar):
- Calories: Approximately 90-110
- Carbohydrates: 24-28g (from natural fruit sugars)
- Fiber: 4-5g (with peels on)
- Vitamin C: 8-10% of the Daily Value
- Potassium: 200-250mg
Health benefits: Apples are packed with soluble fiber called pectin, which helps support healthy digestion and can help lower cholesterol. The peels (if you leave them on) contain quercetin, a powerful antioxidant that supports immune health. Cinnamon has been shown to help regulate blood sugar levels and has anti-inflammatory properties. Plus, since there’s no added sugar in the base recipe, you’re getting all the sweetness from the fruit itself.
Dietary considerations: This recipe is naturally gluten-free, dairy-free, vegan, and nut-free. It’s also low in fat and contains no refined sugar. If you’re watching your sugar intake, choose tart apples like Granny Smith and skip any optional sweeteners. The pectin in apples also makes this a good option for anyone looking to support gut health.
Personal wellness perspective: I love that this recipe lets me enjoy something sweet and satisfying without any guilt. It’s become my go-to snack when I’m craving something dessert-like but want to stick to whole foods. Plus, knowing exactly what’s in it—just apples, cinnamon, and a splash of lemon juice—gives me peace of mind that I’m feeding my family something wholesome.
Conclusion
This homemade crockpot applesauce with cinnamon sticks is one of those recipes that proves you don’t need complicated techniques or exotic ingredients to make something truly special. It’s simple, it’s forgiving, and it tastes like the best parts of fall in every single bite. Whether you’re looking for a healthy snack, a baking staple, or a thoughtful homemade gift, this applesauce delivers every time.
I love this recipe because it reminds me that the best things in life are often the simplest. There’s something deeply satisfying about transforming a bag of imperfect apples into something this beautiful with almost no effort. It’s the kind of recipe that makes you feel like a kitchen wizard, even when all you did was throw apples in a pot and walk away.
Now I want to hear from you. Did you make this applesauce? Did you try any fun variations? Leave a comment below and let me know how it turned out—I read every single one, and I love seeing what you come up with. And if you loved this recipe, share it with a friend who needs a little more homemade goodness in their life. Happy cooking!
Frequently Asked Questions
Can I use ground cinnamon instead of cinnamon sticks?
Absolutely. Use 2 teaspoons of ground cinnamon, but add it during the last 30 minutes of cooking. If you add it too early, it can turn slightly bitter. The flavor won’t be quite as deep as with whole sticks, but it’s still delicious.
Do I have to peel the apples?
Nope! I rarely peel mine. The skins break down during the long cooking time and add beautiful color, extra fiber, and nutrients. If you want a perfectly smooth applesauce, you can strain it after cooking, but honestly, you probably won’t notice the peels at all.
How do I make this applesauce less watery?
Start with less water—just ¼ cup instead of ½ cup. Also, let the applesauce cool completely before judging the consistency. It thickens significantly as it cools. If it’s still too thin, transfer it to a saucepan and simmer on the stovetop for 15-20 minutes to reduce the liquid.
Can I can this applesauce for long-term storage?
Yes, but you’ll need to follow proper water bath canning procedures. Process pint jars for 15 minutes (adjust for altitude). The acidity from the apples and lemon juice makes it safe for water bath canning. Just be sure to use fresh lemon juice, not bottled, for accurate acidity levels.
What’s the best apple combination for applesauce?
I love a mix of 60% sweet apples (like Fuji, Honeycrisp, or Gala) and 40% tart apples (like Granny Smith or Pink Lady). This gives you natural sweetness with a bright, balanced flavor. Avoid Red Delicious—they get mealy and don’t break down well.
Pin This Recipe!
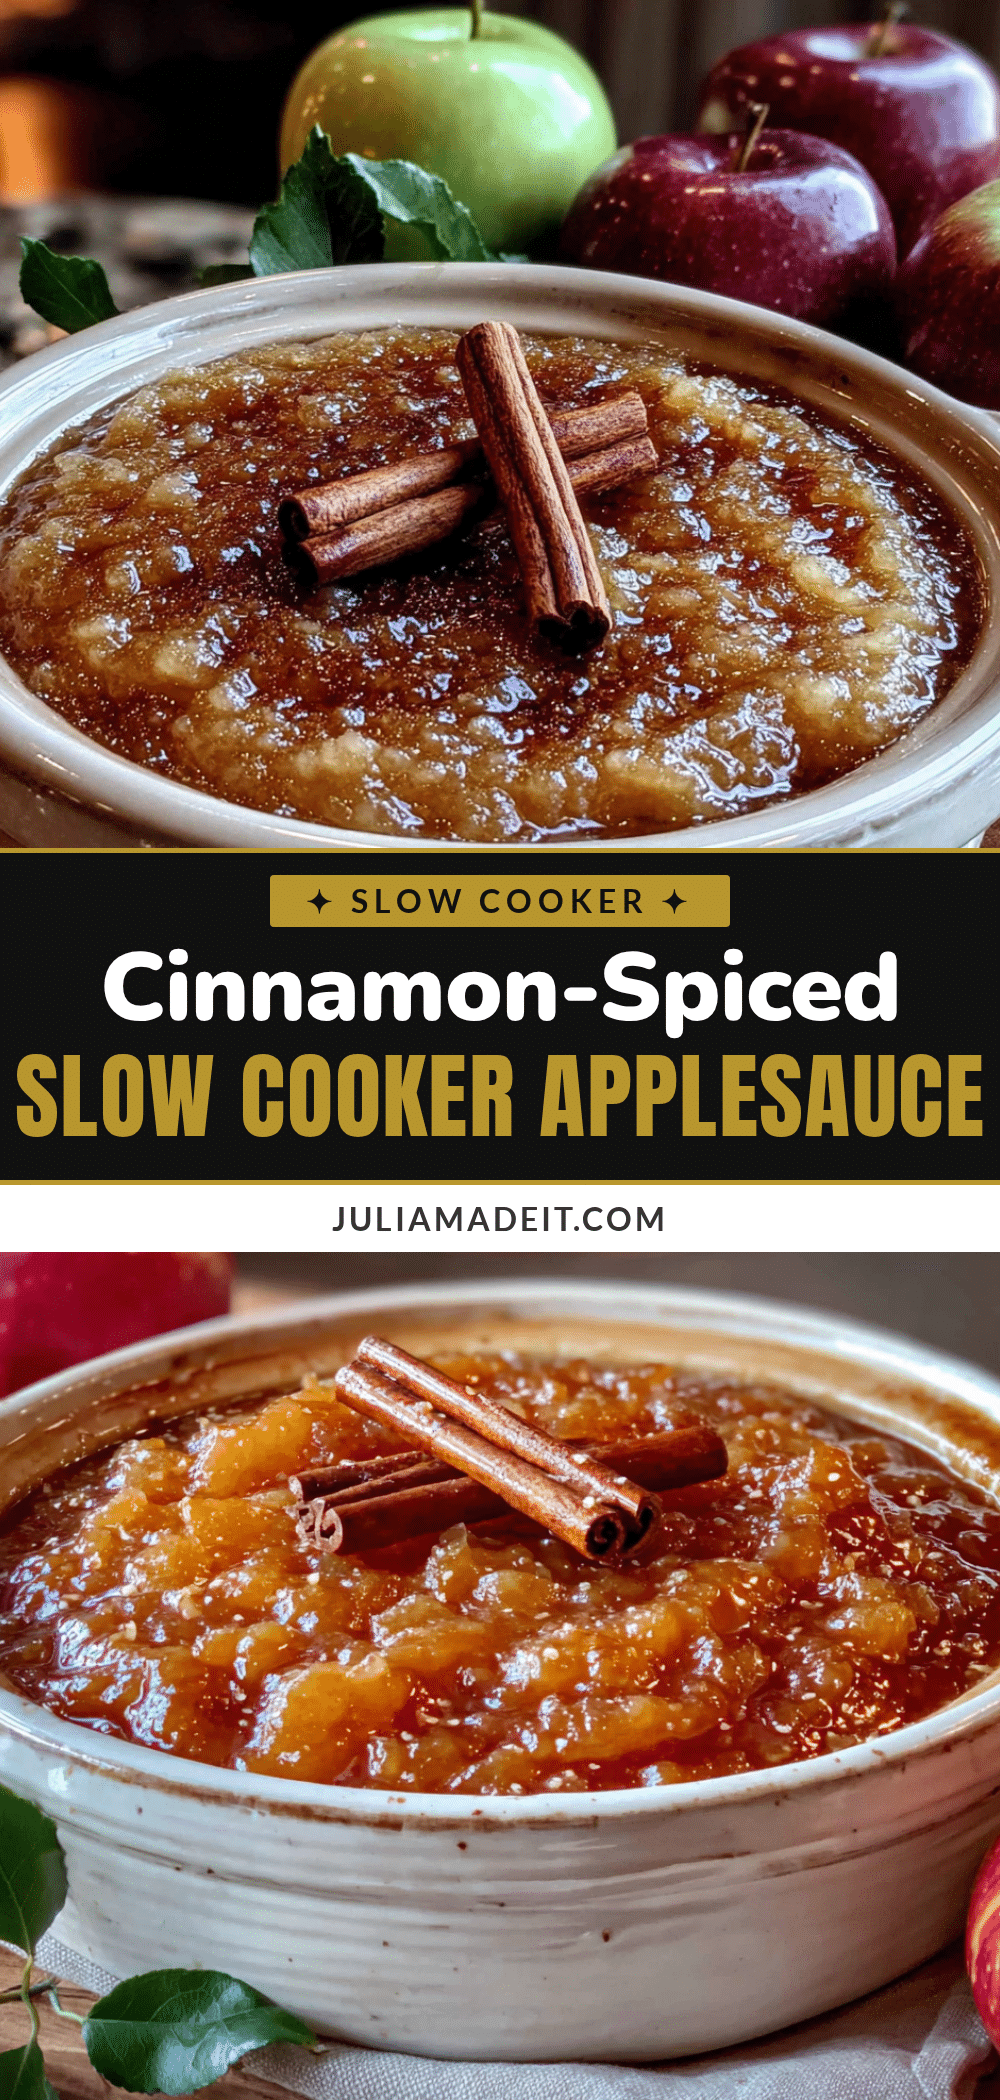
Best Easy Homemade Crockpot Applesauce with Cinnamon

This homemade crockpot applesauce with cinnamon sticks is incredibly easy to make, requires no added sugar, and fills your home with the warm aroma of autumn. It’s a set-it-and-forget-it recipe that transforms a mix of apples into a velvety, naturally sweet sauce perfect for snacking, baking, or gifting.
- Prep Time: 15 minutes
- Cook Time: 6 hours
- Total Time: 6 hours 15 minutes
- Yield: 8 servings 1x
- Category: Side Dish
- Cuisine: American
Ingredients
- 5–6 pounds apples (about 10–12 medium apples, mix of sweet and tart varieties like Honeycrisp, Fuji, and Granny Smith)
- 3–4 whole cinnamon sticks (broken in half)
- ½ cup water (or apple cider for more flavor)
- 1 tablespoon fresh lemon juice
- 1 teaspoon pure vanilla extract (optional)
- 2–3 tablespoons maple syrup, honey, or brown sugar (optional, for added sweetness)
- ¼ teaspoon salt
Instructions
- Wash and prep the apples: Rinse apples under cold water. If using organic apples and leaving peels on, scrub gently. Cut each apple into quarters, removing stems and blossom ends. Remove cores using an apple corer or knife.
- Layer the apples in the crockpot: Place apple quarters in a 5-6 quart slow cooker. Add broken cinnamon sticks, tucking them into the apples. Sprinkle lemon juice and salt over the top, then pour in the water. Stir gently to distribute.
- Cook on low for 6-8 hours (or high for 3-4 hours): Cover and cook until apples are tender and falling apart. Stir occasionally if possible.
- Add vanilla (30 minutes before done): When apples are nearly falling apart, stir in vanilla extract and any optional sweetener.
- Blend to desired consistency: Turn off crockpot and let cool for 10 minutes. Remove cinnamon sticks. Use an immersion blender for smooth applesauce or a potato masher for chunky texture.
- Strain if needed (optional): For a smoother texture, press applesauce through a fine-mesh strainer or food mill to remove peels and seeds.
- Taste and adjust: Adjust sweetness or cinnamon flavor as needed. Remember flavors will develop as it cools.
- Cool and store: Let applesauce cool to room temperature. Transfer to airtight containers (like mason jars), leaving ½ inch headspace. Refrigerate for up to 2 weeks or freeze for up to 6 months.
Notes
For best flavor, use a mix of sweet and tart apples. Avoid Red Delicious. The applesauce thickens as it cools. For a deeper cinnamon flavor, toast cinnamon sticks in a dry skillet for 30 seconds before adding. This recipe tastes even better on day two.
Nutrition
- Serving Size: ½ cup
- Calories: 100
- Sugar: 20
- Sodium: 75
- Fat: 0.3
- Saturated Fat: 0.1
- Carbohydrates: 26
- Fiber: 4.5
- Protein: 0.5
Keywords: crockpot applesauce, homemade applesauce, cinnamon applesauce, slow cooker applesauce, easy applesauce, no sugar applesauce, fall recipe