Crushed candy canes everywhere. On the counter, stuck to my sleeve, somehow in my hair. I was elbow-deep in a double boiler, chocolate melting, when my phone buzzed with a text from my sister-in-law: “Still on for the cookie exchange tomorrow? Bringing 3 dozen?” I stared at the bubbling water, the half-chopped peppermint, and the block of white chocolate I’d impulsively grabbed at the store. Three dozen cookies? Not happening. Not tonight.
So I did what any reasonable, slightly frazzled home cook would do. I abandoned the cookie plan entirely. I poured the melted dark chocolate into a pan, dumped the white chocolate on top, swirled it with a knife, and crushed the peppermint right over the whole thing. I slid it into the fridge, crossed my fingers, and prayed it would set before I had to explain to my family why dinner was just cheese and crackers again. Honestly, I wasn’t expecting much. It was a Hail Mary, a last-ditch dessert effort born from pure desperation.
But when I pulled that pan out an hour later and cut into it? The clean snap. The glossy swirl. The way the peppermint caught the light like little crushed jewels. I knew I’d stumbled onto something. This easy peppermint bark fudge wasn’t just a backup plan; it was the new star of the show. It took maybe ten minutes of actual work, used ingredients I already had, and looked like I’d spent hours on it. That’s the kind of magic I can get behind. No fuss, no stress, just really good chocolate.
Why You’ll Love This Recipe
Let me tell you why this easy 3-ingredient peppermint bark fudge has completely taken over my holiday baking list. I’ve tested this recipe about six times now (tough job, I know), and every single batch disappears faster than anything else I make. It’s the kind of dessert that makes people think you’re a kitchen wizard when really, you just melted some chocolate.
- Only 3 Ingredients: Dark chocolate chips, white chocolate chips, and candy canes. That’s it. No condensed milk, no butter, no corn syrup, no fancy extracts. If you’ve got a corner store open, you can make this tonight.
- No Baking Required: This is a no-bake recipe through and through. No oven, no mixer, no complicated techniques. Just melting, pouring, and waiting. Perfect for when the oven is already crammed with a cozy brown butter apple crisp or a batch of pumpkin cream cheese muffins.
- Completely Foolproof: I’ve made this with cheap chocolate and fancy chocolate. I’ve used a microwave and a double boiler. I’ve even forgotten it in the fridge for two days. It always works. The only way to mess this up is to burn the chocolate, and even then, you can probably salvage the other layer.
- Looks Incredibly Impressive: That white chocolate swirl and the pop of red peppermint against dark chocolate? It’s gorgeous. Package it in a little tin with a ribbon, and people will think you bought it from a high-end bakery. I won’t tell if you don’t.
- Perfect for Gifting: This fudge travels well, doesn’t need refrigeration for a few days, and can be made weeks ahead and frozen. It’s my go-to for teacher gifts, hostess presents, and holiday cookie exchanges (the ones I’m actually prepared for now).
This isn’t just another peppermint bark recipe. The trick here is the ratio of chocolate to peppermint and the way we layer the swirl. Most recipes give you a flat, two-tone bark. This one gives you a creamy, fudge-like texture in the dark chocolate base with a delicate white chocolate ribbon running through it. It’s richer, more satisfying, and honestly, more addictive. One bite and you’ll understand why I abandoned those cookies without a second thought.
What Ingredients You Will Need
This recipe is beautifully simple. It uses just three core ingredients, plus a tiny pinch of salt to balance the sweetness. Let me walk you through each one so you know exactly what to look for.
- Dark Chocolate Chips (2 cups / 340g): This is the base of your fudge, so quality matters. I prefer using a good-quality dark chocolate chip with around 60-70% cocoa content. Ghirardelli or Guittard are my go-to brands for consistent melting and flavor. Stay away from chocolate labeled “chocolate-flavored” or “compound coating”—they contain oils that prevent proper setting. If you’re using a chocolate bar, chop it finely so it melts evenly. The dark chocolate provides that deep, slightly bitter counterpoint to the sweet white chocolate and mint.
- White Chocolate Chips (1 cup / 170g): For the swirl. Look for white chocolate that lists cocoa butter as an ingredient, not just palm oil. Ghirardelli white chocolate chips work beautifully here. Nestlé Toll House white morsels are also reliable. Avoid “white baking chips” or “white melting wafers” if you can—they don’t have the same creamy texture and can taste waxy. The white chocolate creates that beautiful marbled effect and adds a sweet, milky contrast to the dark layer.
- Candy Canes (6-8 regular-sized, about 1/2 cup crushed): You want the real thing, not those soft, chewy imitations. Traditional peppermint candy canes work best. I’ve tried using starlight mints, and while they taste fine, they don’t crush as evenly. To crush them, place the unwrapped candy canes in a sturdy zip-top bag and bash them with a rolling pin or the bottom of a heavy skillet. Aim for a mix of fine dust and small chunks—the dust adds flavor throughout, while the chunks give you that satisfying crunch. You can also use a food processor, but pulse gently so you don’t end up with powder.
- Pinch of Sea Salt (optional but recommended): A tiny sprinkle of flaky sea salt over the top before the fudge sets enhances all the flavors. It cuts the sweetness and makes the chocolate taste deeper. Maldon or any flaky sea salt is perfect. Don’t skip this if you have it on hand.
That’s truly it. No heavy cream, no butter, no sweetened condensed milk. Just chocolate, peppermint, and a little salt. This simplicity is what makes the recipe so reliable and so easy to throw together at a moment’s notice.
Equipment Needed
You don’t need a fancy kitchen to make this easy peppermint bark fudge. Here’s what you’ll need:
- 8×8-inch Baking Pan: This is the perfect size for a fudge that’s about 3/4 inch thick. If you only have a 9×9, your fudge will be slightly thinner, which is fine—just reduce the setting time a little. Line it with parchment paper, leaving some overhang on two sides for easy lifting.
- Medium Microwave-Safe Bowls (2): You’ll need one for the dark chocolate and one for the white chocolate. Glass or ceramic bowls work best. Avoid plastic, as it can retain odors and melt unevenly.
- Rubber Spatula: For stirring and spreading the chocolate. A silicone spatula is ideal because it won’t scratch your bowls and can handle heat.
- Sharp Knife or Bench Scraper: For cutting the fudge once it’s set. A sharp chef’s knife gives you clean edges. A bench scraper works too, especially if you want perfectly straight lines.
- Rolling Pin or Heavy Skillet: For crushing the candy canes. A meat mallet also works in a pinch.
- Zip-Top Bag: For containing the candy cane pieces while you crush them. A double layer helps prevent any rogue shards from escaping.
- Parchment Paper: Essential for lining the pan. Wax paper will work, but parchment is more reliable and doesn’t stick.
If you don’t have a microwave, you can use a double boiler. Just place a heatproof bowl over a pot of simmering water (make sure the bowl doesn’t touch the water) and stir until melted. It takes a few extra minutes but works perfectly.
Preparation Method
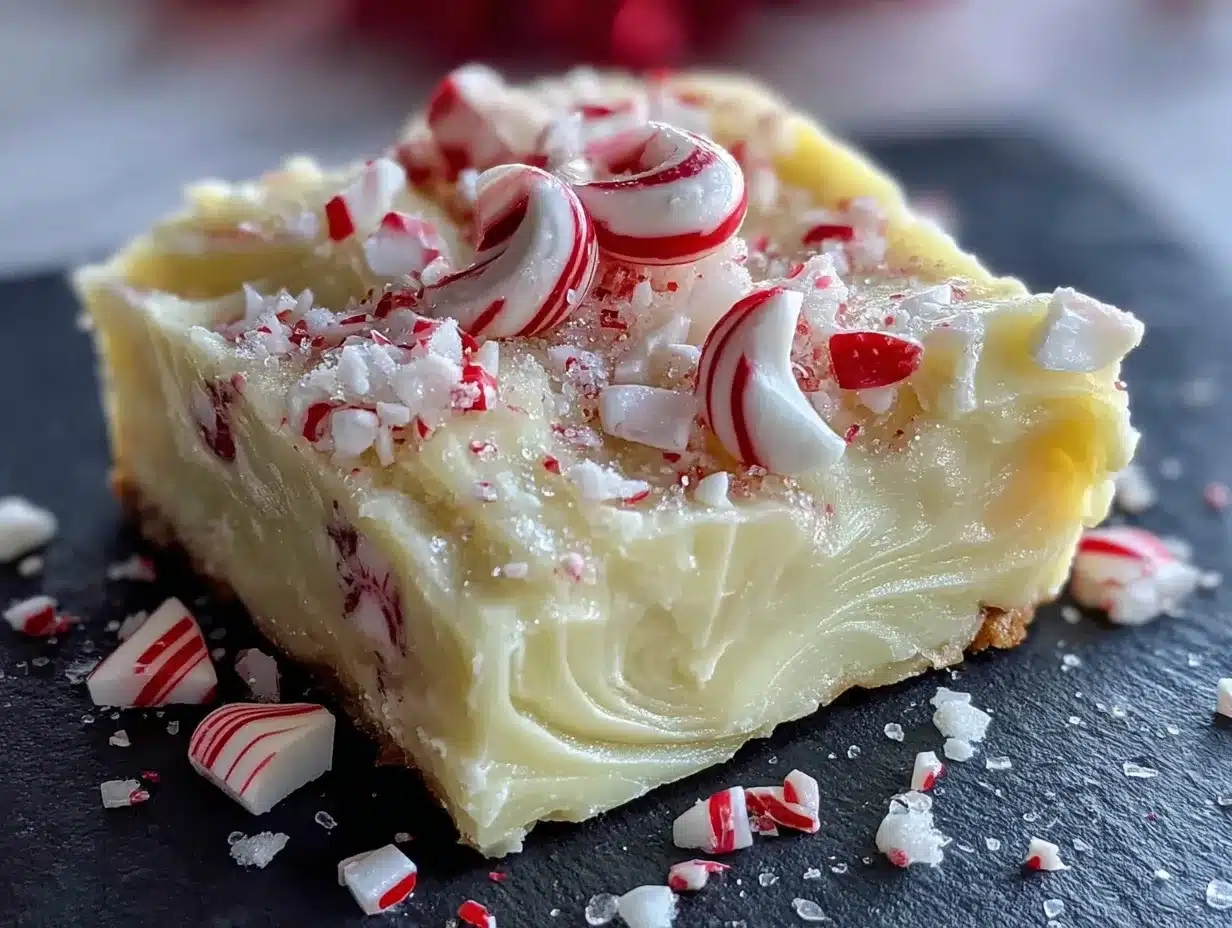
Alright, let’s make this fudge. I’ve broken it down into simple steps so you can follow along without any stress. Set a timer for the chilling part—it’s the only step that requires patience.
- Prepare Your Pan (5 minutes): Line your 8×8-inch baking pan with parchment paper. Make sure the paper goes up two opposite sides, leaving about 2 inches of overhang. This creates “handles” that will let you lift the entire block of fudge out later. Lightly grease the parchment with a tiny bit of butter or non-stick spray if you’re worried about sticking, though good parchment usually doesn’t need it.
- Crush the Candy Canes (5 minutes): Unwrap 6-8 candy canes and place them in a sturdy zip-top bag. Seal it, then wrap it in a kitchen towel (this muffles the sound and contains any flying pieces). Now, go to town with your rolling pin. Bash them until you have a mix of fine dust and small pea-sized chunks. You want about 1/2 cup total. Set this aside. Don’t crush them too far in advance, or they can absorb moisture from the air and get sticky.
- Melt the Dark Chocolate (2-3 minutes): Place your dark chocolate chips in a medium microwave-safe bowl. Microwave in 30-second intervals, stirring well after each interval. Chocolate burns easily, so don’t walk away. After about 1 minute total (depending on your microwave), it should be mostly melted. Stir until completely smooth. If you see any lumps, give it another 10 seconds. The residual heat will finish the job. Stir in a tiny pinch of sea salt if you’re using it.
- Pour and Spread the Dark Layer (2 minutes): Pour the melted dark chocolate into your prepared pan. Use your rubber spatula to spread it into an even layer, reaching all the corners. Tap the pan gently on the counter a few times to release any air bubbles and level the surface. Set this aside while you work on the white chocolate.
- Melt the White Chocolate (1-2 minutes): In a separate clean, dry bowl, melt your white chocolate chips. White chocolate is more delicate than dark, so use 20-second intervals and stir gently. It can seize up if overheated. Stop as soon as it’s mostly melted and stir until smooth. It should be thick but pourable.
- Create the Swirl (2 minutes): Drop spoonfuls of the melted white chocolate randomly over the surface of the dark chocolate layer. You don’t need to cover it evenly—clusters are fine. Now, take a butter knife or a skewer and drag it through the two chocolates in long, sweeping motions. Go back and forth, creating a marbled pattern. Don’t over-swirl, or you’ll lose the distinct dark and white contrast. A few figure-eights and zig-zags are perfect.
- Add the Peppermint Topping (1 minute): Immediately sprinkle your crushed candy canes evenly over the top. Press them down gently with your fingers or the back of a spoon so they stick into the soft chocolate. If you wait too long, the chocolate will start to set, and the pieces won’t adhere as well.
- Chill Until Firm (1-2 hours): Place the pan in the refrigerator, uncovered, for at least 1 hour. I usually give it a full 2 hours to be safe. The fudge should be completely firm to the touch and pull away from the sides of the parchment slightly. Don’t rush this step. If you try to cut it too early, you’ll get a gooey mess.
- Cut and Serve (5 minutes): Once firm, lift the fudge out of the pan using the parchment handles. Place it on a cutting board. Use a sharp chef’s knife to cut it into squares. I aim for about 1-inch pieces, which gives you roughly 64 pieces. Wipe the knife clean between cuts for the neatest edges. If the fudge cracks a little, don’t worry—it adds to the rustic charm.
- Store or Serve: Arrange on a platter or pack into gift tins. The fudge is best served cold or at cool room temperature. If it gets too warm, it can soften and lose its clean snap.
Cooking Tips & Techniques
After making this easy peppermint bark fudge more times than I care to admit, I’ve picked up a few tricks that make the process smoother and the results more consistent. Here’s what I’ve learned the hard way so you don’t have to.
Don’t Overheat the Chocolate. This is the number one mistake. Chocolate is temperamental. If you microwave it too long, it seizes up into a grainy, stiff mess. Always use short intervals and stir between them. The chocolate will continue melting from the residual heat even after you take it out of the microwave. When you think it’s almost done, stop microwaving and just stir. You’ll save yourself a lot of frustration.
Use Room Temperature Ingredients. This isn’t crucial for the chocolate chips themselves, but if your kitchen is very cold, the chocolate can set too quickly as you’re spreading it. If your kitchen is very warm, it can take longer to set in the fridge. Aim for a cool, dry environment. I like to make this fudge in the evening when my kitchen has cooled down from the day’s cooking.
Crush Candy Canes Strategically. A food processor can turn candy canes into powder in seconds. I prefer the bag-and-rolling-pin method because it gives you more control. I want some fine dust for flavor and some chunkier pieces for texture. If you only have powder, the fudge will taste minty but lack that satisfying crunch. If you only have big chunks, they can be hard to bite through.
Don’t Skip the Parchment Overhang. I know it seems fussy, but trust me on this. Trying to pry set fudge out of a pan without parchment handles is a recipe for broken pieces and frustration. The parchment makes it effortless. Just lift, cut, and go.
Let It Set Completely. I once tried to rush this fudge and cut it after only 45 minutes. It was a disaster. The white chocolate swirl was still soft, and the whole thing squished under the knife. Give it the full 2 hours in the fridge. If you’re in a hurry, you can pop it in the freezer for 30 minutes, but watch it carefully so it doesn’t get too hard and crack when you cut it.
Use a Hot Knife for Clean Cuts. For the absolute cleanest edges, run your knife under hot water, dry it off, and then cut. The heat glides through the chocolate without cracking it. Wipe the knife clean and reheat between cuts. This is a pro trick that makes your fudge look bakery-perfect.
Variations & Adaptations
This easy peppermint bark fudge is incredibly versatile. Once you master the basic technique, you can play around with different flavors and textures. Here are some variations I’ve tried and loved.
Milk Chocolate Version: If dark chocolate is too intense for you, swap it for good-quality milk chocolate chips. The fudge will be sweeter and creamier. Just be aware that milk chocolate can be softer at room temperature, so keep it refrigerated until serving. I made this for my niece, who finds dark chocolate too bitter, and she devoured half the pan in one sitting.
Double Peppermint Punch: For serious mint lovers, add 1/4 teaspoon of peppermint extract to the dark chocolate layer before pouring it into the pan. This gives the entire fudge a deeper mint flavor, not just the topping. Be careful with extract—it’s potent, and too much can make it taste like toothpaste. A little goes a long way.
Chocolate Cookie Crunch: Before pouring the dark chocolate into the pan, sprinkle a layer of crushed Oreo cookies or chocolate wafer crumbs on the bottom. This adds a lovely textural contrast and a little extra chocolate flavor. I did this for a party once, and people couldn’t stop asking about the “secret layer.”
Vegan and Dairy-Free Adaptation: Use dairy-free dark chocolate chips (many are naturally dairy-free) and a vegan white chocolate alternative. Brands like Enjoy Life make excellent dairy-free white chocolate chips. The technique is exactly the same. Check your candy canes too—most are vegan, but some use confectioner’s glaze, so read the label if that’s a concern.
Festive Color Swirl: For Christmas, add a drop of red or green gel food coloring to the white chocolate before swirling. This gives you a beautiful red-and-white or green-and-white marbled effect that’s extra festive. Gel coloring is better than liquid because it doesn’t thin out the chocolate. I did a red swirl for a Christmas party, and it was a showstopper.
Nutty Addition: Sprinkle 1/4 cup of toasted, chopped pecans or almonds over the top along with the candy canes. The nutty crunch pairs beautifully with the mint and chocolate. This is a great option if you want to make the fudge feel a little more substantial and grown-up.
Serving & Storage Suggestions
This fudge is best served cold or at a cool room temperature. If it’s too warm, the chocolate can soften and lose its satisfying snap. I like to arrange the pieces on a simple white platter or in a festive tin lined with parchment paper. The contrast of the dark chocolate, white swirl, and red peppermint is naturally beautiful, so you don’t need much fuss.
For a holiday dessert table, pair this fudge with other no-fuss treats like easy no-bake protein energy bites or a warm mug of creamy pumpkin chai latte. The minty coolness of the fudge is a perfect counterpoint to warm, spiced drinks. It also works beautifully alongside a cheese board or a plate of fresh fruit for a light dessert spread.
Storage: Store the fudge in an airtight container in the refrigerator for up to 2 weeks. Layer the pieces between sheets of parchment or wax paper to prevent them from sticking together. If you’re stacking multiple layers, keep the layers thin so the weight doesn’t crush the bottom pieces.
Freezing: This fudge freezes beautifully. Place the cut pieces in a single layer on a baking sheet and freeze until solid (about 1 hour). Then transfer them to a freezer-safe bag or container. They’ll keep for up to 3 months. To thaw, move them to the refrigerator for a few hours or let them sit at room temperature for about 15 minutes. The texture remains perfect.
Reheating: You don’t need to reheat this fudge. It’s meant to be eaten cold or cool. If you’ve frozen it, just let it thaw in the fridge. If you want a slightly softer texture, let it sit at room temperature for 10-15 minutes before serving.
One thing I love about this fudge is that the flavors actually meld and deepen after a day or two in the fridge. The peppermint infuses the chocolate more evenly, and the texture becomes perfectly creamy. So don’t be afraid to make it a day or two ahead of your event. It only gets better.
Nutritional Information & Benefits
Let’s be real: this is a treat, not a health food. But it does have a few redeeming qualities, especially if you use high-quality dark chocolate. Here’s a rough breakdown per 1-inch square (based on 64 pieces from an 8×8 pan):
- Calories: Approximately 80-90 calories per piece
- Fat: 5-6g (mostly from cocoa butter and cocoa solids)
- Carbohydrates: 9-10g (mainly from sugar)
- Fiber: 1g (from the dark chocolate)
- Protein: 1g
Dark chocolate (60-70% cocoa) is rich in antioxidants called flavonoids, which have been linked to heart health and improved blood flow. It also contains iron, magnesium, and copper. The peppermint in candy canes can aid digestion and provide a refreshing, palate-cleansing effect after a heavy meal.
That said, this fudge is undeniably a sweet indulgence. It’s high in sugar and saturated fat, so enjoy it in moderation. I like to think of it as a small, satisfying treat rather than a snack. One or two pieces are enough to hit that sweet spot without overdoing it.
If you’re watching your sugar intake, you can try using sugar-free dark chocolate chips and sugar-free candy canes. The texture will be slightly different, but the flavor will still be delicious. Just be aware that sugar-free chocolate can be more sensitive to heat and may not set as firmly.
Conclusion
This easy peppermint bark fudge has become my secret weapon for the holidays. It’s the recipe I turn to when I need something impressive but don’t have the time or energy for a complicated baking project. It’s the gift I bring to parties, the treat I leave on the counter for guests, and the little indulgence I sneak from the fridge late at night when everyone else is asleep.
What I love most about it is how forgiving it is. You don’t need to be a pastry chef to make it look beautiful. You don’t need a pantry full of specialty ingredients. You just need three simple things, a little patience while it chills, and the willingness to crush some candy canes with a rolling pin (which, honestly, is pretty cathartic).
I hope you give this recipe a try. Make it for your next holiday gathering, package it up for friends and neighbors, or just make it for yourself on a quiet December evening. And when you do, I’d love to hear how it turns out. Leave a comment below and let me know if you tried any variations, or share a photo of your fudge on social media and tag me. There’s nothing that makes me happier than seeing my recipes come to life in your kitchens.
Happy holidays, and happy melting!
Frequently Asked Questions
Can I use milk chocolate instead of dark chocolate?
Absolutely. Milk chocolate will make the fudge sweeter and creamier. Just keep in mind that milk chocolate is softer at room temperature, so store the fudge in the refrigerator until you’re ready to serve it. The texture will still be delicious, just a bit more tender.
Why did my white chocolate seize up?
White chocolate is sensitive to heat and moisture. If it seizes (turns grainy and stiff), it likely got too hot or came into contact with a drop of water. Always use a completely dry bowl and spoon. Microwave in short 20-second bursts and stir gently. If it does seize, you can try stirring in a teaspoon of coconut oil or vegetable shortening to smooth it out, but it’s not always salvageable.
Can I make this fudge without a microwave?
Yes, definitely. Use a double boiler instead. Place your chocolate in a heatproof bowl set over a pot of simmering water. Make sure the bowl doesn’t touch the water. Stir constantly until melted. This method takes a little longer but gives you more control and reduces the risk of burning.
How far in advance can I make this fudge?
You can make this fudge up to 2 weeks ahead and store it in the refrigerator in an airtight container. It also freezes beautifully for up to 3 months. The flavor actually improves after a day or two as the peppermint infuses the chocolate more evenly.
Can I use peppermint extract instead of candy canes?
You can, but the texture will be different. Candy canes provide both flavor and crunch. If you use extract, you’ll lose that satisfying peppermint crunch. I recommend using both: add a tiny bit of extract (1/4 teaspoon) to the dark chocolate for extra minty flavor, and still top the fudge with crushed candy canes for texture.
Pin This Recipe!
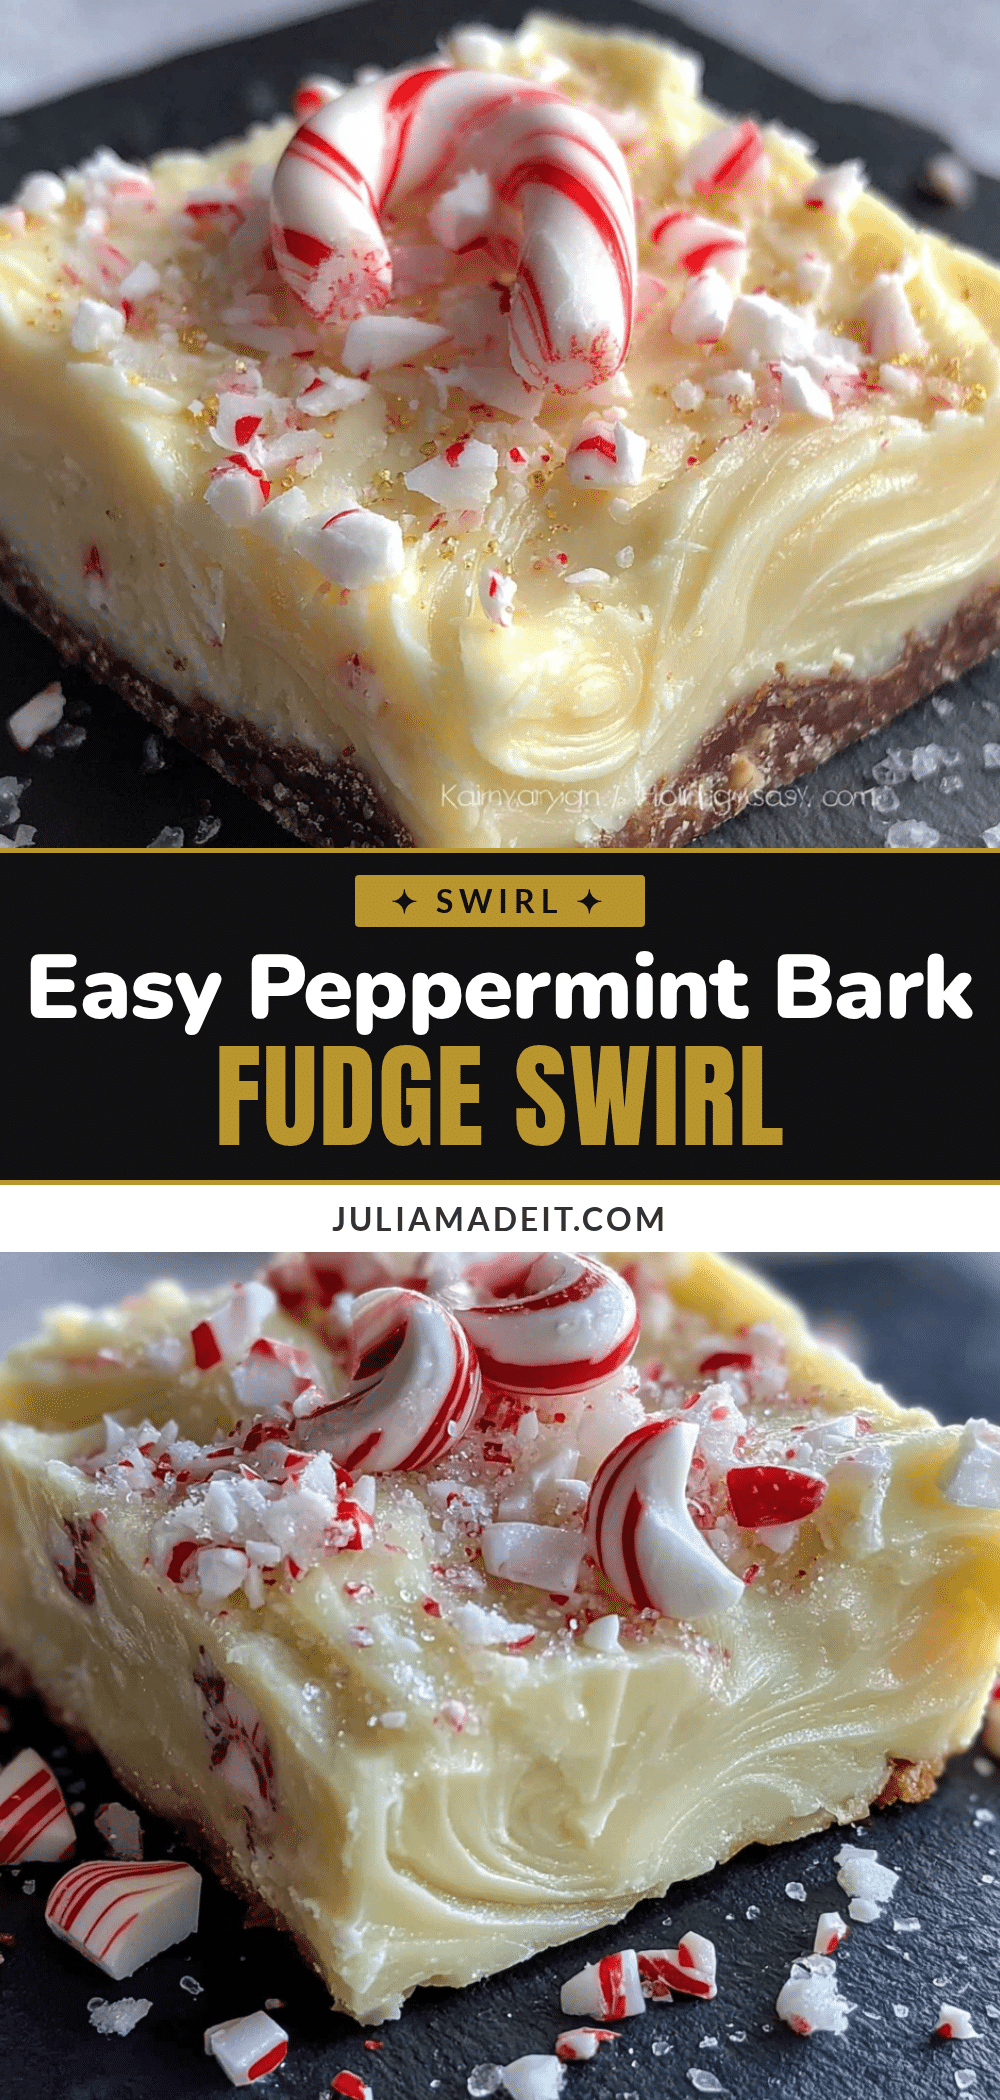
Easy 3-Ingredient Peppermint Bark Fudge with White Swirl

This easy 3-ingredient peppermint bark fudge is a no-bake holiday treat that looks incredibly impressive with minimal effort. Made with dark chocolate, white chocolate, and candy canes, it’s perfect for gifting or enjoying yourself.
- Prep Time: 15 minutes
- Cook Time: 5 minutes
- Total Time: 1 hour 20 minutes (including chilling)
- Yield: 64 pieces 1x
- Category: Dessert
- Cuisine: American
Ingredients
- 2 cups (340g) dark chocolate chips (60-70% cocoa)
- 1 cup (170g) white chocolate chips
- 6–8 regular-sized candy canes (about 1/2 cup crushed)
- Pinch of sea salt (optional)
Instructions
- Line an 8×8-inch baking pan with parchment paper, leaving overhang on two sides.
- Unwrap 6-8 candy canes, place in a sturdy zip-top bag, and crush with a rolling pin until you have a mix of fine dust and small pea-sized chunks (about 1/2 cup). Set aside.
- Place dark chocolate chips in a medium microwave-safe bowl. Microwave in 30-second intervals, stirring well after each, until mostly melted. Stir until completely smooth. If using, stir in a pinch of sea salt.
- Pour melted dark chocolate into the prepared pan and spread into an even layer. Tap the pan gently on the counter to release air bubbles.
- In a separate clean, dry bowl, melt white chocolate chips in 20-second intervals, stirring gently, until smooth and pourable.
- Drop spoonfuls of melted white chocolate randomly over the dark chocolate layer. Use a butter knife or skewer to drag through the chocolates in long, sweeping motions to create a marbled swirl. Do not over-swirl.
- Immediately sprinkle crushed candy canes evenly over the top. Press them down gently with your fingers or the back of a spoon.
- Refrigerate uncovered for at least 1-2 hours, until completely firm.
- Once firm, lift the fudge out of the pan using the parchment handles. Place on a cutting board and cut into 1-inch squares (about 64 pieces). Wipe the knife clean between cuts for neat edges.
- Serve cold or at cool room temperature. Store in an airtight container in the refrigerator for up to 2 weeks, or freeze for up to 3 months.
Notes
Don’t overheat the chocolate; use short microwave intervals. For clean cuts, use a hot knife. The fudge can be made up to 2 weeks ahead and stored in the refrigerator. Freezes well for up to 3 months.
Nutrition
- Serving Size: 1 piece (1-inch squa
- Calories: 85
- Sugar: 8
- Sodium: 15
- Fat: 5.5
- Saturated Fat: 3.5
- Carbohydrates: 9.5
- Fiber: 1
- Protein: 1
Keywords: peppermint bark, fudge, no-bake, 3-ingredient, holiday, Christmas, candy cane, dark chocolate, white chocolate