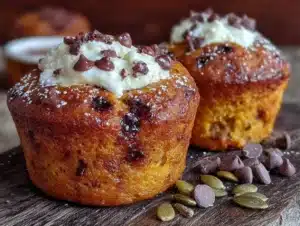
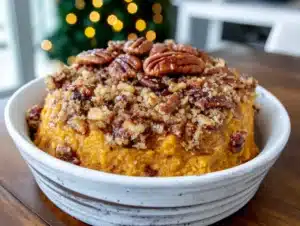
There used to be a tiny café tucked into a converted garage in Portland—the kind of place with mismatched chairs and a chalkboard menu that changed daily. They made these pumpkin oat bars that ruined me for all other breakfast pastries. When the café closed abruptly (the owner moved back to Japan to care for her mother), I genuinely mourned those bars. For weeks, I tried to recreate the memory: the perfect balance of soft and chewy, the warm spice hit, the way they felt wholesome but tasted indulgent. After eleven tries—eleven, let me tell you—I finally cracked it. These healthy pumpkin oat breakfast bars are the result of that obsession, and honestly? They might be even better than the original. If you’ve ever had a breakfast treat that made you close your eyes on the first bite, you know exactly what I’m talking about.
Why You’ll Love This Recipe
These aren’t just another breakfast bar. They’re the kind of recipe that makes you look like a kitchen rockstar with minimal effort—perfect for when you’re hosting and want to impress without being stuck in the kitchen all morning.
- Make-Ahead Magic: Prep these the night before your guests arrive. In the morning, just slice and serve. No fuss, no stress.
- Pantry-Friendly Ingredients: Oats, pumpkin puree, maple syrup—you probably have most of this stuff already.
- Guest-Ready Presentation: They slice cleanly, look gorgeous on a platter, and everyone thinks you spent hours.
- Naturally Sweetened: No refined sugar here. Just the good stuff that makes you feel great about serving it.
- Crowd-Pleasing Texture: Soft, chewy, with just enough bite. Kids devour them, adults ask for the recipe.
What makes these different from every other pumpkin oat bar recipe out there? It’s the technique. I blend part of the oats into a flour-like consistency, which gives the bars structure without needing any wheat flour. The result is a bar that holds together beautifully—no crumbling, no falling apart—while staying naturally gluten-free. After that first café closed, I spent months testing ratios. This is the one that finally matched that memory.
What Ingredients You Will Need
This recipe keeps things simple. You don’t need specialty stores or exotic ingredients. Just good, honest staples that work together beautifully.
- Rolled oats, 2 cups (200g) – Not quick oats. Rolled oats give the right texture. I prefer Bob’s Red Mill for consistent results.
- Pumpkin puree, 1 cup (245g) – Make sure it’s pure pumpkin, not pumpkin pie filling. Libby’s is my go-to.
- Ripe bananas, 2 medium (about 200g mashed) – The spotty ones are perfect. They add natural sweetness and bind the bars.
- Maple syrup, ¼ cup (60ml) – Pure maple syrup, not pancake syrup. Grade A dark works best for deeper flavor.
- Egg, 1 large – Helps with structure. For a vegan version, use a flax egg (1 tablespoon flaxseed meal + 3 tablespoons water).
- Coconut oil, 3 tablespoons (45ml), melted – Adds moisture without dairy. You can substitute melted butter if preferred.
- Pumpkin pie spice, 2 teaspoons – Or make your own: 1 teaspoon cinnamon, ½ teaspoon ginger, ¼ teaspoon nutmeg, ¼ teaspoon cloves.
- Baking powder, 1 teaspoon – For a little lift.
- Salt, ¼ teaspoon – Balances the sweetness.
- Vanilla extract, 1 teaspoon – Pure, not imitation.
- Optional mix-ins: ½ cup chopped pecans, ¼ cup dark chocolate chips, or ¼ cup dried cranberries.
A quick note on oats: I’ve tested this with gluten-free certified oats, and they work perfectly. Just make sure to blend them as directed. The pumpkin puree should be thick, not watery. If your puree seems thin, let it drain in a fine-mesh strainer for 15 minutes before using.
Equipment Needed
You don’t need a fancy kitchen for these bars. Here’s what you’ll actually use:
- 8×8 inch baking pan – Glass or metal both work. Line it with parchment paper for easy removal.
- Food processor or blender – For grinding the oats. A high-speed blender works, but pulse gently.
- Large mixing bowl – Any bowl you’ve got.
- Rubber spatula – For scraping every bit of batter.
- Measuring cups and spoons – Standard set.
- Parchment paper – Trust me on this. It saves so much cleanup.
If you don’t have a food processor, you can use pre-ground oat flour (about 1 cup) mixed with 1 cup whole rolled oats. I’ve done it both ways, and the texture is slightly different but still delicious. The food processor method gives you that perfect blend of fine and chunky that makes these bars special.
Preparation Method
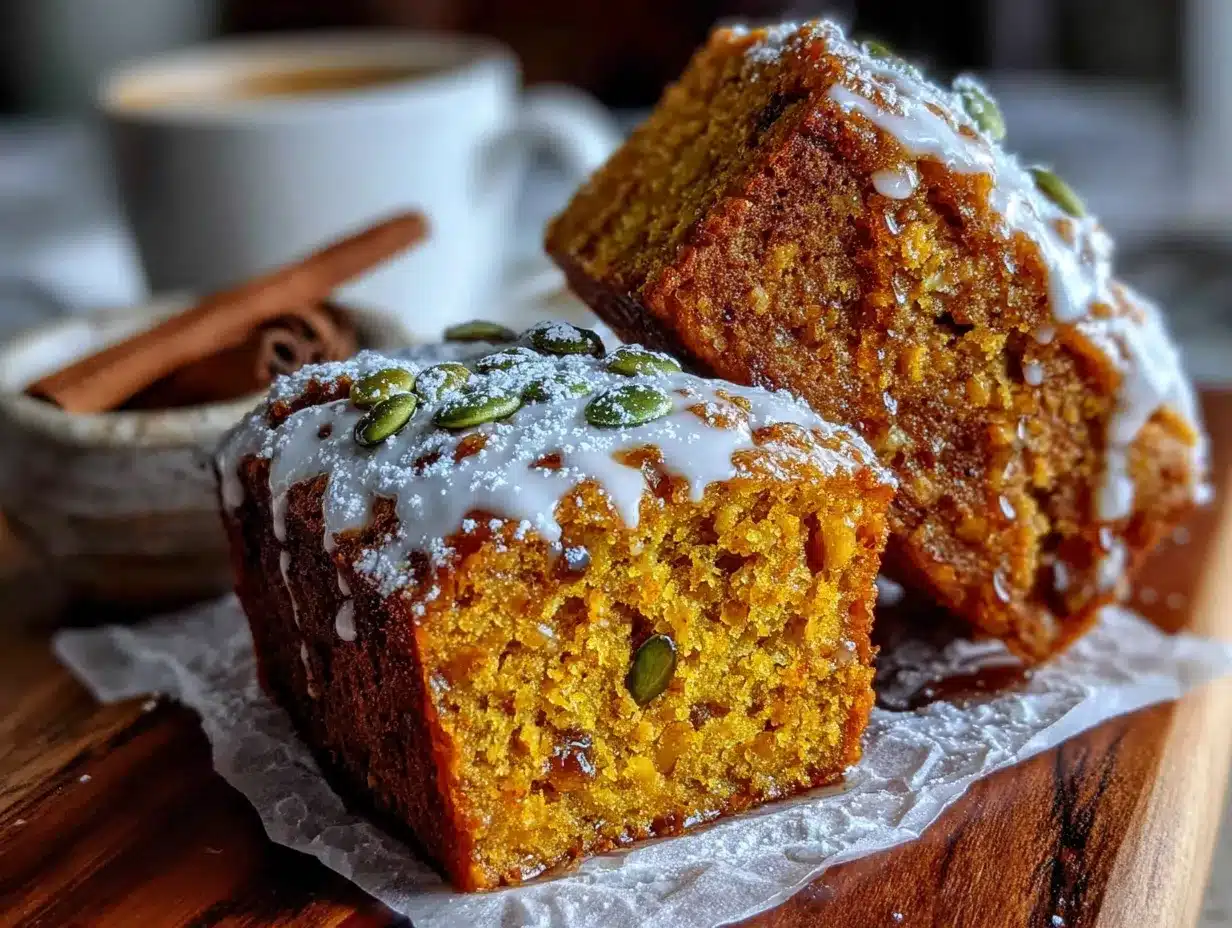
Let’s get these bars in the oven. The whole process takes about 35 minutes, with 10 minutes of active prep. Perfect for a relaxed morning.
- Preheat your oven to 350°F (175°C). Line your 8×8 pan with parchment paper, leaving some overhang on two sides. This makes lifting the bars out so much easier later.
- Grind the oats. Place 1½ cups of the rolled oats in your food processor or blender. Pulse 10-12 times until you get a mixture that looks like coarse flour with some oat pieces still visible. Don’t overdo it—you want texture, not dust. Pour this into your large mixing bowl.
- Add the remaining ½ cup whole oats to the bowl. These will give the bars that lovely chewy texture. Give everything a quick stir with a fork.
- Mash the bananas. In a separate bowl, mash your ripe bananas with a fork until smooth but still a little lumpy. You want about 200g of mashed banana. I’ve learned that over-mashing makes the bars denser, so leave a few tiny chunks.
- Mix the wet ingredients. To the mashed bananas, add the pumpkin puree, maple syrup, egg, melted coconut oil, and vanilla extract. Whisk until smooth and fully combined. The mixture should look like a thick, glossy sauce.
- Combine wet and dry. Pour the wet mixture into the bowl with the oat mixture. Add the pumpkin pie spice, baking powder, and salt. Stir with your spatula until just combined—about 15 strokes. Don’t overmix, or the bars will be tough. If you’re adding pecans or chocolate chips, fold them in now.
- Transfer to the pan. Scrape the batter into your prepared pan. It will be thick and sticky—that’s exactly right. Use your spatula to spread it evenly, pressing into the corners. Wet your spatula slightly if the batter sticks.
- Bake for 25-28 minutes. The bars are done when the edges are golden brown and a toothpick inserted in the center comes out with just a few moist crumbs. The top should feel firm but spring back when lightly pressed. My first batch came out dry because I baked them 30 minutes—don’t make that mistake.
- Cool completely in the pan. This is crucial. Let them cool for at least 30 minutes at room temperature, then refrigerate for another 30 minutes before slicing. The bars set as they cool, giving you clean, beautiful slices. I learned this the hard way after trying to cut warm bars that turned into crumbles.
- Slice and serve. Lift the bars out using the parchment overhang. Place on a cutting board and slice into 9 or 12 squares. A sharp chef’s knife works best—wipe it clean between cuts for neat edges.
Cooking Tips & Techniques
After eleven attempts, I’ve got some hard-won wisdom to share. Here’s what makes these bars consistently perfect:
Don’t skip the chilling step. I know, you’re hungry. But warm bars are fragile bars. That refrigeration time lets the oats absorb moisture and the coconut oil solidify, creating a bar that holds together beautifully. Patience pays off here.
Watch your oat grind. If you grind the oats too fine, the bars become dense and heavy. Too coarse, and they fall apart. Aim for that sweet spot where about half the oats are flour-like and the rest are small flakes. It took me three tries to nail this.
Room temperature ingredients matter. Cold eggs or cold coconut oil can seize up the batter. Let everything sit out for 15 minutes before starting. I once used cold eggs straight from the fridge, and the batter was lumpy and wouldn’t spread evenly.
Line your pan properly. Cut the parchment paper wide enough to hang over two opposite sides by about 2 inches. This creates handles for lifting the entire block of bars out. I’ve had to dig crumbly bars out of unlined pans, and it’s not fun.
Test for doneness correctly. The toothpick test is your friend, but insert it into the center, not near the edges. The center is the last part to set. If the toothpick comes out wet with batter, give it 2-3 more minutes and test again.
Variations & Adaptations
These bars are incredibly flexible. Here are some ways to make them your own:
Vegan Version: Replace the egg with a flax egg (1 tablespoon flaxseed meal + 3 tablespoons water, let sit for 5 minutes). Use maple syrup instead of honey if your recipe calls for it. The texture will be slightly more tender, but still delicious.
Nut-Free Option: Skip the pecans and add sunflower seeds or pumpkin seeds instead. They add the same crunch without the allergens. My friend’s kid has a nut allergy, and this version was a hit at their playdate.
Chocolate Lover’s Twist: Fold in ¼ cup dark chocolate chips and drizzle melted chocolate over the cooled bars. It transforms breakfast into dessert—perfect for brunch parties where guests want something indulgent.
Lower-Sugar Version: Reduce the maple syrup to 2 tablespoons and use very ripe bananas. The bars will be less sweet but still flavorful. I make this version for myself during the week when I want something lighter.
Pumpkin Seed Crunch: Sprinkle 2 tablespoons of pumpkin seeds on top before baking. They toast beautifully and add a lovely crunch. Plus, they make the bars look extra fancy for guests.
Serving & Storage Suggestions
These bars are designed for hosting. Here’s how to make them shine:
For a brunch spread: Arrange the bars on a wooden board with fresh fruit, a dollop of Greek yogurt, and a drizzle of honey. They look stunning alongside a pitcher of mimosas or hot coffee. I served these at a friend’s baby shower, and they disappeared before the muffins.
Serving temperature: These are best at room temperature or slightly warm. If you’ve refrigerated them, let them sit out for 15 minutes before serving. Warm them individually in the microwave for 10 seconds if you want that fresh-from-the-oven feel.
Storage: Keep the bars in an airtight container in the refrigerator for up to 5 days. Layer them with parchment paper between stacks to prevent sticking. They actually taste better on day two as the flavors meld together.
Freezing: These freeze beautifully. Wrap individual bars in plastic wrap, then place in a freezer bag. They’ll keep for up to 3 months. Grab one straight from the freezer and microwave for 20-30 seconds for an instant breakfast.
Flavor development: The spices intensify over time. I actually prefer these on day three—the pumpkin and spice flavors have fully settled, and the texture becomes perfectly chewy. If you’re serving guests, make them two days ahead for maximum flavor.
Nutritional Information & Benefits
Per bar (based on 9 servings):
- Calories: 185
- Total Fat: 7g
- Saturated Fat: 4g
- Cholesterol: 20mg
- Sodium: 95mg
- Total Carbohydrates: 28g
- Dietary Fiber: 4g
- Sugars: 11g (naturally occurring)
- Protein: 5g
These bars pack some serious nutritional benefits. Pumpkin is loaded with vitamin A and antioxidants that support eye health and immunity. Oats provide soluble fiber that helps maintain steady blood sugar levels—no mid-morning crash here. Bananas add potassium, which is great for muscle function and heart health. The coconut oil offers healthy medium-chain triglycerides that can support metabolism.
For anyone watching their sugar intake, these bars use only natural sweeteners from bananas and maple syrup. At 11 grams of sugar per serving, they’re significantly lower than most store-bought breakfast bars, which can contain 15-20 grams of added sugar. They’re also naturally gluten-free when using certified gluten-free oats.
Conclusion
These healthy pumpkin oat breakfast bars are more than just a recipe—they’re a solution to the hosting dilemma of wanting to serve something impressive without spending your entire morning in the kitchen. They’ve become my go-to for every gathering, from casual coffee dates to holiday brunches. The best part? They actually deliver on flavor while making everyone feel good about what they’re eating.
I’d love to hear how these turn out for you. Did you add chocolate chips? Try them with pecans? Serve them at a party? Drop a comment below and let me know your twist on these bars. And if you’re looking for other make-ahead breakfast ideas, check out my healthy banana oat muffins or overnight oats three ways. Happy baking, friends!
Frequently Asked Questions
Can I use quick oats instead of rolled oats?
You can, but the texture will be different. Quick oats are more finely processed, so they absorb liquid faster and create a softer, more uniform bar. The bars may also be slightly less chewy. If you only have quick oats, reduce the baking time by 2-3 minutes and check for doneness earlier.
How do I know when the bars are fully baked?
The edges should be golden brown and pulling away slightly from the pan. Insert a toothpick into the center—it should come out with just a few moist crumbs, not wet batter. The top should feel firm but spring back when lightly pressed. If the top jiggles, they need more time.
Can I make these bars nut-free?
Absolutely. Simply omit any nuts from the recipe or substitute with seeds like pumpkin seeds or sunflower seeds. The recipe itself doesn’t require nuts—they’re entirely optional. Just make sure your oats are certified gluten-free if you’re serving someone with celiac disease.
Why did my bars turn out dry?
This usually happens from overbaking or using too much oat flour. Make sure you’re measuring your oats correctly—scoop them lightly into the measuring cup without packing them down. Also, check your oven temperature with an oven thermometer. I’ve learned that most home ovens run hot, so start checking at 22 minutes.
Can I double this recipe for a crowd?
Yes! Double all ingredients and bake in a 9×13 inch pan. Increase the baking time to 30-35 minutes. The bars will be slightly thicker, so test with a toothpick in the center. For a brunch party, I often make a double batch and freeze half—they’re always a hit.
Pin This Recipe!
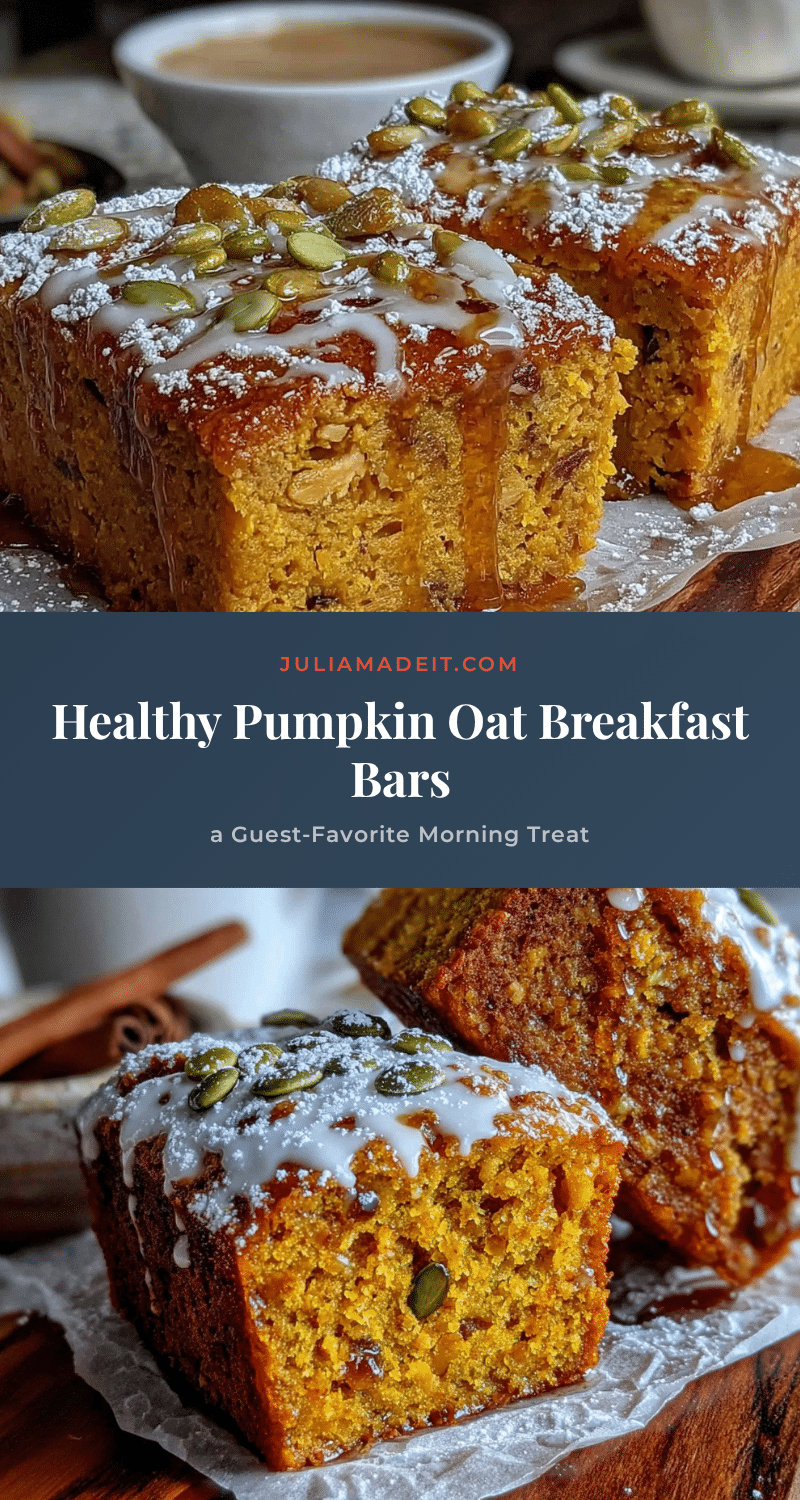
Healthy Pumpkin Oat Breakfast Bars: Easy Make-Ahead Recipe
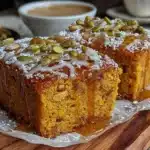
These healthy pumpkin oat breakfast bars are soft, chewy, and naturally sweetened. Perfect for make-ahead brunches or a quick breakfast, they’re gluten-free and packed with wholesome ingredients.
- Prep Time: 10 minutes
- Cook Time: 25 minutes
- Total Time: 35 minutes
- Yield: 9 servings 1x
- Category: Breakfast
- Cuisine: American
Ingredients
- 2 cups (200g) rolled oats
- 1 cup (245g) pumpkin puree
- 2 medium ripe bananas (about 200g mashed)
- ¼ cup (60ml) pure maple syrup
- 1 large egg
- 3 tablespoons (45ml) coconut oil, melted
- 2 teaspoons pumpkin pie spice
- 1 teaspoon baking powder
- ¼ teaspoon salt
- 1 teaspoon vanilla extract
- ½ cup chopped pecans (optional)
- ¼ cup dark chocolate chips (optional)
- ¼ cup dried cranberries (optional)
Instructions
- Preheat your oven to 350°F (175°C). Line an 8×8 inch baking pan with parchment paper, leaving overhang on two sides.
- Place 1½ cups of the rolled oats in a food processor or blender. Pulse 10-12 times until coarse flour forms with some oat pieces. Pour into a large mixing bowl.
- Add the remaining ½ cup whole oats to the bowl and stir.
- In a separate bowl, mash the bananas with a fork until smooth but slightly lumpy.
- Add the pumpkin puree, maple syrup, egg, melted coconut oil, and vanilla extract to the mashed bananas. Whisk until smooth.
- Pour the wet mixture into the bowl with the oat mixture. Add pumpkin pie spice, baking powder, and salt. Stir until just combined (about 15 strokes). Fold in optional mix-ins if using.
- Scrape the batter into the prepared pan and spread evenly.
- Bake for 25-28 minutes, until edges are golden brown and a toothpick inserted in the center comes out with a few moist crumbs.
- Cool completely in the pan (30 minutes at room temperature, then 30 minutes in the refrigerator) before slicing.
- Lift bars out using parchment overhang, slice into 9 or 12 squares, and serve.
Notes
Don’t skip the chilling step—it helps the bars set for clean slices. Grind oats to a coarse flour for best texture. Use room temperature ingredients for even mixing. Line the pan with parchment for easy removal. Test doneness with a toothpick in the center.
Nutrition
- Serving Size: 1 bar
- Calories: 185
- Sugar: 11
- Sodium: 95
- Fat: 7
- Saturated Fat: 4
- Carbohydrates: 28
- Fiber: 4
- Protein: 5
Keywords: pumpkin oat bars, healthy breakfast bars, gluten-free breakfast, make-ahead breakfast, pumpkin recipes