Introduction
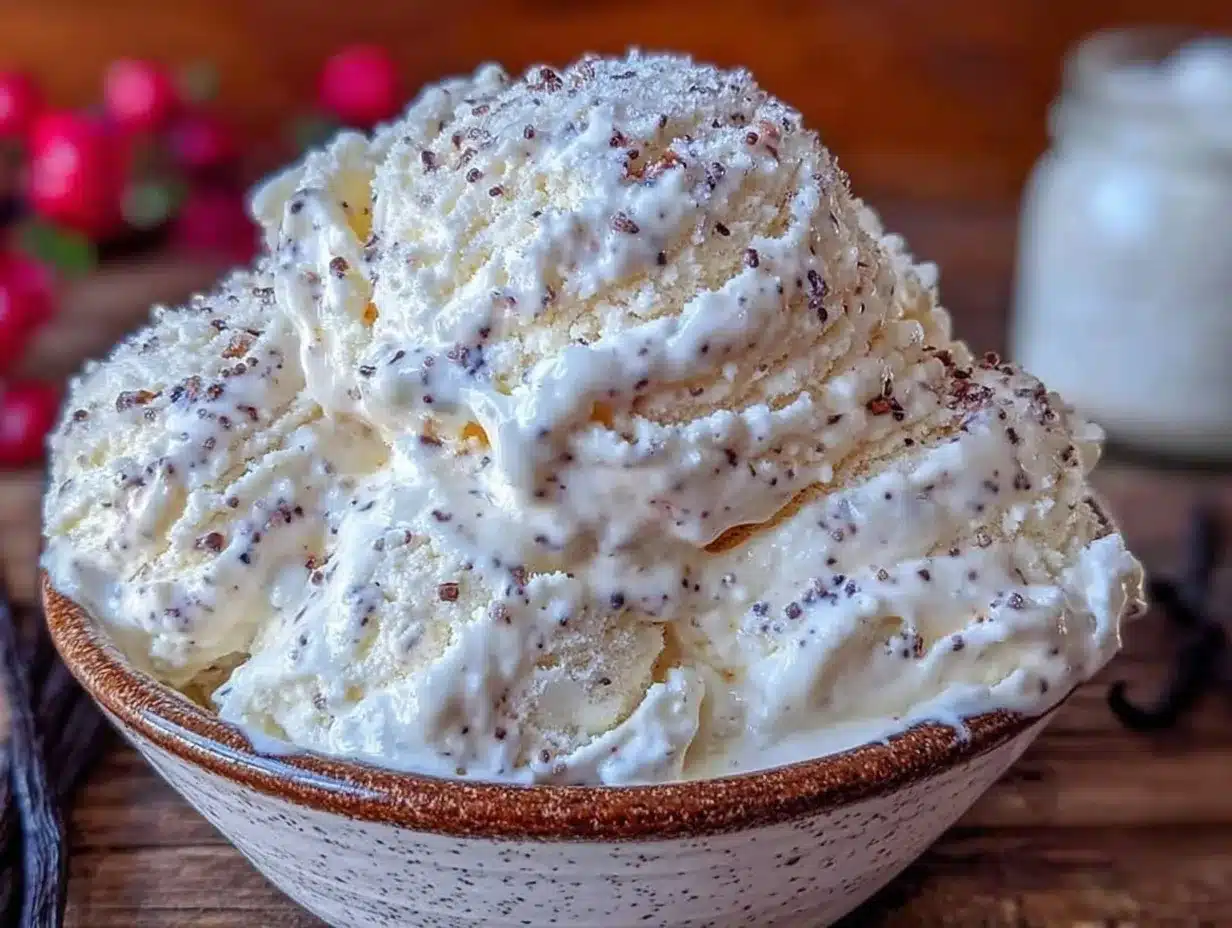
Silky ribbons swirling through a sea of snowy white—that’s the whole point. The way that creamy vanilla bean ice cream catches the light, with flecks of speckled bean dancing on the surface, is what I made this for—everything else is secondary. You know, it’s not just about the taste or the chill; it’s about that velvety texture that melts slow and smooth on your tongue, the kind that feels like a soft, cool hug on a summer afternoon. I remember the first time I whipped up this simple 3-ingredient no-churn vanilla bean ice cream. It was late at night, and the freezer was calling my name, but the idea of fussing with an ice cream maker felt like a chore I wasn’t ready to take on.
So, I grabbed what I had—heavy cream, sweetened condensed milk, and a real vanilla bean pod—and mixed them without any fancy gadgets. The result? A luscious, dreamy treat that looked like it had been churned for hours. That texture obsession stuck with me; no matter how many recipes I’ve tested, this one nails that perfect creamy mouthfeel every single time. It’s the kind of ice cream that invites you to pause and just savor the moment, the smoothness so rich and the vanilla notes so pure that you don’t even think about toppings.
Honestly, this simple recipe taught me that sometimes less really is more, especially when it comes to creamy delights. And that quiet realization—that homemade indulgence doesn’t have to be complicated—keeps me coming back to this recipe over and over again. It’s comfort in a bowl, pure and uncomplicated.
Why You’ll Love This Recipe
After countless trials in my kitchen, this creamy no-churn vanilla bean ice cream has proven to be a reliable, fuss-free favorite. Here’s what makes it stand out:
- Quick & Easy: Ready in under 10 minutes, perfect for those spontaneous dessert cravings or last-minute gatherings.
- Simple Ingredients: No need for fancy equipment or hard-to-find items—just heavy cream, sweetened condensed milk, and vanilla bean.
- Perfect for Any Occasion: Whether it’s a summer BBQ or a cozy night in, this ice cream fits right in—no melting stress involved.
- Crowd-Pleaser: Kids, adults, even picky eaters give this creamy treat a thumbs up every time.
- Unbelievably Delicious: The real vanilla bean seeds give it a natural, fragrant depth that’s far from your average vanilla ice cream.
This recipe isn’t just another no-churn vanilla ice cream floating around online. I’ve tweaked it to get that silky, smooth texture that many no-churn versions miss. Using a whole vanilla bean pod instead of extract makes a huge difference, and the sweetened condensed milk keeps it luxuriously creamy without any freezer burn or ice crystals. It’s like the ice cream you’d get at a classic parlor, but made with no fuss and zero churn.
Plus, this recipe fits right into a busy lifestyle without skimping on quality. When I want a quick homemade dessert that feels indulgent but doesn’t require standing over a machine or babysitting a custard, this is my go-to. Also, if you’re curious about pairing it with other summer favorites, it’s delicious alongside grilled peaches with honey ricotta—the creamy textures play off each other beautifully.
What Ingredients You Will Need
This recipe uses simple, wholesome ingredients to deliver bold flavor and that luscious texture without the fuss. All are pantry staples or easy to find at any grocery store, making this a breeze to throw together.
- Heavy Cream (1 ¾ cups / 420 ml) – Use full-fat for the best creamy texture. I prefer brands like Organic Valley or Horizon for consistent richness.
- Sweetened Condensed Milk (14 oz / 396 g can) – This is the magic ingredient that sweetens and thickens the ice cream without needing eggs or a custard base.
- Vanilla Bean (1 whole pod) – Split lengthwise and scrape out the seeds for that signature vanilla speckle and intense aroma. If you can’t find fresh beans, a high-quality vanilla bean paste works well too.
Optional additions (not required but fun to try): A pinch of fine sea salt can bring out the vanilla flavor even more. Also, in a pinch, you can swap the vanilla bean for 1 ½ teaspoons of pure vanilla extract, but the visual texture and flavor won’t be quite the same.
Seasonal note: If you want to jazz it up later, fresh berries or a drizzle of homemade caramel sauce (like the caramel sauce I love) make gorgeous toppings, but the pure vanilla bean ice cream on its own is truly a star.
Equipment Needed
- Mixing Bowl: A large bowl to whip the cream and fold in the other ingredients. Glass or metal works best to keep things chill.
- Electric Hand Mixer or Stand Mixer: Essential for whipping the heavy cream to soft peaks. A whisk can work but takes serious arm power.
- Spatula: For folding the condensed milk and vanilla seeds gently into the whipped cream without deflating it.
- Freezer-Safe Container: A loaf pan or airtight plastic container about 8×4 inches works great for freezing the ice cream evenly.
- Knife and Spoon: To split the vanilla bean pod and scrape out the seeds.
For budget-friendly tips: If you don’t own a stand mixer, a hand mixer is a perfect alternative and takes up less space. Also, freezing the mixing bowl for 15 minutes before whipping can help the cream thicken faster. I’ve tried this recipe with various mixers and containers, and the key is not to rush the whipping or freezing steps.
Preparation Method
- Prep the Vanilla Bean (5 minutes): Lay the vanilla bean pod flat on a cutting board. Use a sharp knife to split it lengthwise down the middle. Then, scrape the tiny black seeds out with the back of the knife and set aside. Don’t toss the pod—you can steep it later in warm milk for other recipes.
- Whip the Heavy Cream (5-7 minutes): Pour the heavy cream into your chilled mixing bowl. Using an electric mixer on medium-high speed, whip the cream until soft peaks form. This means when you lift the beaters, the cream holds gentle peaks that curl over slightly. Stop here—don’t overwhip to stiff peaks or it could get grainy.
- Fold in Sweetened Condensed Milk and Vanilla (3 minutes): Gently add the sweetened condensed milk and vanilla bean seeds to the whipped cream. Use a spatula to fold everything together—fold carefully to keep the airiness intact, but make sure the ingredients are combined evenly for that smooth texture.
- Transfer and Freeze (6 hours or overnight): Spoon the mixture into your freezer-safe container. Smooth the top with a spatula. Cover tightly with a lid or plastic wrap to prevent ice crystals. Freeze for at least 6 hours, though overnight is best. No stirring needed!
- Serving: Remove from freezer about 5 minutes before scooping for easier portioning. The ice cream should be creamy and scoopable, with visible vanilla bean flecks.
Tip: If you notice the cream isn’t whipping up properly, make sure it’s cold enough and that your bowl and beaters were chilled. Also, folding is key—too vigorous mixing deflates the air bubbles that make this creamy.
Cooking Tips & Techniques
Getting this no-churn vanilla bean ice cream just right isn’t rocket science, but a few lessons learned over the years can make a big difference:
- Chilling Matters: Always chill your mixing bowl and beaters for 10-15 minutes before whipping. It helps the cream thicken faster and hold volume.
- Don’t Overwhip: Stop whipping when you see soft peaks. Going past stiff peaks can turn the cream grainy or buttery, which ruins the smooth ice cream texture.
- Folding Gently: When combining the condensed milk and vanilla bean seeds, fold with a light hand. You want to keep as much air in the cream as possible for that fluffy, creamy feel.
- Freezing Time: Resist the urge to dig in right away. The ice cream needs at least 6 hours in the freezer to set properly. Overnight is ideal for best scoopability.
- Vanilla Bean Quality: Real vanilla beans make a noticeable difference. The tiny black specks don’t just look pretty—they pack a punch of floral, rich flavor that vanilla extract can’t match.
One time, I accidentally skipped chilling the bowl and ended up with a thin, runny mix that barely firmed up. Lesson learned: prep counts in ice cream-making just like baking. And if you want to get creative, try swirling in some homemade caramel or chocolate sauce just before freezing for a marbled effect—no stirring needed!
Variations & Adaptations
This 3-ingredient vanilla bean ice cream is a perfect base for so many tasty twists:
- Dairy-Free Version: Swap heavy cream for full-fat coconut cream and use sweetened condensed coconut milk for a tropical, creamy treat that’s vegan-friendly.
- Flavor Infusions: Add a teaspoon of espresso powder for a coffee kick, or fold in a handful of crushed chocolate chips for texture contrast.
- Fruit Swirls: Gently fold in pureed berries or mangoes right before freezing for a natural fruity ripple that’s refreshingly light.
- Spiced Vanilla: Add a pinch of cinnamon or cardamom with the vanilla seeds to warm up the flavor profile for fall and winter months.
Personally, I once tried folding in chopped roasted pecans and a drizzle of maple syrup, turning it into a nutty, sweet delight that paired wonderfully with my favorite bourbon baked beans for a fun summer BBQ twist. The texture and flavor combo was a hit!
Serving & Storage Suggestions
This creamy no-churn vanilla bean ice cream is best served just slightly softened—take it out of the freezer 5-10 minutes before scooping. The texture will be perfectly smooth and easy to portion. It pairs beautifully with warm desserts like a crisp peach cobbler or Southern peach cobbler, and a drizzle of honey or fresh berries adds a bright contrast.
For storage, keep the ice cream in an airtight container to prevent freezer burn. It stays fresh for up to 2 weeks, but honestly, it rarely lasts that long in my house! If it gets too firm, just let it sit at room temperature for a few minutes before scooping.
Flavors tend to deepen and mellow after a day or two in the freezer, making leftovers even tastier. The vanilla bean specks remain visible, offering a little sensory delight every time you dig in.
Nutritional Information & Benefits
Estimated nutrition per serving (½ cup): Approximately 250 calories, 18g fat, 20g carbohydrates, and 3g protein. This treat is rich in calcium and vitamin A thanks to the heavy cream.
The real vanilla bean adds antioxidants and may support digestion, plus sweetened condensed milk offers some protein and energy without added complicated ingredients. This recipe is naturally gluten-free and can be adapted to dairy-free versions with coconut cream.
While indulgent, this simple ice cream lets you control ingredients and avoid preservatives or artificial flavors found in store-bought options. It’s a wholesome, homemade way to satisfy sweet cravings with a pure vanilla flavor that feels special and comforting.
Conclusion
Creamy no-churn vanilla bean ice cream is proof that simplicity can deliver incredible results. With just three ingredients and zero churn, it’s a recipe you can trust to impress without stress. Whether you’re making it for a lazy weekend treat or a last-minute dessert, it promises that silky texture and fragrant vanilla that never gets old.
Feel free to make it your own—add swirls, spices, or mix-ins to suit your mood. I love coming back to this recipe because it’s reliable, straightforward, and honestly, just pure joy in a bowl. If you’ve tried this, I’d love to hear how you customized it or what your favorite pairing is—let’s share those creamy moments!
For more easy, comforting recipes that celebrate simple ingredients and big flavors, check out my double chocolate chip zucchini bread or this fresh watermelon cucumber feta salad with mint—both perfect complements to your homemade vanilla bean ice cream indulgence.
FAQs
- Can I make this ice cream without a vanilla bean? Yes, you can substitute 1 ½ teaspoons of pure vanilla extract, but the texture and flavor won’t have those beautiful bean specks or depth.
- How long does it take to freeze properly? It needs at least 6 hours to set well, but overnight yields the best texture for scooping.
- Can I add mix-ins like chocolate chips or nuts? Absolutely! Fold them in gently just before freezing for a fun twist on the classic.
- Is this recipe suitable for vegans? Not as written, but you can swap heavy cream and condensed milk for coconut cream and sweetened condensed coconut milk for a dairy-free version.
- How should I store leftovers? Keep ice cream in an airtight container in the freezer for up to 2 weeks. Let it soften a bit before scooping to preserve texture.
Pin This Recipe!
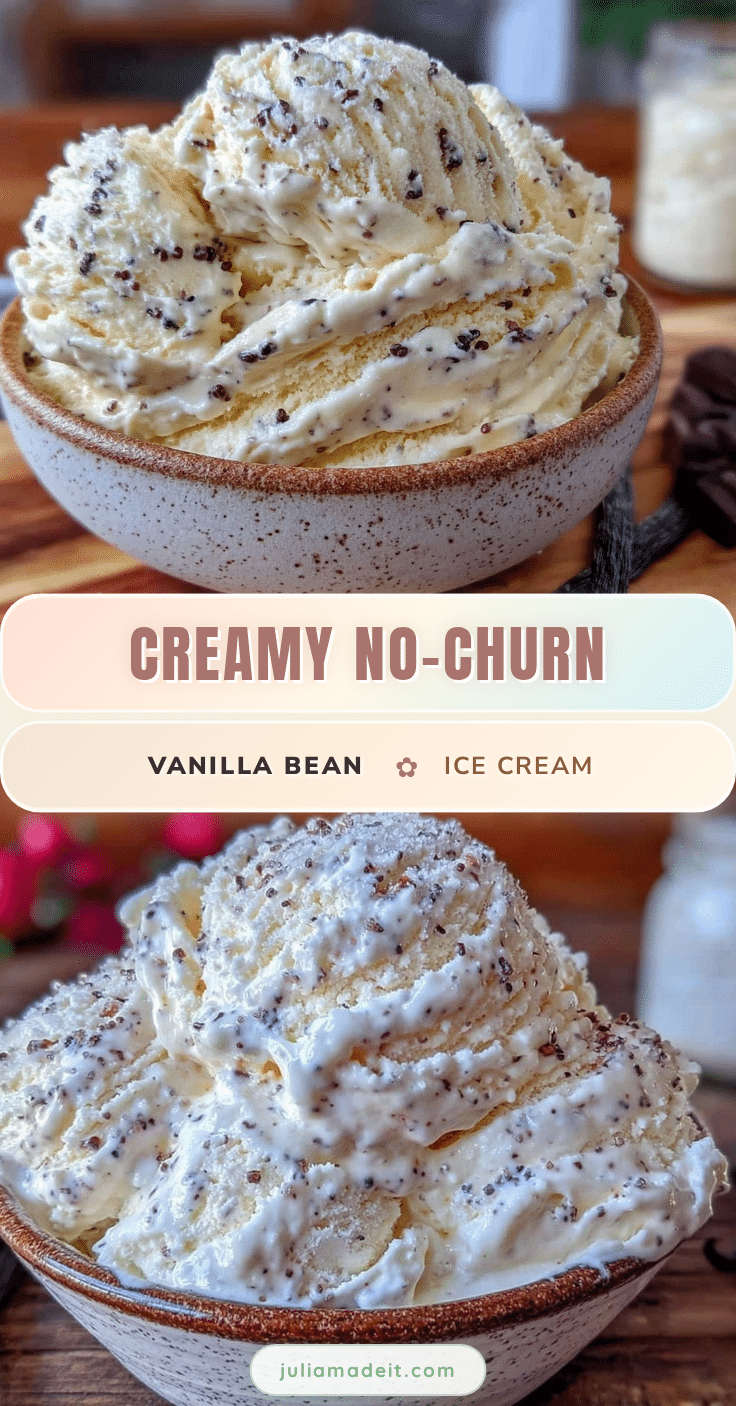
Creamy No-Churn Vanilla Bean Ice Cream Easy 3-Ingredient Recipe
A luscious, dreamy no-churn vanilla bean ice cream made with just three simple ingredients. This recipe delivers a silky, smooth texture and pure vanilla flavor without any fancy equipment.
- Prep Time: 10 minutes
- Cook Time: 0 minutes
- Total Time: 6 hours 10 minutes
- Yield: About 6 servings 1x
- Category: Dessert
- Cuisine: American
Ingredients
- 1 ¾ cups (420 ml) heavy cream, full-fat
- 14 oz (396 g) sweetened condensed milk
- 1 whole vanilla bean pod, split lengthwise and seeds scraped out
Instructions
- Prep the Vanilla Bean (5 minutes): Lay the vanilla bean pod flat on a cutting board. Use a sharp knife to split it lengthwise down the middle. Then, scrape the tiny black seeds out with the back of the knife and set aside.
- Whip the Heavy Cream (5-7 minutes): Pour the heavy cream into your chilled mixing bowl. Using an electric mixer on medium-high speed, whip the cream until soft peaks form.
- Fold in Sweetened Condensed Milk and Vanilla (3 minutes): Gently add the sweetened condensed milk and vanilla bean seeds to the whipped cream. Use a spatula to fold everything together carefully.
- Transfer and Freeze (6 hours or overnight): Spoon the mixture into your freezer-safe container. Smooth the top with a spatula. Cover tightly and freeze for at least 6 hours or overnight.
- Serving: Remove from freezer about 5 minutes before scooping for easier portioning.
Notes
Chill your mixing bowl and beaters for 10-15 minutes before whipping to help the cream thicken faster. Stop whipping at soft peaks to avoid grainy texture. Fold ingredients gently to keep airiness. Freeze for at least 6 hours or overnight for best scoopability. Optional: add a pinch of sea salt to enhance vanilla flavor or substitute vanilla bean with 1 ½ teaspoons vanilla extract (texture and flavor will differ).
Nutrition
- Serving Size: ½ cup
- Calories: 250
- Fat: 18
- Carbohydrates: 20
- Protein: 3
Keywords: no-churn ice cream, vanilla bean ice cream, easy ice cream recipe, 3-ingredient ice cream, homemade ice cream, creamy vanilla ice cream