The Sunday before the big game, and the only thing I want is a cheese ball shaped like a football. Not just any cheese ball, mind you. I wanted one that would make people stop mid-conversation, spoon in hand, and say, “Wait, did you actually make that?” The kind of appetizer that feels like a touchdown before the game even starts. I remember standing in my kitchen, the November light fading outside, staring at a block of cream cheese and thinking—there has to be a way to make this look less like a sad, round blob and more like something worthy of the pre-game hype.
I tried the obvious route first. Just shaped it with my hands, rolled it in nuts, and called it a day. It looked like a potato. A delicious potato, sure, but not a football. So I went back to the drawing board. I thought about what makes a football look like a football—the seams, the laces, the slight point at each end. And then it hit me: bacon. Crispy, crumbled bacon as the “leather” texture, and a few strategically placed strips of chive for the laces. That was the moment this recipe was born. It wasn’t about being fancy. It was about being clever with what you already have in your fridge. This crispy baked football-shaped cheese ball is my little victory lap around the appetizer table. It’s the one that disappears first, the one people photograph, the one that makes you look like you planned way more ahead than you actually did.
Honestly, it’s not complicated. It’s cream cheese, cheddar, a few seasonings, and a whole lot of bacon. The trick is in the shaping and the chill time. You can’t rush a good cheese ball, you know? Let it firm up, let the flavors meld, and then get your hands in there to mold it into that perfect oblong shape. The first time I made this for a gathering, my brother-in-law—who never comments on food—asked for the recipe before halftime. That’s when I knew I had something. So whether you’re hosting a Super Bowl party, a tailgate, or just a Tuesday night that needs a little extra fun, this one’s for you.
Why You’ll Love This Recipe
Let me tell you why this isn’t just another cheese ball recipe. I’ve tested this one at three different parties, with varying levels of crowd pickiness, and it passed every single time. It’s the kind of appetizer that bridges the gap between “I just grabbed something from the store” and “I spent hours in the kitchen,” except you didn’t. Here’s what makes it a winner:
- Game Day Ready: Shaped like a football, topped with crispy bacon, and finished with chive laces. It’s visually fun without being fussy.
- Simple Ingredients: You probably have most of these in your fridge right now. Cream cheese, cheddar, bacon, and a few pantry seasonings. No weird specialty items.
- Make-Ahead Friendly: This cheese ball actually gets better after a day in the fridge. Make it the night before, and you’re stress-free on game day.
- Crowd-Pleaser: I’ve watched people who “don’t really like cheese balls” go back for thirds. The crispy bacon coating is a game-changer.
- Totally Customizable: Spicy? Add jalapeños. Herb-forward? Throw in fresh dill. This base recipe is a blank canvas.
What sets this apart from every other cheese ball recipe out there is the texture. Most cheese balls are soft all the way through, which is fine, but this one has a crispy, crunchy exterior from the baked bacon bits. It’s like a secret handshake between creamy and crunchy. Plus, the football shape isn’t just for looks—it makes it easier to scoop with crackers because the surface area is more accessible. I learned that after my first round blob disaster. Trust me, the oblong shape works better.
This recipe is also surprisingly forgiving. If your cheese ball cracks a little while you’re shaping it, just press it back together and let it chill again. No one will ever know. And honestly, the imperfections make it look more handmade and charming. It’s not about perfection; it’s about showing up with something that makes people smile. That’s the whole point of game day food, isn’t it?
What Ingredients You Will Need
This recipe uses simple, straightforward ingredients that come together to create something way more impressive than the sum of their parts. No fancy grocery store trips required—just good, solid staples that you probably already have on hand.
- Cream cheese (16 oz), softened: The backbone of any good cheese ball. Make sure it’s at room temperature, or you’ll end up with lumps. I always use full-fat for the best texture and flavor. (Philadelphia is my go-to brand.)
- Sharp cheddar cheese (1 cup), shredded: Adds that bold, tangy flavor that cuts through the richness of the cream cheese. I prefer shredding it myself from a block—pre-shredded has anti-caking agents that can affect the texture.
- Cooked bacon (8 slices), crumbled: This is your “leather” coating. Bake it until it’s extra crispy, then let it cool completely before crumbling. The crunch is non-negotiable here.
- Green onions (3-4), thinly sliced: Adds a mild oniony freshness that balances the richness. You’ll use some in the cheese mixture and some for the laces on top.
- Worcestershire sauce (1 teaspoon): A little umami bomb that deepens the savory notes. Don’t skip this—it’s the secret ingredient that makes people ask, “What’s in this?”
- Garlic powder (½ teaspoon): For that subtle savory backbone. Fresh garlic can be too harsh here; garlic powder blends in seamlessly.
- Onion powder (½ teaspoon): Works with the garlic powder to create a classic savory profile.
- Salt (¼ teaspoon): Just a pinch to bring everything together. Remember, the bacon and cheddar are already salty.
- Black pepper (¼ teaspoon): Freshly ground, if you can. It makes a difference.
- For the coating: Extra crumbled bacon (2-3 slices) and finely chopped fresh chives or green onion tops for the laces.
For the bacon, I recommend using a thick-cut variety. It holds up better when crumbled and gives you those satisfying, meaty bits. If you’re feeling adventurous, try a maple-glazed bacon for a sweet-savory twist. I did that once for a Thanksgiving appetizer, and it was a hit. For the cheddar, a good quality sharp or extra-sharp will give you the most flavor. Mild cheddar works in a pinch, but you’ll lose some of that punch.
One ingredient tip I learned the hard way: don’t use low-fat cream cheese. It has a higher water content, which makes the cheese ball too soft and harder to shape. Stick with the full-fat stuff, and your cheese ball will hold its shape beautifully. Also, if you’re planning to make this ahead, hold off on the bacon coating until the day you serve it. The bacon can lose its crunch if it sits in the fridge too long. Just shape the cheese ball, wrap it tightly, and add the bacon right before serving.
Equipment Needed
You don’t need a ton of fancy equipment for this recipe, which is part of its charm. Here’s what you’ll need:
- Mixing bowl: A medium-sized bowl for combining the cheese mixture. Glass or stainless steel works great.
- Hand mixer or stand mixer: While you can mix by hand, a mixer makes the cream cheese silky smooth in about 30 seconds. I’ve done it both ways, and the mixer is definitely easier.
- Rubber spatula: For scraping down the sides of the bowl and getting every last bit of cheesy goodness.
- Plastic wrap: Essential for shaping and chilling the cheese ball. It keeps your hands clean and helps form that perfect football shape.
- Baking sheet: For baking the bacon. Line it with parchment paper for easy cleanup.
- Sharp knife or kitchen shears: For chopping the chives into thin, uniform strips for the laces.
- Parchment paper or wax paper: For rolling the cheese ball in the bacon coating without making a mess.
If you don’t have a hand mixer, you can definitely do this by hand. Just make sure your cream cheese is really, really soft—like, leave it on the counter for an hour soft. Then use a sturdy wooden spoon and some elbow grease. It’s a good arm workout, honestly. For the shaping, plastic wrap is your best friend. It lets you mold the cheese ball without getting your hands all sticky. If you don’t have plastic wrap, you can use a clean, slightly damp kitchen towel, but the wrap works better.
Preparation Method
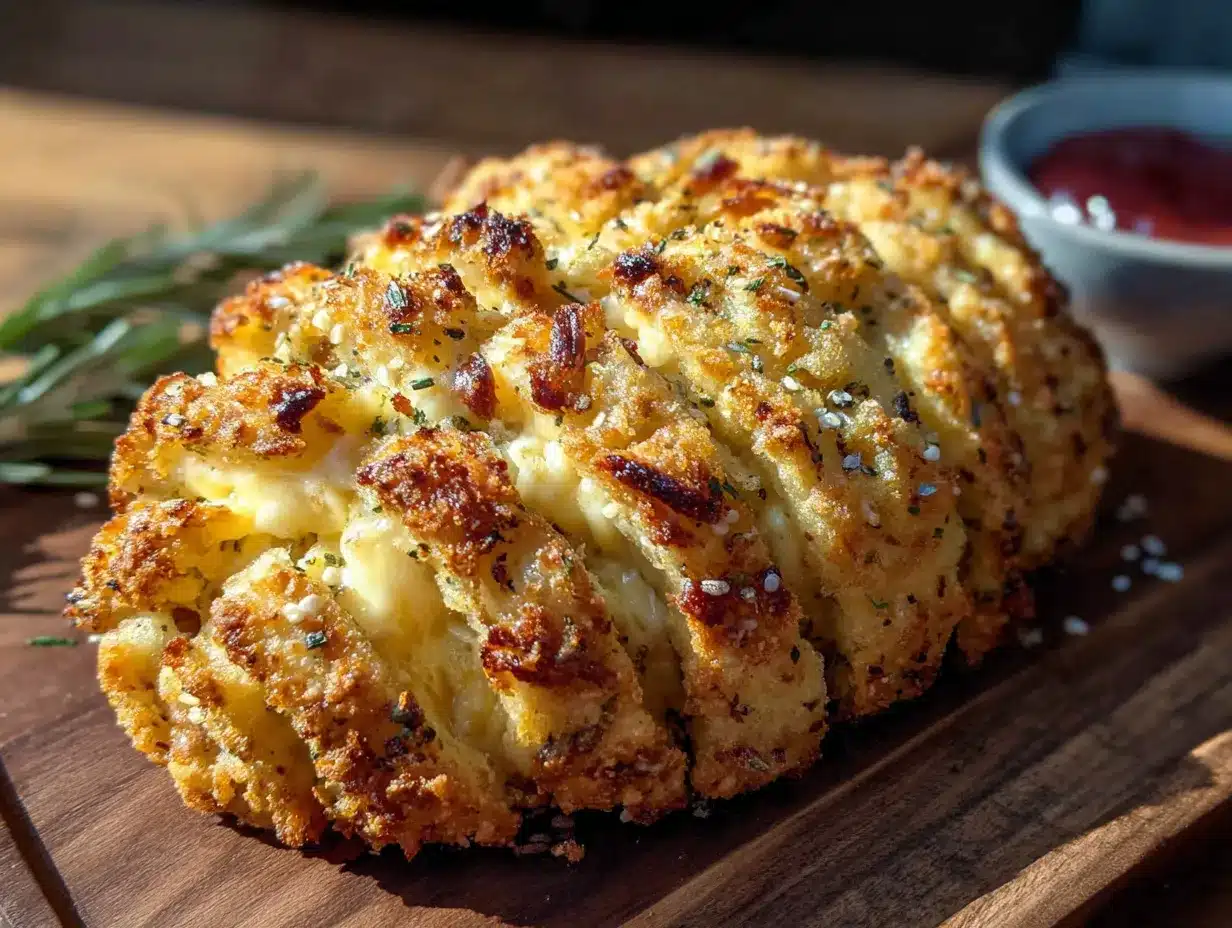
Alright, let’s get into the nitty-gritty. This recipe comes together in about 30 minutes of active time, plus a couple of hours for chilling. Plan ahead, and you’ll be golden.
- Cook the bacon: Preheat your oven to 400°F (200°C). Line a baking sheet with parchment paper and lay the bacon slices in a single layer. Bake for 15-20 minutes, until deeply crispy. I like mine almost burnt—that extra crunch is key for the coating. Let the bacon cool completely on a paper towel-lined plate. Once cool, crumble it into fine bits. You’ll need about 1 cup of crumbled bacon total. Set aside 2-3 tablespoons for the final coating.
- Soften the cream cheese: Take your cream cheese out of the fridge at least 30 minutes before you start. If you’re in a hurry, you can microwave it in 10-second bursts until it’s soft but not melted. Cut it into cubes first for even softening.
- Mix the cheese base: In a medium mixing bowl, combine the softened cream cheese, shredded cheddar, ¾ cup of the crumbled bacon (reserve the rest for coating), sliced green onions, Worcestershire sauce, garlic powder, onion powder, salt, and pepper. Mix with a hand mixer on medium speed until everything is well combined and smooth. Scrape down the sides of the bowl with a rubber spatula. Taste the mixture—yes, raw, it’s safe since there are no eggs. Adjust seasoning if needed. I usually add a pinch more pepper here.
- Chill the mixture: Cover the bowl with plastic wrap and refrigerate for at least 1 hour. This step is crucial. The mixture needs to firm up enough to hold its shape. If you try to shape it right away, it will be a sticky, sad mess. Trust me, I’ve been there.
- Shape the football: Lay a large piece of plastic wrap on your work surface. Scrape the chilled cheese mixture onto the center of the plastic wrap. Use the plastic wrap to help you shape it into a football shape—think of a slightly flattened oval with pointed ends. You want it about 6-7 inches long and 3-4 inches wide at the center. Wrap it tightly in the plastic wrap and twist the ends to secure the shape. Refrigerate for another 1-2 hours, or until very firm. Overnight is even better.
- Prepare the coating: Once the cheese ball is firm, unwrap it and place it on a sheet of parchment paper. Combine the reserved crumbled bacon with the extra 2-3 tablespoons of bacon bits you set aside. Gently press the bacon mixture onto the surface of the cheese ball, covering it evenly. Don’t press too hard—you want the bacon to stick, not embed itself into the cheese.
- Add the laces: Take your finely chopped chives or green onion tops and arrange them in a “laces” pattern on top of the cheese ball. I usually do three short, parallel strips across the center, with one longer strip running perpendicular through the middle. It sounds complicated, but it’s just a few minutes of careful placement. Use a toothpick to help position them if needed.
- Final chill: Place the finished cheese ball back in the fridge for at least 30 minutes before serving. This lets the coating set and makes it easier to slice into. Serve with your favorite crackers, pretzels, or sliced vegetables.
A few notes on timing: If you’re making this for a party, I recommend doing steps 1-4 the night before. Then, on game day, just shape, coat, and add the laces. It takes about 15 minutes of active work. Also, if your hands get too warm while shaping the cheese ball, just wash them in cold water and dry thoroughly. The warmth from your hands can soften the mixture and make it harder to work with.
Cooking Tips & Techniques
I’ve made this cheese ball more times than I can count, and I’ve learned a few things along the way. Here are my best tips for success:
- Don’t skip the first chill. I know it’s tempting to just shape it right away, but the mixture needs to firm up. If you try to shape a soft cheese mixture, you’ll end up with a sticky mess on your hands and a lopsided football. Give it that full hour in the fridge.
- Use a light touch when coating. Press the bacon on gently. If you press too hard, it’ll get embedded into the cheese and you’ll lose that crispy texture on the outside. You want the bacon to be a coating, not an ingredient.
- Bake the bacon extra crispy. The bacon will soften slightly once it’s on the cheese ball, so you want it to start out as crunchy as possible. I bake mine until it’s deep brown and almost brittle. Let it cool completely before crumbling, or it’ll just turn into a greasy paste.
- Work with cold hands. If your hands are warm, run them under cold water before shaping the cheese ball. The cold helps keep the cheese from softening too much. Dry your hands thoroughly first, obviously.
- Use a ruler for the laces. I’m not kidding. Measure out the placement of your chive laces so they look even. It’s a small detail, but it makes the football shape instantly recognizable. I use a small ruler and eyeball it, but you can use toothpicks as guides.
- Let it sit out before serving. Take the cheese ball out of the fridge about 20 minutes before you plan to serve it. It’s easier to spread when it’s slightly softened, and the flavors are more pronounced. Don’t leave it out longer than an hour, though, especially if it’s a warm day.
One mistake I made early on was using pre-shredded cheddar cheese. It has cellulose in it to prevent clumping, which can make the cheese ball a little grainy. Shredding your own cheese from a block takes an extra two minutes, and the texture is so much better. Also, don’t overmix the cheese mixture. You want it combined, but you don’t want to incorporate too much air, which can make it fluffy instead of dense and creamy. Mix just until everything comes together.
Variations & Adaptations
This recipe is incredibly versatile. Here are some of my favorite variations:
- Spicy Football: Add 1-2 finely chopped jalapeños (seeds removed for less heat) or ½ teaspoon of cayenne pepper to the cheese mixture. You can also use pepper jack cheese instead of cheddar for an extra kick. I made this version for a friend’s tailgate, and it was gone in 10 minutes.
- Herb Garden: Swap the green onions for a mix of fresh dill, parsley, and chives. Add 1 tablespoon of each, finely chopped. This version is lighter and fresher, perfect for spring gatherings. It pairs beautifully with a fresh cowboy caviar on the side.
- Smoky Bacon Cheddar: Use smoked cheddar cheese and add ½ teaspoon of smoked paprika to the mixture. The smoky flavor pairs perfectly with the bacon. This is my go-to for fall parties.
- Vegetarian Version: Skip the bacon and use finely chopped toasted pecans or walnuts for the coating. Add ½ cup of the nuts to the cheese mixture as well for extra crunch. The nutty flavor is wonderful with the cheddar.
- Gluten-Free: This recipe is naturally gluten-free as written, but make sure your Worcestershire sauce is gluten-free (some brands contain malt vinegar). Also, serve with gluten-free crackers or sliced vegetables.
- Dairy-Free: Use dairy-free cream cheese and shredded cheddar alternatives. Daiya and Violife both make good options. The texture will be slightly different, but the flavor is still great. I tested this for a friend with a dairy allergy, and it worked surprisingly well.
I once made a “dessert” version for a Super Bowl party where I swapped the cheddar for a sweetened cream cheese mixture with crushed graham crackers and chocolate chips. I shaped it like a football and coated it in crushed Oreos. It was ridiculous and amazing. Don’t be afraid to think outside the box—this recipe is a starting point, not a rulebook.
Serving & Storage Suggestions
This cheese ball is best served chilled, but not straight from the fridge. Let it sit at room temperature for about 20 minutes before serving. This softens it just enough to make it spreadable without losing its shape. Serve it on a wooden board or a platter surrounded by an assortment of dippers.
For dippers, I recommend a mix of textures and flavors:
- Crackers: Buttery Ritz-style crackers, sturdy wheat crackers, or simple saltines. Avoid anything too flavored, as it can compete with the cheese.
- Pretzels: Mini pretzels or pretzel sticks add a salty crunch that’s perfect with the creamy cheese.
- Vegetables: Celery sticks, carrot sticks, cucumber rounds, and bell pepper strips. They add freshness and color to the platter.
- Bread: Sliced baguette or crostini, lightly toasted. The crunch is wonderful.
For storage, wrap the cheese ball tightly in plastic wrap and keep it in the refrigerator. It will stay fresh for up to 5 days. The bacon coating will soften over time, so if you’re making it ahead, I recommend storing the plain cheese ball (without the coating) and adding the bacon and chives on the day you serve it. If you have leftovers, just re-wrap and refrigerate. The flavor actually gets better after a day or two as the ingredients meld together.
You can also freeze this cheese ball! Wrap it tightly in plastic wrap, then in a layer of aluminum foil, and freeze for up to 2 months. Thaw it in the refrigerator overnight before coating and serving. The texture will be slightly softer, but it’s still delicious. I’ve done this for holiday parties, and no one has ever noticed.
For a party, I like to pair this cheese ball with some of my other favorite appetizers. It goes perfectly with a savory hatch chile cheese dip for a double dose of cheesy goodness. Or, for a lighter option, serve it alongside fresh caprese skewers for a colorful, crowd-pleasing spread.
Nutritional Information & Benefits
Let’s be real—this is a cheese ball. It’s not health food, but it’s made with real ingredients, and that counts for something. Here’s the estimated nutritional breakdown per serving (based on 12 servings):
- Calories: 280
- Fat: 24g
- Saturated Fat: 13g
- Cholesterol: 65mg
- Sodium: 480mg
- Carbohydrates: 4g
- Fiber: 0g
- Sugar: 2g
- Protein: 12g
While this isn’t a low-calorie snack, it does have some redeeming qualities. The cream cheese provides a good amount of calcium and vitamin A, and the cheddar adds protein. The bacon, well, it’s bacon—it adds flavor and crunch. If you’re watching your sodium, you can use low-sodium bacon and reduce the added salt in the recipe.
For a slightly healthier twist, you can use reduced-fat cream cheese and part-skim cheddar. The texture will be a bit softer, but the flavor is still great. Serve it with vegetable sticks instead of crackers to cut down on carbs. It’s all about balance, you know? This is a treat, and treats are meant to be enjoyed. Just don’t eat the whole thing in one sitting—though I won’t judge you if you do.
Conclusion
This crispy baked football-shaped cheese ball is more than just an appetizer—it’s a conversation starter. It’s the kind of dish that makes people smile before they even taste it, and then they smile even more after that first bite. The combination of creamy, tangy cheese, crunchy bacon, and fresh chives is a classic for a reason. And the football shape? It’s just plain fun.
I love this recipe because it’s forgiving. You don’t have to be a professional chef to pull it off. You just need a little patience for the chilling time and a willingness to get your hands a little messy. The first time I made it, I was nervous it wouldn’t look right. But when I set it on the table, surrounded by crackers and pretzels, and watched people’s faces light up, I knew I had something special. It’s become my go-to for every game day, every potluck, every gathering where I want to bring something that feels a little extra.
So go ahead and give it a try. Customize it with your favorite mix-ins, make it as spicy or as mild as you like, and don’t forget to take a picture before it disappears. I’d love to hear how it turns out for you—leave a comment below and let me know your favorite variation. Did you add jalapeños? Swap the bacon for pecans? I’m always looking for new ideas. And if you’re looking for more game day inspiration, check out this crispy parmesan zucchini fritters recipe for another crowd-pleasing snack. Happy cooking, and enjoy every cheesy, bacon-y bite!
Frequently Asked Questions
Can I make this cheese ball ahead of time?
Absolutely! In fact, I recommend it. You can prepare the cheese mixture and shape it into a football up to 2 days in advance. Just wrap it tightly in plastic wrap and keep it in the fridge. Add the bacon coating and chive laces on the day you plan to serve it for the best texture.
How do I get the football shape to hold?
The key is chilling. Make sure the cheese mixture is thoroughly chilled before you try to shape it. Use plastic wrap to help mold it into an oval with slightly pointed ends. If it starts to soften, pop it back in the fridge for 15 minutes. Patience is your friend here.
Can I use turkey bacon instead of regular bacon?
Yes, you can. Turkey bacon works, but it won’t get as crispy and has a different flavor. I recommend cooking it until it’s very crisp and letting it cool completely before crumbling. The texture won’t be quite the same, but it’s a good option if you’re watching your fat intake.
What if I don’t have a hand mixer?
No problem! You can mix the ingredients by hand with a sturdy wooden spoon. Just make sure your cream cheese is really soft—leave it out on the counter for a full hour. It’ll take a little more effort, but the result will be the same. Just mix until everything is well combined.
Can I freeze the cheese ball?
Yes, you can freeze it! Wrap the shaped, uncoated cheese ball tightly in plastic wrap, then in a layer of aluminum foil. Freeze for up to 2 months. Thaw it in the refrigerator overnight, then add the bacon coating and chives before serving. The texture will be slightly softer, but it’s still delicious.
Pin This Recipe!
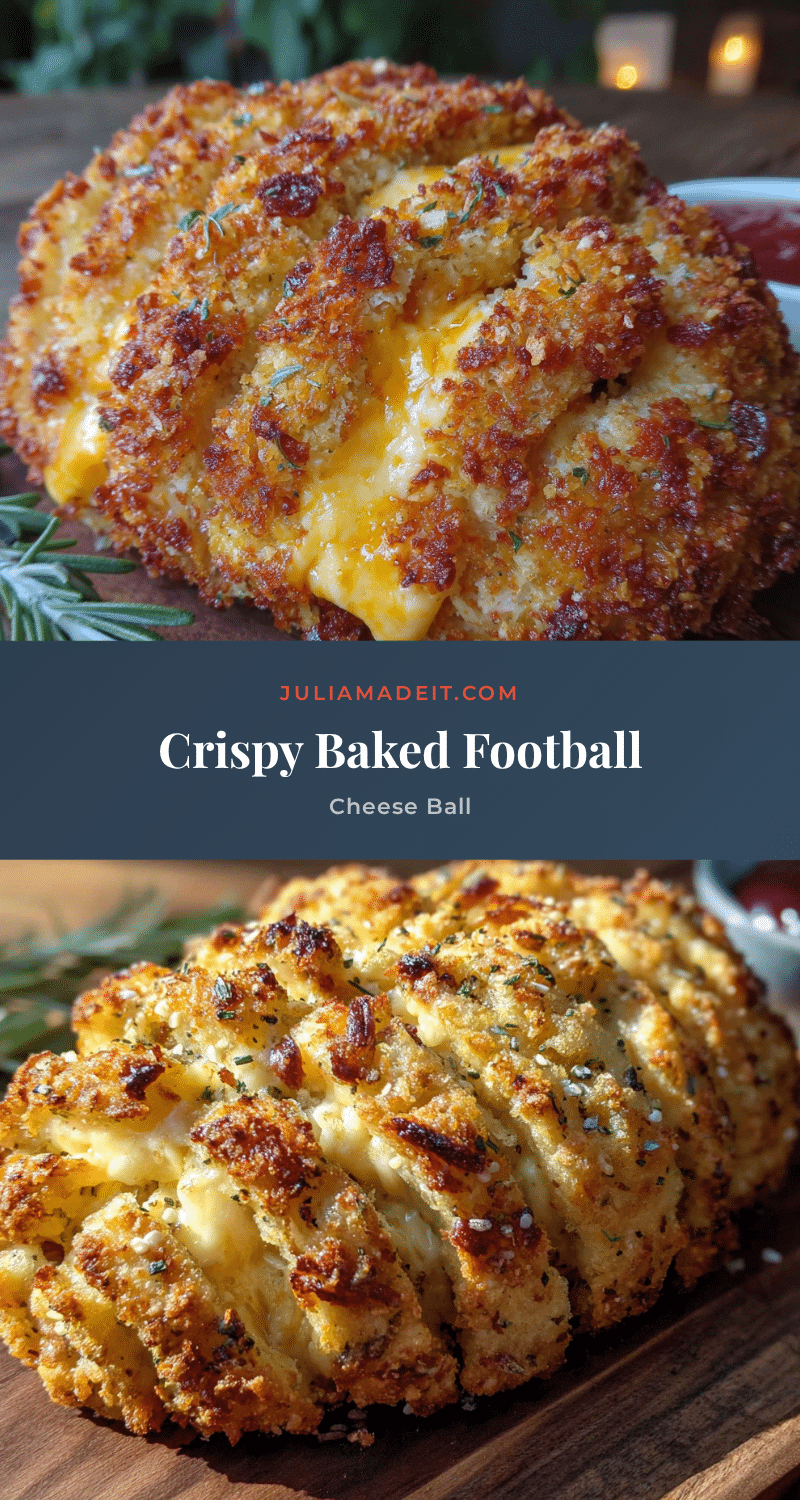
Crispy Baked Football Cheese Ball: Easy Game Day Appetizer

A fun and delicious cheese ball shaped like a football, coated in crispy bacon and topped with chive laces. Perfect for game day, tailgates, or any party where you want to impress your guests with a clever and crowd-pleasing appetizer.
- Prep Time: 30 minutes
- Cook Time: 20 minutes
- Total Time: 3 hours 50 minutes (includes chilling time)
- Yield: 12 servings 1x
- Category: Appetizer
- Cuisine: American
Ingredients
- 16 oz cream cheese, softened
- 1 cup sharp cheddar cheese, shredded
- 8 slices cooked bacon, crumbled (about 1 cup total)
- 3–4 green onions, thinly sliced
- 1 teaspoon Worcestershire sauce
- ½ teaspoon garlic powder
- ½ teaspoon onion powder
- ¼ teaspoon salt
- ¼ teaspoon black pepper
- For the coating: 2-3 extra slices bacon, cooked and crumbled
- For the laces: finely chopped fresh chives or green onion tops
Instructions
- Cook the bacon: Preheat oven to 400°F (200°C). Line a baking sheet with parchment paper and lay bacon slices in a single layer. Bake for 15-20 minutes until deeply crispy. Let cool completely on a paper towel-lined plate, then crumble into fine bits. Set aside 2-3 tablespoons for the final coating.
- Soften the cream cheese: Remove cream cheese from fridge at least 30 minutes before starting. If in a hurry, microwave in 10-second bursts until soft but not melted.
- Mix the cheese base: In a medium mixing bowl, combine softened cream cheese, shredded cheddar, ¾ cup crumbled bacon (reserve rest for coating), sliced green onions, Worcestershire sauce, garlic powder, onion powder, salt, and pepper. Mix with a hand mixer on medium speed until well combined and smooth. Scrape down sides of bowl. Taste and adjust seasoning if needed.
- Chill the mixture: Cover bowl with plastic wrap and refrigerate for at least 1 hour until firm.
- Shape the football: Lay a large piece of plastic wrap on work surface. Scrape chilled cheese mixture onto center. Use plastic wrap to help shape into a football shape (slightly flattened oval with pointed ends, about 6-7 inches long and 3-4 inches wide at center). Wrap tightly and twist ends to secure. Refrigerate for another 1-2 hours until very firm (overnight is even better).
- Prepare the coating: Once cheese ball is firm, unwrap and place on parchment paper. Combine reserved crumbled bacon with extra 2-3 tablespoons bacon bits. Gently press bacon mixture onto surface of cheese ball, covering evenly.
- Add the laces: Arrange finely chopped chives or green onion tops in a ‘laces’ pattern on top of cheese ball (three short parallel strips across center with one longer strip running perpendicular through middle). Use a toothpick to help position if needed.
- Final chill: Place finished cheese ball back in fridge for at least 30 minutes before serving. Serve with crackers, pretzels, or sliced vegetables.
Notes
Don’t skip the first chill – the mixture needs to firm up. Use a light touch when coating with bacon to keep it crispy. Bake bacon extra crispy as it will soften slightly on the cheese ball. Work with cold hands when shaping. Let cheese ball sit out 20 minutes before serving for best flavor and spreadability. Can be made ahead: prepare cheese mixture and shape up to 2 days in advance, add coating and laces on serving day. Can be frozen for up to 2 months.
Nutrition
- Serving Size: 1 serving (based on
- Calories: 280
- Sugar: 2
- Sodium: 480
- Fat: 24
- Saturated Fat: 13
- Carbohydrates: 4
- Protein: 12
Keywords: cheese ball, football cheese ball, game day appetizer, bacon cheese ball, easy appetizer, party food, Super Bowl snack