Introduction
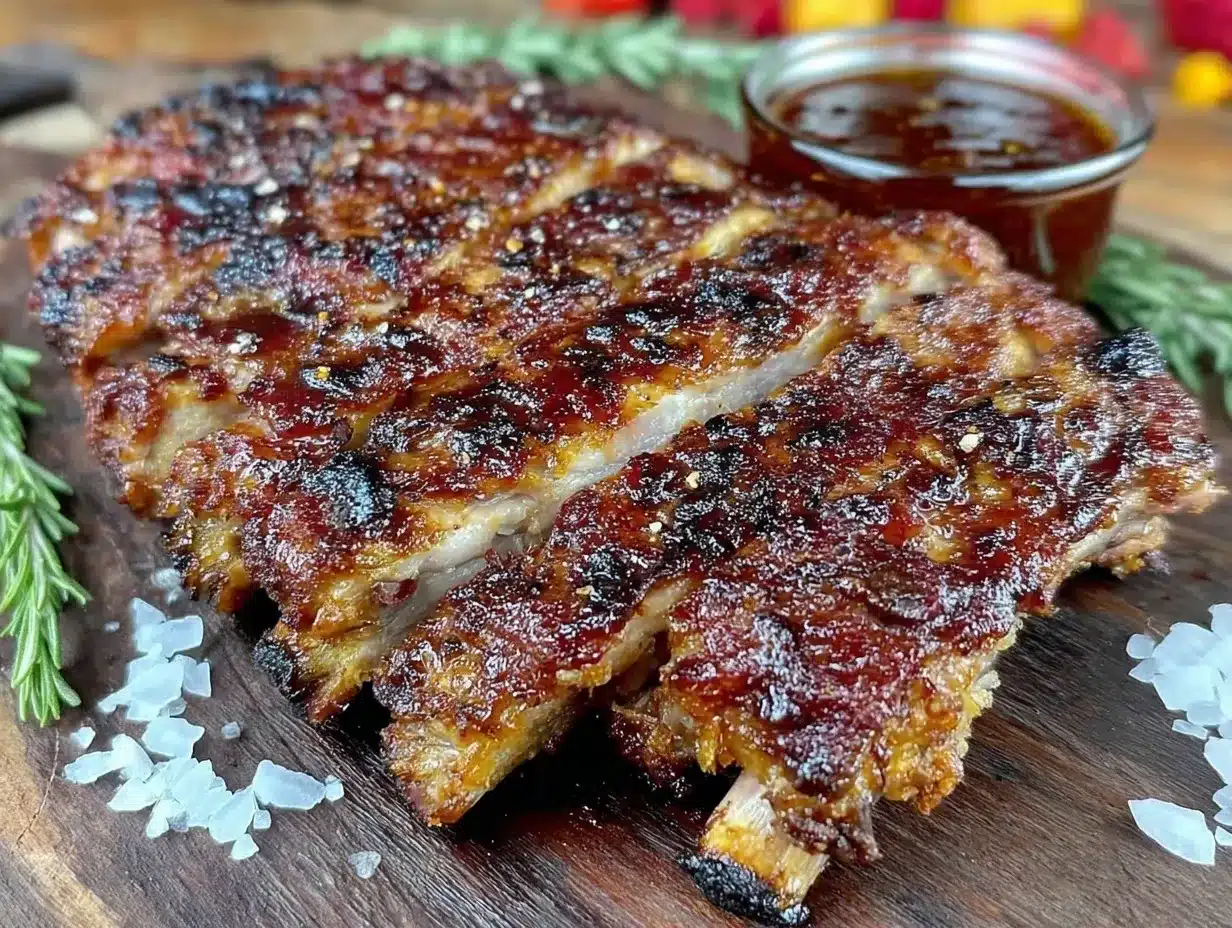
“You sure those ribs are ready?” my friend asked, skeptical as I barely restrained a grin. It was one of those late afternoons when the grill was already fired up, and I was racing against the clock and a hungry crowd. Honestly, I wasn’t fully convinced myself, but that vinegar mop had been working its magic all afternoon. The smell, tangy and smoky, drifted through the backyard like a promise. When I finally sliced into those baby back ribs, the meat just slipped off the bone—no tugging, no wrestling. That moment? It sealed the deal for me, and since then, this tender fall-off-the-bone baby back ribs recipe with dry rub and vinegar mop has been my go-to for easy summer cookouts and cozy weekend dinners.
There’s something about those ribs that feels like a small victory in a busy day, the kind of comfort food that doesn’t need any fancy fuss but still impresses everyone at the table. I’ve made ribs before, you know, but this method — the dry rub combined with that sharp, slightly sweet vinegar mop — keeps the meat juicy and flavorful in a way that just sticks with you. Plus, it’s the kind of recipe you can tweak to make your own, whether you’re a smokehouse pro or just firing up your backyard grill for the first time.
If you’ve ever hesitated because ribs seem complicated or time-consuming, this recipe will quietly change your mind. It’s straightforward, forgiving, and honestly, a little addictive once you get it right. And it pairs beautifully with simple sides, like a fresh corn salad or a tangy slaw — kind of like those Mexican street corn esquites cups I tried last summer, which always get rave reviews.
So, here’s the thing: These ribs have a story, but mostly they have a taste that keeps people coming back. I think you’ll see why.
Why You’ll Love This Recipe
This tender baby back ribs recipe isn’t just another take on a BBQ classic. After trying out countless versions (and yes, some epic fails), I landed on this easy dry rub and vinegar mop technique that balances bold flavor with juicy tenderness every single time. Here’s why it’s become a staple in my kitchen:
- Quick & Easy: The dry rub comes together in minutes, and the vinegar mop keeps the ribs moist without constant babysitting. Total hands-on time is under 20 minutes before the slow cooking magic happens.
- Simple Ingredients: No need to hunt for exotic spices or sauces. You’ll find most of what you need right in your pantry, from smoked paprika to brown sugar.
- Perfect for Gatherings: Whether it’s a casual weekend BBQ or an unplanned get-together, these ribs impress without stress.
- Crowd-Pleaser: Kids love how tender and flavorful the ribs are, and adults always ask for seconds. Honestly, it’s rare I get leftovers!
- Unbelievably Delicious: The dry rub creates a flavorful crust that contrasts with the juicy meat inside, while the vinegar mop adds a subtle tang that cuts through the richness.
What sets this recipe apart is the vinegar mop — a simple but game-changing step that many overlook. It’s not just about moisture; it adds layers of brightness and depth to the ribs. Plus, the dry rub recipe I settled on carefully balances smoky, sweet, and spicy notes without overpowering the natural pork flavor. You won’t find a heavy sauce drowning this one; it’s all about letting the meat shine.
And honestly, it’s the kind of recipe you’ll want to make again and again, whether you’re pairing it with a crisp lemon herb quinoa salad or a rich, creamy side like creamy street corn pasta salad. This is comfort food that feels like a little reward after a long day — and that’s why it’s stuck with me.
What Ingredients You Will Need
This recipe uses simple, wholesome ingredients to deliver bold flavor and satisfying texture without the fuss. Most are pantry staples or easy to find at any grocery store, making it perfect for spontaneous grilling sessions.
- Baby back ribs: 2 racks (about 3-4 pounds / 1.4-1.8 kg), trimmed of silver skin (this helps with tenderness)
- Dry rub ingredients:
- 2 tablespoons smoked paprika (I like McCormick for that deep smoky note)
- 1 tablespoon brown sugar, packed (adds subtle sweetness and caramelization)
- 1 teaspoon garlic powder
- 1 teaspoon onion powder
- 1 teaspoon chili powder (adjust to taste for heat)
- 1 teaspoon kosher salt
- ½ teaspoon black pepper, freshly ground
- ½ teaspoon cumin (adds earthiness)
- Vinegar mop:
- ½ cup apple cider vinegar (sharp and tangy, key for tenderizing)
- ¼ cup water
- 2 tablespoons brown sugar (balances acidity)
- 1 teaspoon Worcestershire sauce (optional, adds umami depth)
- ½ teaspoon crushed red pepper flakes (optional, for a little kick)
- Additional: Cooking oil or spray (to lightly coat the ribs before applying the rub)
Pro tip: If you want to swap out the apple cider vinegar, white vinegar works in a pinch but lacks some of the fruity complexity. For a gluten-free dry rub, double-check that your chili powder and Worcestershire sauce are certified gluten-free. I’ve also tried this with bone-in pork loin ribs, but baby back are my favorite for their tenderness and cook time.
Equipment Needed
- Grill or smoker: A charcoal or gas grill works perfectly; I usually use a charcoal grill for that authentic smoky flavor, but a smoker is ideal for slow cooking.
- Basting brush or mop brush: Essential for applying the vinegar mop evenly over the ribs.
- Aluminum foil: For wrapping ribs during the cooking process to retain moisture.
- Sharp knife: To trim off the silver skin from the ribs (this step makes a big difference).
- Mixing bowls: For combining the dry rub and mop ingredients.
- Instant-read meat thermometer: Optional, but helpful to check doneness without guessing.
If you don’t have a grill, you can adapt this recipe in the oven — a low and slow roast with the same rub and mop technique works like a charm. For budget-friendly options, a disposable aluminum tray can hold the ribs if you lack a rib rack, but be mindful of airflow for even cooking. Also, keep a spray bottle handy to mist the ribs with mop liquid if you don’t want to brush constantly.
Preparation Method
- Trim the ribs: Using a sharp knife, gently remove the silver skin membrane on the bone side of the ribs. This helps the dry rub penetrate better and results in more tender meat. (About 5 minutes)
- Prepare the dry rub: In a small bowl, combine smoked paprika, brown sugar, garlic powder, onion powder, chili powder, salt, black pepper, and cumin. Mix well to break up any clumps. (2 minutes)
- Apply the rub: Lightly coat the ribs with cooking oil or spray, then generously massage the dry rub all over the ribs on both sides. Don’t be shy — this seasoning forms the flavorful crust. (5 minutes)
- Preheat your grill or smoker: Set up for indirect heat at about 275°F (135°C). If using charcoal, bank coals to one side; if gas, turn off one burner. Place a drip pan under the grill grate where ribs will cook. (10-15 minutes)
- Make the vinegar mop: In a heatproof bowl, whisk together apple cider vinegar, water, brown sugar, Worcestershire sauce, and red pepper flakes. Heat gently until sugar dissolves, then set aside. (5 minutes)
- Cook the ribs: Place ribs bone side down on the cooler side of the grill. Close the lid and let them cook low and slow for about 2 hours. Every 30 minutes, baste the ribs with the vinegar mop to keep them moist and add flavor. Resist the urge to flip too often — patience is key. (2 hours)
- Wrap in foil: After 2 hours, wrap the ribs tightly in aluminum foil to lock in moisture. Return to the grill and cook for another 45 minutes to 1 hour. You’ll know they’re ready when the meat pulls back from the bones and feels tender when poked. (45-60 minutes)
- Finish over direct heat: Carefully unwrap the ribs and place them over direct heat for 5-10 minutes to develop a slight crust. Brush with extra mop sauce if desired. Watch closely to avoid flare-ups. (5-10 minutes)
- Rest and serve: Let ribs rest for 10 minutes before slicing between the bones. This helps juices redistribute and keeps the meat tender. (10 minutes)
Quick tip: If you don’t have a thermometer, test for doneness by gently picking up the rack with tongs — it should bend easily and the meat should start pulling away from the bones. The vinegar mop can be adjusted in sweetness or heat to suit your taste. And if you’re wondering about pairing, these ribs go beautifully with a fresh summer side like the fresh lemon herb quinoa salad.
Cooking Tips & Techniques
Getting fall-off-the-bone ribs isn’t just about cooking low and slow; it’s about knowing the little tricks that keep the meat juicy and flavorful. Here are some lessons I learned the hard way:
- Don’t skimp on trimming: That silver skin is tough and prevents seasoning from soaking in. Removing it makes a big difference in tenderness.
- Patience pays off: Resist the urge to crank up the heat or rush the process. Low temperature and time allow the collagen to break down properly.
- Use the vinegar mop regularly: Brushing every 30 minutes keeps the ribs moist and adds a tangy brightness that balances the richness. I once forgot the mop step and the ribs turned out dry and flat — not fun.
- Wrap for tenderness: The foil wrap traps steam and keeps the ribs juicy. Don’t skip this step or you risk drying out the meat.
- Finish with a crust: The last few minutes over direct heat create that signature bark — crispy, flavorful, and irresistible.
Also, multitasking during the cook works well. While ribs are slow-smoking, you can prep sides or even bake a dessert like the sopapilla cheesecake bars I love making for summer gatherings. And if you’re using a charcoal grill, keep an eye on the coals and add wood chips for smoke flavor if you want that extra depth.
Variations & Adaptations
This recipe is a flexible base that welcomes a few creative twists depending on your preferences or dietary needs.
- Spicy Kick: Add cayenne or chipotle powder to the dry rub for a smoky heat. I sometimes swap chili powder for ancho chili for a deeper smoky flavor.
- Sweet and Tangy Glaze: Brush the ribs with a homemade BBQ sauce or a mixture of honey and Dijon mustard during the last 10 minutes for a sticky finish.
- Oven-Baked Version: Wrap ribs in foil and bake at 275°F (135°C) for 3 hours, basting with the vinegar mop every 45 minutes. Finish under the broiler to crisp the surface.
- Gluten-Free: This recipe is naturally gluten-free if you use gluten-free Worcestershire sauce and verify your spices.
- Vegan/Plant-Based: Not quite ribs, but you can experiment with smoked jackfruit and a similar dry rub for a BBQ-inspired plant-based option.
One personal favorite variation is swapping apple cider vinegar for balsamic in the mop for a richer flavor profile. It’s unexpected but works beautifully with the sweet notes in the rub.
Serving & Storage Suggestions
These ribs shine best fresh off the grill, served warm with simple sides that complement but don’t compete with their flavor. I like serving them alongside crisp slaws, grilled veggies, or a light salad like the fresh watermelon cucumber feta salad for a refreshing contrast.
Leftovers? Wrap the ribs tightly in foil and store in the refrigerator for up to 3 days. Reheat gently in the oven at 300°F (150°C) wrapped in foil to keep them moist. Avoid microwaving unless you want rubbery meat (been there, done that!). For longer storage, ribs freeze well for up to 2 months — thaw overnight in the fridge before reheating.
The flavors actually deepen over a day or two, so if you’re prepping ahead for a party, it’s not a bad idea to make the ribs a day before and reheat slowly. Just give them a quick brush of the vinegar mop or your favorite BBQ sauce before serving to freshen up the glaze.
Nutritional Information & Benefits
These baby back ribs deliver a satisfying source of protein, with about 25-30 grams per serving (3-4 oz / 85-113g cooked meat). The dry rub spices offer antioxidants, and the apple cider vinegar in the mop has been linked to digestive benefits and blood sugar moderation.
While ribs are naturally higher in fat, trimming the silver skin and excess fat before cooking cuts down on grease. Pairing ribs with fresh vegetables or salads balances the meal nutritionally.
This recipe fits most low-carb and gluten-free diets when using the correct ingredients. Just watch portion sizes if you’re monitoring calories, but honestly, sometimes a little indulgence is part of enjoying good food and company.
Conclusion
This tender baby back ribs recipe with dry rub and vinegar mop is one of those dishes that makes you feel like you nailed it — every time. It’s simple enough for a weeknight treat but special enough to serve when friends drop by unexpectedly. I love how it brings people together around the grill, sparking conversation and full bellies.
Feel free to tweak the spice levels or try the variations to suit your mood or season. And if you want to round out your BBQ menu, pairing these ribs with a dish like easy Mediterranean chicken sheet pan makes for a satisfying, crowd-pleasing feast.
Give it a try, and you might find yourself making these ribs over and over too. There’s just something about that fall-off-the-bone texture and tangy mop that keeps calling me back to the grill.
FAQs
How long should I cook baby back ribs for tender results?
Cook them low and slow at around 275°F (135°C) for about 3 to 3.5 hours total, including wrapped time. The key is patience to allow the collagen to break down fully.
What’s the purpose of the vinegar mop?
The vinegar mop keeps the ribs moist, adds tangy brightness, and helps balance the rich pork flavors without overpowering them.
Can I make this recipe without a grill?
Absolutely! You can bake the ribs in the oven at 275°F (135°C) for about 3 hours, mopping with the vinegar mixture every 45 minutes and finishing under the broiler for a crusty finish.
Should I remove the silver skin before cooking ribs?
Yes, removing the silver skin membrane helps the rub penetrate better and results in more tender, flavorful ribs.
Can I prepare the dry rub and mop ahead of time?
Yes, both can be made a day ahead and stored in airtight containers. The flavors actually meld nicely with time, making prep easier on cooking day.
Pin This Recipe!
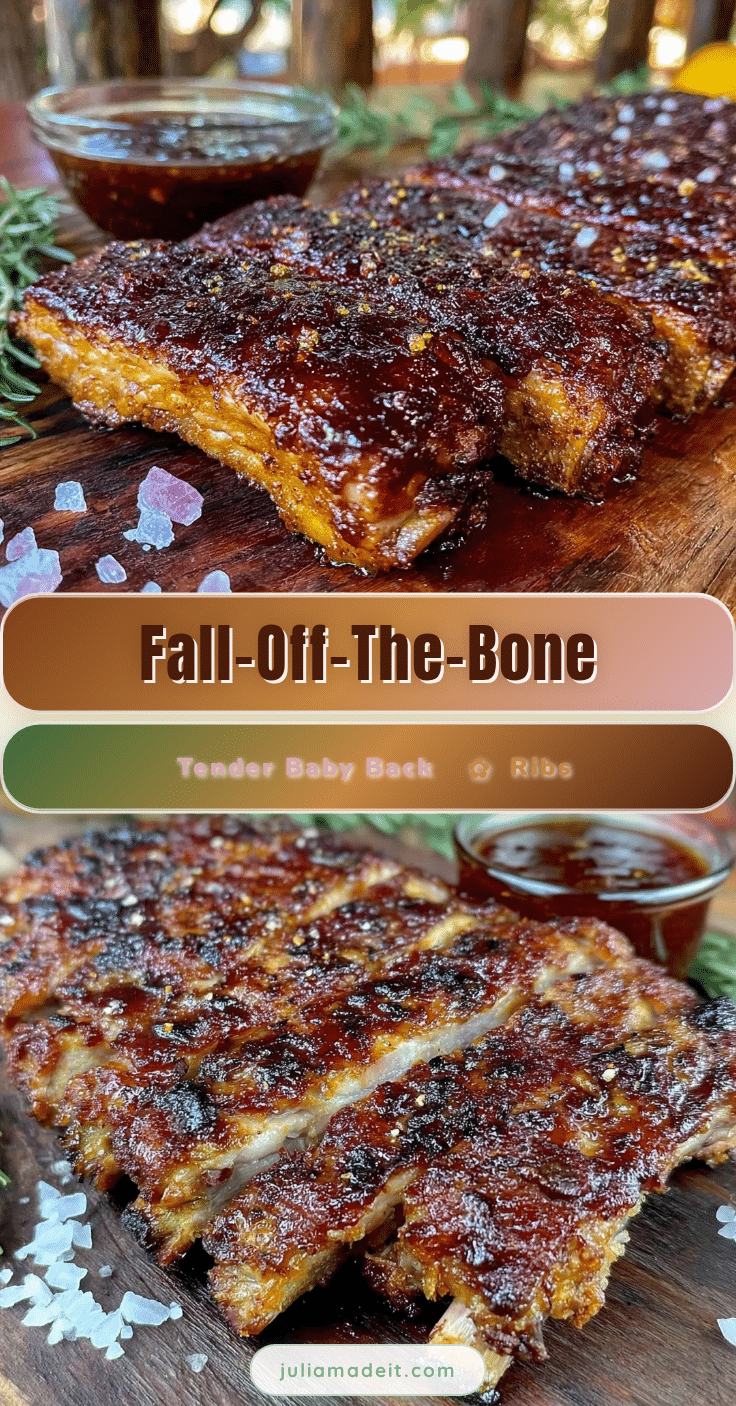
Tender Baby Back Ribs Recipe Easy Dry Rub and Vinegar Mop Guide
This tender baby back ribs recipe features an easy dry rub and a tangy vinegar mop that keeps the meat juicy and flavorful, perfect for summer cookouts and cozy dinners.
- Prep Time: 15 minutes
- Cook Time: 3 hours 15 minutes
- Total Time: 3 hours 30 minutes
- Yield: 4 servings 1x
- Category: Main Course
- Cuisine: American
Ingredients
- 2 racks baby back ribs (about 3–4 pounds / 1.4–1.8 kg), trimmed of silver skin
- 2 tablespoons smoked paprika
- 1 tablespoon brown sugar, packed
- 1 teaspoon garlic powder
- 1 teaspoon onion powder
- 1 teaspoon chili powder
- 1 teaspoon kosher salt
- ½ teaspoon black pepper, freshly ground
- ½ teaspoon cumin
- ½ cup apple cider vinegar
- ¼ cup water
- 2 tablespoons brown sugar
- 1 teaspoon Worcestershire sauce (optional)
- ½ teaspoon crushed red pepper flakes (optional)
- Cooking oil or spray (to lightly coat the ribs)
Instructions
- Trim the ribs: Using a sharp knife, gently remove the silver skin membrane on the bone side of the ribs. This helps the dry rub penetrate better and results in more tender meat. (About 5 minutes)
- Prepare the dry rub: In a small bowl, combine smoked paprika, brown sugar, garlic powder, onion powder, chili powder, salt, black pepper, and cumin. Mix well to break up any clumps. (2 minutes)
- Apply the rub: Lightly coat the ribs with cooking oil or spray, then generously massage the dry rub all over the ribs on both sides. Don’t be shy — this seasoning forms the flavorful crust. (5 minutes)
- Preheat your grill or smoker: Set up for indirect heat at about 275°F (135°C). If using charcoal, bank coals to one side; if gas, turn off one burner. Place a drip pan under the grill grate where ribs will cook. (10-15 minutes)
- Make the vinegar mop: In a heatproof bowl, whisk together apple cider vinegar, water, brown sugar, Worcestershire sauce, and red pepper flakes. Heat gently until sugar dissolves, then set aside. (5 minutes)
- Cook the ribs: Place ribs bone side down on the cooler side of the grill. Close the lid and let them cook low and slow for about 2 hours. Every 30 minutes, baste the ribs with the vinegar mop to keep them moist and add flavor. Resist the urge to flip too often — patience is key. (2 hours)
- Wrap in foil: After 2 hours, wrap the ribs tightly in aluminum foil to lock in moisture. Return to the grill and cook for another 45 minutes to 1 hour. You’ll know they’re ready when the meat pulls back from the bones and feels tender when poked. (45-60 minutes)
- Finish over direct heat: Carefully unwrap the ribs and place them over direct heat for 5-10 minutes to develop a slight crust. Brush with extra mop sauce if desired. Watch closely to avoid flare-ups. (5-10 minutes)
- Rest and serve: Let ribs rest for 10 minutes before slicing between the bones. This helps juices redistribute and keeps the meat tender. (10 minutes)
Notes
Remove silver skin for tenderness. Use vinegar mop every 30 minutes to keep ribs moist. Wrap ribs in foil to lock in moisture. Finish over direct heat for crust. Oven baking alternative at 275°F for 3 hours with mop every 45 minutes. Store leftovers wrapped in foil in fridge up to 3 days or freeze up to 2 months.
Nutrition
- Serving Size: 3-4 oz (85-113g) coo
- Calories: 350
- Sugar: 6
- Sodium: 600
- Fat: 25
- Saturated Fat: 8
- Carbohydrates: 8
- Fiber: 1
- Protein: 28
Keywords: baby back ribs, dry rub, vinegar mop, BBQ ribs, grilled ribs, tender ribs, easy ribs recipe, summer cookout, fall-off-the-bone ribs