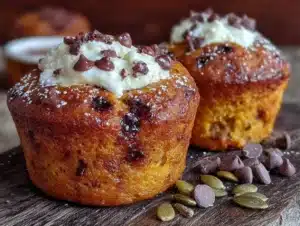
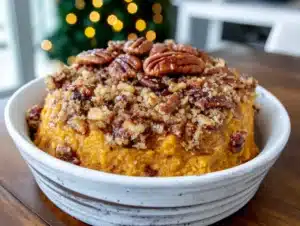
Late October, a Tuesday that felt like a Tuesday, and the only thing I wanted was a warm slice of something that tasted like fall but didn’t require digging out the mixer. The bananas on my counter had gone spotty and sad, and a can of pumpkin puree was staring at me from the pantry shelf. So I grabbed one bowl, a fork, and decided to see what happened.
Honestly, I wasn’t expecting much. I’ve made enough quick breads to know they can be fussy—overmixing ruins the texture, too much liquid makes them sink, and without a mixer, you’re basically arm-wrestling the batter into submission. But this one-bowl pumpkin banana bread? It came out so tender and perfectly spiced that I ate two slices before it even cooled. (No regrets.)
That’s the thing about recipes born from laziness and a messy kitchen—they often end up being the ones you make on repeat. This loaf is proof that you don’t need fancy equipment or a sink full of bowls to get something that tastes like you spent hours on it. It’s just ripe bananas, pumpkin, warm spices, and one bowl that does all the work.
Why You’ll Love This Recipe
Let me tell you why this pumpkin banana bread has earned a permanent spot in my fall baking rotation. It’s not just another quick bread—it’s the one I actually look forward to making, and here’s why you will too:
- One Bowl, No Mixer: You read that right. Everything comes together in a single bowl with just a whisk and a spatula. No hauling out the stand mixer or scrubbing extra dishes.
- Perfectly Moist Every Time: The combination of ripe bananas and pumpkin puree creates a texture that’s almost pudding-like—tender, soft, and never dry. I’ve tested this more times than I care to admit, and it’s never let me down.
- Pantry-Friendly Ingredients: You probably already have everything you need. No trips to a specialty store for obscure flours or exotic spices. Just good, simple stuff you keep on hand.
- Fall Flavors Without the Fuss: This bread delivers all the cozy pumpkin spice vibes without the complicated techniques. It’s the kind of recipe you can whip up on a random Tuesday night.
- Kid-Approved and Crowd-Pleasing: I brought a loaf to a friend’s brunch last weekend, and it disappeared before the coffee finished brewing. Kids love it, adults love it, and nobody believes it came from one bowl.
What makes this different from other pumpkin banana breads? It’s the balance. Most recipes lean too heavy on the pumpkin or let the banana overpower everything. This version lets both flavors shine, with just enough cinnamon, nutmeg, and ginger to make you think of crisp leaves and cozy sweaters without tasting like a candle shop. It’s comfort food that actually delivers on its promise.
What Ingredients You Will Need
This recipe uses simple, wholesome ingredients to deliver bold flavor and satisfying texture without the fuss. Most of these are pantry staples, which makes this bread perfect for those moments when you need a little baking therapy without a grocery run.
- Ripe Bananas (3 medium, mashed): The riper, the better. Those spotty brown bananas that look past their prime? They’re perfect here. They add natural sweetness and moisture that no amount of sugar can replicate. I’ve used frozen and thawed bananas too—just drain off any excess liquid before mashing.
- Pumpkin Puree (1 cup, 240g): Make sure you’re using pure pumpkin puree, not pumpkin pie filling. The difference matters—pie filling has added sugar and spices that will throw off the balance. I prefer Libby’s or Trader Joe’s brand for consistent texture.
- All-Purpose Flour (1 ¾ cups, 210g): Regular all-purpose flour works beautifully here. For a whole wheat version, swap half the flour with whole wheat pastry flour—it gives a nuttier flavor without making the bread dense.
- Granulated Sugar (½ cup, 100g): Just enough to sweeten without overwhelming the fruit. You can reduce this to ⅓ cup if your bananas are very ripe and sweet.
- Brown Sugar (½ cup, 100g, packed): This is where the depth comes from. The molasses in brown sugar adds a warm, almost caramel-like note that pairs beautifully with pumpkin and banana. Light or dark brown both work—dark gives a richer flavor.
- Eggs (2 large, room temperature): Room temperature eggs blend more evenly into the batter, creating a smoother texture. If you forgot to take them out of the fridge, place them in a bowl of warm water for 5 minutes.
- Vegetable Oil (⅓ cup, 80ml): Oil keeps this bread incredibly moist. I use avocado oil for a neutral flavor, but melted coconut oil works too—just make sure it’s cooled slightly before adding to the batter.
- Vanilla Extract (1 teaspoon): Pure vanilla extract makes a difference here. Skip the imitation stuff if you can—this bread deserves the real deal.
- Baking Soda (1 teaspoon): This is the leavening agent that gives the bread its rise. Make sure it’s fresh—test it by dropping a bit into vinegar; if it fizzes vigorously, you’re good.
- Baking Powder (½ teaspoon): A little extra lift to keep the texture light and tender.
- Salt (½ teaspoon): Don’t skip this. Salt balances the sweetness and enhances all the warm spices.
- Cinnamon (1 ½ teaspoons): The backbone of the spice blend. Use Ceylon cinnamon for a milder, more floral note or cassia cinnamon for a stronger, warmer kick.
- Nutmeg (½ teaspoon, freshly grated if possible): Freshly grated nutmeg is a game-changer—it has a warmth and complexity that pre-ground stuff just can’t match.
- Ginger (½ teaspoon, ground): Adds a gentle heat that cuts through the sweetness. If you love ginger, you can bump it up to ¾ teaspoon.
- Optional Add-Ins: ½ cup chopped walnuts or pecans for crunch, or ½ cup chocolate chips for a sweeter twist. I’m partial to dark chocolate chips—they make this bread feel like dessert.
Equipment Needed
Here’s the beautiful thing about this recipe—you probably already own everything you need. No fancy gadgets required.
- One Large Mixing Bowl: Any medium-to-large bowl works. I use a ceramic one because it feels sturdy, but glass or metal is fine too.
- Whisk: For combining the wet ingredients and smoothing out the dry ingredients. A fork works in a pinch, but a whisk makes it easier.
- Spatula or Wooden Spoon: For folding everything together without overmixing. A silicone spatula is my go-to because it scrapes the bowl clean.
- 9×5-inch Loaf Pan: Standard size works best. If you use an 8×4-inch pan, your bread will be taller and可能需要 a few extra minutes of baking time.
- Parchment Paper: Not strictly necessary, but it makes lifting the bread out of the pan so much easier. I never skip it anymore after one too many sticky-pan disasters.
- Cooling Rack: Helps the bread cool evenly so the bottom doesn’t get soggy. If you don’t have one, just tilt the loaf pan slightly to let air circulate.
I’ve made this bread with a cheap whisk and a bowl I bought at a thrift store. It still turned out perfect. Trust me, you don’t need a fancy kitchen for this one.
Preparation Method
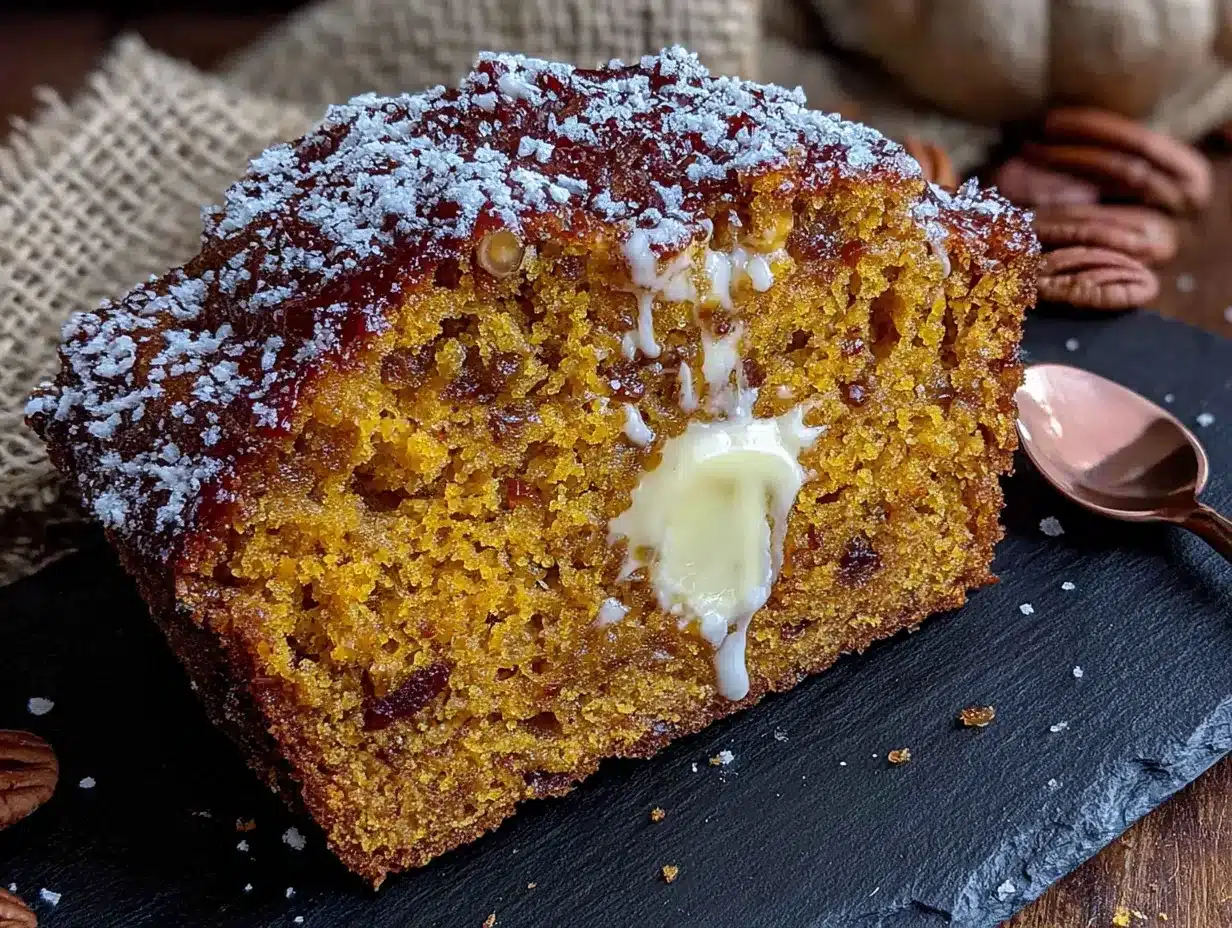
Let’s get baking. This method is straightforward, but I’ve included little notes along the way that I’ve learned from making this bread more times than I can count.
- Preheat your oven to 350°F (175°C). Position the rack in the center of the oven. While it’s heating, line your 9×5-inch loaf pan with parchment paper, leaving some overhang on the long sides—this creates handles for lifting the bread out later. Lightly grease any exposed sides with butter or non-stick spray.
- Mash the bananas in your mixing bowl. Use a fork or potato masher and aim for a mostly smooth consistency with a few small lumps. You want about 1 cup of mashed banana. Don’t over-mash—those little chunks add nice pockets of sweetness in the finished bread.
- Add the wet ingredients. To the mashed bananas, add the pumpkin puree, both sugars, eggs, vegetable oil, and vanilla extract. Whisk everything together until smooth and well combined. It should look like a thick, glossy batter at this point. If you notice any streaks of egg white, keep whisking until they disappear.
- Whisk the dry ingredients separately (in your head). Here’s the trick—instead of using a second bowl, I sprinkle the flour, baking soda, baking powder, salt, and spices directly over the wet mixture. Then I use my whisk to gently stir them together right in the same bowl. Start with slow, broad strokes to avoid a flour explosion, then pick up the pace once everything starts coming together.
- Fold until just combined. Switch to your spatula and fold the batter gently. Stop as soon as you no longer see streaks of flour. A few small lumps are totally fine—overmixing will make the bread tough and dense. This is the most important step, I promise you.
- Fold in any add-ins. If you’re using nuts or chocolate chips, gently fold them in now. Distribute them evenly without overworking the batter. I usually set aside a handful to sprinkle on top for a nice visual finish.
- Pour the batter into the prepared loaf pan. Use your spatula to spread it evenly into the corners. Give the pan a gentle tap on the counter to release any air bubbles. If you want a bakery-style domed top, sprinkle a little extra sugar over the batter before baking.
- Bake for 55-65 minutes. The exact time depends on your oven and your pan. Start checking at 50 minutes. The bread is done when a toothpick inserted into the center comes out clean or with just a few moist crumbs. The top should be golden brown and spring back lightly when touched.
- Cool in the pan for 15 minutes. This resting period lets the bread set so it doesn’t fall apart when you remove it. After 15 minutes, use the parchment paper handles to lift the bread out and transfer it to a cooling rack.
- Cool completely before slicing. I know, I know—it’s torture. But if you slice too early, the bread will be gummy and fall apart. Give it at least 1 hour on the rack. The wait is worth it, I promise.
Cooking Tips & Techniques
Over the years, I’ve made every mistake in the book with quick breads. Here’s what I’ve learned so you don’t have to repeat my failures.
Don’t overmix the batter. This is the number one mistake people make. When you overmix, you develop the gluten in the flour, which leads to a tough, rubbery bread. Mix until the flour just disappears—a few lumps are your friend. I once got distracted and kept stirring, and the resulting bread was so dense it could have doubled as a doorstop. Learn from my shame.
Use room temperature ingredients. Cold eggs and oil can cause the batter to seize up, leading to uneven baking. Take everything out of the fridge about 30 minutes before you start. If you’re in a hurry, place the eggs in a bowl of warm water for 5 minutes.
Check for doneness properly. A toothpick test is reliable, but make sure you’re inserting it into the center of the bread, not near the edges. If the top is browning too quickly but the center is still raw, tent the loaf with aluminum foil for the last 15-20 minutes of baking.
Let it cool completely. I cannot stress this enough. The bread continues to set as it cools. Slicing too early is like opening the oven door on a soufflé—it just ruins everything. Patience, my friend.
Toast slices for extra deliciousness. This bread is amazing fresh, but it’s next-level when you toast a slice and slather it with butter. The edges get crispy, the inside stays soft, and the spices become even more aromatic.
Variations & Adaptations
One of the best things about this recipe is how flexible it is. Here are some variations I’ve tried and loved.
- Gluten-Free Version: Swap the all-purpose flour with a 1:1 gluten-free baking blend. I’ve had good results with Bob’s Red Mill and King Arthur brands. Add 1 teaspoon of xanthan gum if your blend doesn’t already include it. The texture will be slightly more delicate, but still delicious.
- Dairy-Free Option: This recipe is already dairy-free since it uses oil instead of butter. Just make sure your chocolate chips (if using) are dairy-free too.
- Lower Sugar: Reduce the granulated sugar to ¼ cup and the brown sugar to ⅓ cup. The bananas and pumpkin provide plenty of natural sweetness. I’ve made this version for my mom who’s watching her sugar intake, and she didn’t miss it at all.
- Spice It Up: Add ¼ teaspoon of cloves or allspice for a more complex spice profile. Or try pumpkin pie spice instead of the individual spices—use 2 teaspoons total.
- Add a Streusel Topping: Mix ¼ cup brown sugar, ¼ cup flour, 2 tablespoons cold butter, and ½ teaspoon cinnamon until crumbly. Sprinkle over the batter before baking for a crunchy, sweet crust.
- Make It Muffins: Divide the batter into a greased muffin tin and bake at 350°F for 18-22 minutes. This yields about 12 muffins—perfect for grab-and-go breakfasts.
My personal favorite variation? I add a handful of dark chocolate chips and a sprinkle of flaky sea salt on top before baking. The combination of sweet, salty, and slightly bitter chocolate is absolutely addictive. I may or may not have eaten an entire loaf this way in two days. (I regret nothing.)
Serving & Storage Suggestions
This bread is incredibly versatile when it comes to serving. Here’s how I like to enjoy it, plus tips for keeping it fresh.
Serving Temperature: This bread is delicious at room temperature, but I highly recommend toasting slices. Pop them in a toaster or under the broiler for 2-3 minutes until the edges are golden and crisp. Spread with salted butter, cream cheese, or a drizzle of honey for an extra treat.
Complementary Dishes: Serve this bread alongside a hot cup of coffee or tea for a perfect afternoon snack. It also pairs beautifully with a cozy pumpkin chai latte for the ultimate fall experience. For a brunch spread, I love serving it with pumpkin cream cheese muffins and fresh fruit.
Storage Instructions: Store leftover bread in an airtight container at room temperature for up to 3 days. To keep it extra moist, wrap it tightly in plastic wrap before placing it in the container. If you live in a humid climate (like I do), the bread might get sticky—just pop slices in the toaster to revive them.
Freezing Instructions: This bread freezes beautifully. Wrap the cooled loaf (or individual slices) tightly in plastic wrap, then in aluminum foil, and freeze for up to 3 months. To thaw, leave it at room temperature for a few hours or pop a frozen slice directly in the toaster. I always keep a loaf in the freezer for unexpected guests or lazy Sunday mornings.
Flavor Development: Here’s a little secret—this bread actually tastes better the next day. The flavors have time to meld and deepen, making it even more delicious. So don’t be afraid to make it a day ahead.
Nutritional Information & Benefits
While I wouldn’t call this bread health food, it does have some redeeming qualities. Here’s a rough nutritional breakdown per slice (based on 10 slices):
| Nutrient | Amount per Slice |
|---|---|
| Calories | 285 |
| Total Fat | 10g |
| Saturated Fat | 1.5g |
| Carbohydrates | 45g |
| Fiber | 3g |
| Sugar | 24g |
| Protein | 5g |
Health Benefits: The star ingredients here are pumpkin and banana, both packed with nutrients. Pumpkin is rich in vitamin A (great for eye health) and fiber, while bananas provide potassium and vitamin B6. The walnuts (if you add them) offer healthy omega-3 fatty acids. Plus, using oil instead of butter means this bread is naturally dairy-free and lower in saturated fat than traditional quick breads.
Dietary Considerations: This recipe is dairy-free and nut-free (unless you add nuts). For a gluten-free version, use a 1:1 gluten-free flour blend. For a lower-sugar option, reduce the sugar as mentioned in the variations section.
Potential Allergens: Contains wheat (gluten), eggs, and optional tree nuts. Always check your ingredients if you’re serving someone with allergies.
Conclusion
This one-bowl pumpkin banana bread is the kind of recipe that makes you feel like a hero in the kitchen without actually working that hard. It’s forgiving, flexible, and delivers every single time. Whether you’re baking for a holiday brunch, a cozy weekend breakfast, or just because you have spotty bananas and a can of pumpkin staring at you from the pantry, this bread will not let you down.
I love this recipe because it reminds me that good food doesn’t have to be complicated. Sometimes the best things come from a single bowl, a whisk, and a little bit of patience. It’s the kind of bread that fills your kitchen with the smell of fall and makes everyone who walks through the door ask, “What’s baking?”
Now I want to hear from you. Have you tried this recipe? Did you add chocolate chips or nuts? Did you turn it into muffins? Drop a comment below and let me know how it turned out. And if you’re looking for more fall baking inspiration, don’t miss my browned butter banana bread or these brown butter pumpkin chocolate chip cookies. Happy baking, friends!
Frequently Asked Questions
Can I use frozen bananas for this recipe?
Yes, absolutely! Frozen bananas work great. Just thaw them completely and drain off any excess liquid before mashing. The texture might be slightly softer, but the flavor will be just as delicious. I actually prefer using frozen bananas because they’re extra sweet and mushy.
Can I make this recipe vegan?
You can try! Replace the eggs with flax eggs (1 tablespoon ground flaxseed mixed with 3 tablespoons water per egg, let sit for 5 minutes). The texture will be a bit denser and less fluffy, but still tasty. I’d also recommend using coconut oil instead of vegetable oil for extra moisture.
Why did my bread sink in the middle?
This usually happens for one of three reasons: the batter was overmixed, the oven temperature was too low, or the bread was underbaked. Make sure your oven is fully preheated to 350°F, mix just until combined, and always test with a toothpick before removing from the oven. If the top is browning too fast, tent with foil.
Can I add chocolate chips or nuts?
Absolutely! Fold in up to ½ cup of chocolate chips, chopped walnuts, or pecans. I love dark chocolate chips for a sweet-salty contrast. Just fold them in gently at the end so you don’t overmix the batter. Sprinkle a few on top for a pretty finish.
How do I know when the bread is done?
Insert a toothpick or skewer into the center of the bread. If it comes out clean or with just a few moist crumbs (not wet batter), it’s done. The top should be golden brown and spring back when lightly pressed. If the top is browning too quickly but the center is still raw, tent with foil and continue baking.
Pin This Recipe!
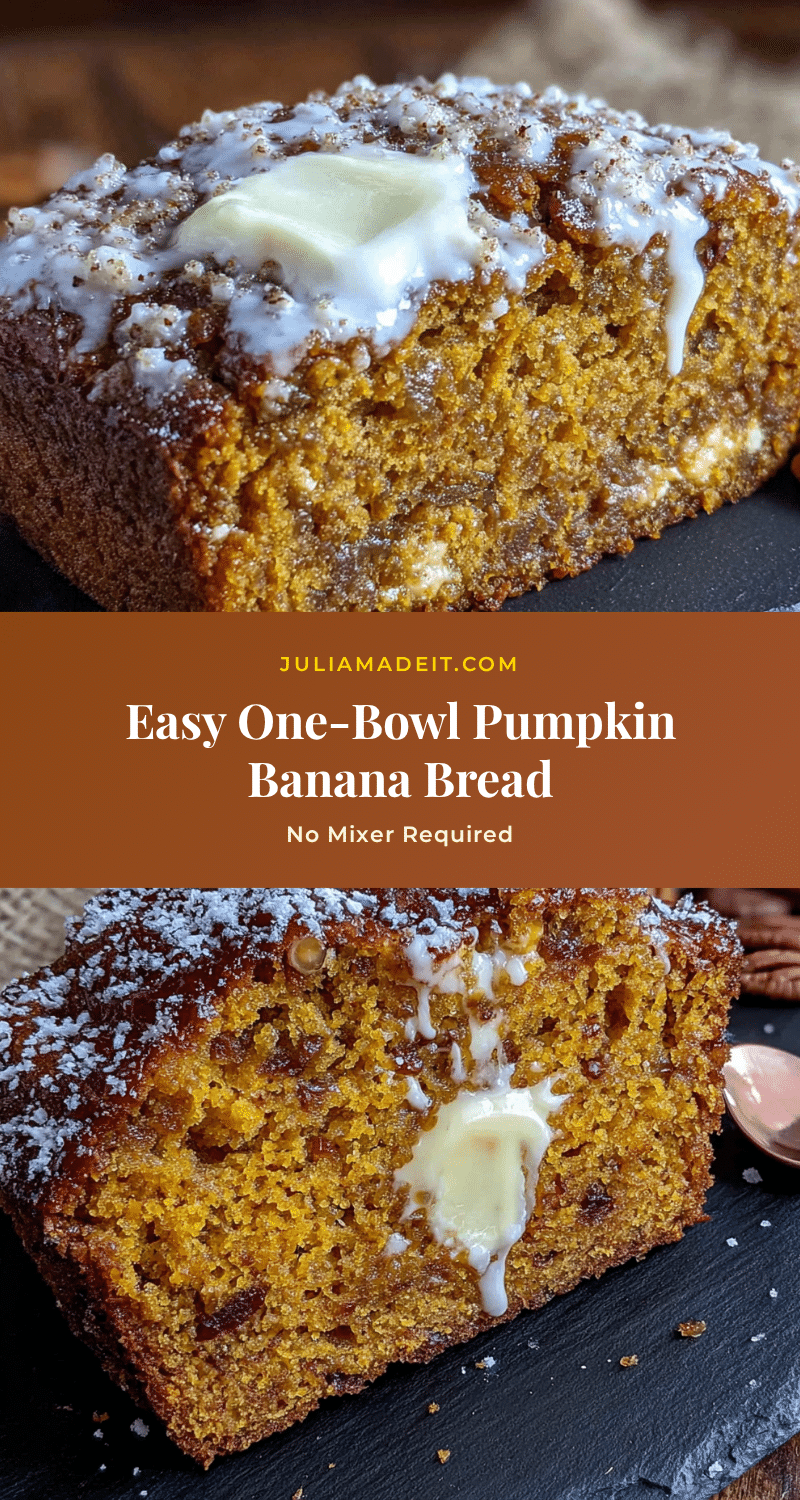
Easy One-Bowl Pumpkin Banana Bread: Best No-Mixer Recipe
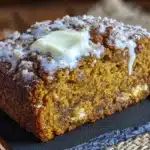
This one-bowl pumpkin banana bread is tender, perfectly spiced, and requires no mixer. Made with ripe bananas, pumpkin puree, and warm spices, it’s a simple, crowd-pleasing fall treat that comes together in one bowl.
- Prep Time: 15 minutes
- Cook Time: 60 minutes
- Total Time: 1 hour 15 minutes
- Yield: 10 servings 1x
- Category: Quick Bread
- Cuisine: American
Ingredients
- 3 medium ripe bananas, mashed (about 1 cup)
- 1 cup (240g) pumpkin puree (not pumpkin pie filling)
- 1 ¾ cups (210g) all-purpose flour
- ½ cup (100g) granulated sugar
- ½ cup (100g) packed brown sugar (light or dark)
- 2 large eggs, room temperature
- ⅓ cup (80ml) vegetable oil (or melted coconut oil)
- 1 teaspoon vanilla extract
- 1 teaspoon baking soda
- ½ teaspoon baking powder
- ½ teaspoon salt
- 1 ½ teaspoons ground cinnamon
- ½ teaspoon ground nutmeg (preferably freshly grated)
- ½ teaspoon ground ginger
- Optional: ½ cup chopped walnuts, pecans, or chocolate chips
Instructions
- Preheat oven to 350°F (175°C). Line a 9×5-inch loaf pan with parchment paper, leaving overhang on the long sides. Lightly grease exposed sides.
- In a large mixing bowl, mash the bananas with a fork until mostly smooth with a few small lumps.
- Add pumpkin puree, granulated sugar, brown sugar, eggs, vegetable oil, and vanilla extract. Whisk until smooth and well combined.
- Sprinkle flour, baking soda, baking powder, salt, cinnamon, nutmeg, and ginger over the wet mixture. Gently whisk together until just combined—do not overmix.
- Switch to a spatula and fold the batter gently until no streaks of flour remain. Fold in any optional add-ins (nuts or chocolate chips) if using.
- Pour batter into the prepared loaf pan and spread evenly. Tap the pan gently on the counter to release air bubbles.
- Bake for 55-65 minutes, or until a toothpick inserted into the center comes out clean or with a few moist crumbs. If top browns too quickly, tent with foil for the last 15-20 minutes.
- Cool in the pan for 15 minutes, then use parchment handles to lift the bread onto a cooling rack. Cool completely before slicing (at least 1 hour).
Notes
Do not overmix the batter—overmixing develops gluten and makes the bread tough. Use room temperature ingredients for best results. The bread tastes even better the next day as flavors meld. For a bakery-style domed top, sprinkle a little extra sugar over the batter before baking. To freeze, wrap cooled loaf or slices tightly in plastic wrap and foil for up to 3 months.
Nutrition
- Serving Size: 1 slice (based on 10
- Calories: 285
- Sugar: 24
- Sodium: 250
- Fat: 10
- Saturated Fat: 1.5
- Carbohydrates: 45
- Fiber: 3
- Protein: 5
Keywords: pumpkin banana bread, one bowl banana bread, no mixer banana bread, fall quick bread, pumpkin bread, banana bread, easy pumpkin banana bread