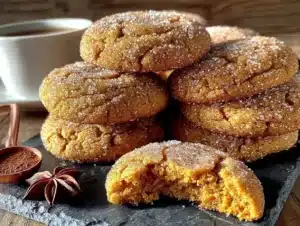
By the fourth batch in three days, I finally stopped second-guessing myself. The edges were set but not crisp, the centers held that soft bend without collapsing, and the pumpkin flavor—so often a ghost of itself in cookies—actually tasted like something. I’d been chasing a chewy pumpkin chocolate chip cookie that didn’t turn into a cakey muffin top or a flat, greasy disc, and honestly, I was starting to think it didn’t exist. Most pumpkin cookies are fluffy, almost scone-like, which is fine if that’s what you want. But I wanted chew. I wanted a cookie that bent before it broke, with chocolate pooling in the warm spots and a crumb that held together like a really good brown sugar cookie.
The trick, I learned after way too many trial batches (and one that tasted suspiciously like pumpkin spice air), was in how you handle the moisture. Pumpkin is wet—like, aggressively wet. It wants to turn your dough into a batter. You have to push back, but gently. Not with more flour (that makes them tough), but with technique. And maybe a little patience. These cookies taught me that the best fall baking isn’t about rushing toward a result; it’s about trusting that the third or fourth attempt might finally be the one where everything clicks.
So here they are. The chewy pumpkin chocolate chip cookies I couldn’t stop making, and the ones I’ll keep making all season long. Not because they’re trendy, but because they finally taste like the cookie I had in my head all along.
Why You’ll Love This Recipe
Let me tell you why these chewy pumpkin chocolate chip cookies are different from every other pumpkin cookie recipe you’ve seen. I tested this one obsessively (as you already know), and here’s what makes it worth your time:
- Actually Chewy, Not Cakey : Most pumpkin cookies puff up like little pillows. These have real chew—that satisfying bend when you pick one up, with slightly crisped edges and a soft, dense center. It’s the texture you want from a chocolate chip cookie, but with fall flavor.
- Real Pumpkin Flavor : Not just spice. You’ll actually taste the pumpkin here, thanks to a technique that concentrates its flavor without making the dough soggy. No bland, beige imposters.
- Simple Pantry Ingredients : No weird flours or specialty extracts. You probably have almost everything already—canned pumpkin, butter, sugar, eggs, flour, and chocolate chips. The only “extra” is a little cornstarch, and I promise it’s worth it.
- Perfect for Fall Baking : These cookies are tailor-made for crisp afternoons, Halloween parties, Thanksgiving dessert tables, or just a quiet Tuesday with a mug of tea. They’re cozy in cookie form.
- Crowd-Pleaser Status : I brought a batch to a friend’s gathering and watched them disappear faster than the plain chocolate chip ones. Kids love them, adults love them, and people who swear they don’t like pumpkin cookies? They loved them too.
- Freezer-Friendly : The dough freezes beautifully, so you can bake a few fresh cookies whenever the craving hits. Which, let’s be honest, will be often.
This isn’t just another pumpkin cookie recipe. It’s the one I rewrote four times because I knew it could be better. And now it is.
What Ingredients You Will Need
This recipe uses simple, wholesome ingredients to deliver that chewy texture and deep pumpkin flavor. Nothing fancy, just smart choices. Here’s what you’ll need and why each one matters.
- 1 ½ cups (188g) all-purpose flour : Spoon and level it—don’t scoop straight from the bag, or you’ll end up with dry cookies. I use Gold Medal or King Arthur for consistent results.
- 1 teaspoon cornstarch : The secret to chewiness. Cornstarch inhibits gluten formation just enough to keep the cookies tender without making them fall apart. Don’t skip it.
- ½ teaspoon baking soda : Helps the cookies spread just slightly and gives them a little lift without making them puffy.
- ½ teaspoon salt : Balances the sweetness and enhances the pumpkin and chocolate flavors. I use fine sea salt.
- 1 ½ teaspoons pumpkin pie spice : You can use store-bought or make your own with cinnamon, nutmeg, ginger, and cloves. I prefer making my own so I can dial up the cinnamon.
- ½ cup (113g) unsalted butter, melted and slightly cooled : Melted butter gives these cookies their chew. Creamed butter would make them cakier. Let it cool for a few minutes so it doesn’t cook the egg.
- ¾ cup (150g) packed light brown sugar : Brown sugar adds moisture and a deeper flavor thanks to the molasses. Dark brown sugar works too, but the cookies will be slightly darker and more caramel-like.
- ¼ cup (50g) granulated sugar : Helps with spreading and gives the edges a tiny bit of crispness.
- 1 large egg yolk : Just the yolk. The white adds too much moisture and makes the cookies cakey. Save the white for scrambled eggs or omelets.
- ½ cup (120g) pumpkin puree : Not pumpkin pie filling. Make sure it’s 100% pumpkin. I recommend Libby’s—it’s consistently thick and not watery. If your pumpkin looks loose, blot it with a paper towel before using.
- 1 teaspoon vanilla extract : Adds warmth and rounds out the flavors.
- 1 cup (170g) semi-sweet chocolate chips : Use good-quality chips. I like Ghirardelli or Guittard. You can also chop a dark chocolate bar for bigger puddles of chocolate. Reserve a few extra chips to press onto the tops of the baked cookies for that bakery look.
Substitution Guidance: For a dairy-free version, use vegan butter (I like Miyoko’s) and dairy-free chocolate chips. For a gluten-free option, swap the all-purpose flour with a 1:1 gluten-free baking flour blend that contains xanthan gum. I’ve tested this with King Arthur Measure for Measure and it works beautifully—just don’t overmix.
Equipment Needed
You don’t need a fancy kitchen to make these chewy pumpkin chocolate chip cookies. Here’s what I used:
- Large mixing bowl : For combining dry ingredients. Any big bowl works.
- Medium mixing bowl : For the wet ingredients. I use a glass bowl so I can see if the butter is still too warm.
- Whisk : For blending the dry ingredients evenly. A fork works in a pinch.
- Rubber spatula or wooden spoon : For folding everything together. Don’t use an electric mixer here—you’ll overwork the dough.
- Cookie scoop (1.5-tablespoon size) : For evenly sized cookies. I use a #40 scoop. If you don’t have one, use two spoons to portion the dough.
- Baking sheets : I prefer light-colored, rimmed baking sheets. Dark sheets can cause the bottoms to brown too quickly.
- Parchment paper or silicone baking mat : Lining the sheets prevents sticking and helps the cookies bake evenly. I’ve used both and prefer parchment for these—the cookies spread just a little more.
- Cooling rack : Essential for letting the cookies set properly. If you leave them on the hot baking sheet, they’ll continue to cook and can overbake.
Budget-Friendly Tip: You don’t need a stand mixer. A bowl and a spatula are all you need. If you don’t have a cookie scoop, use a tablespoon measure and your hands to roll the dough into balls. It’s a little more work, but the cookies turn out just the same.
Preparation Method
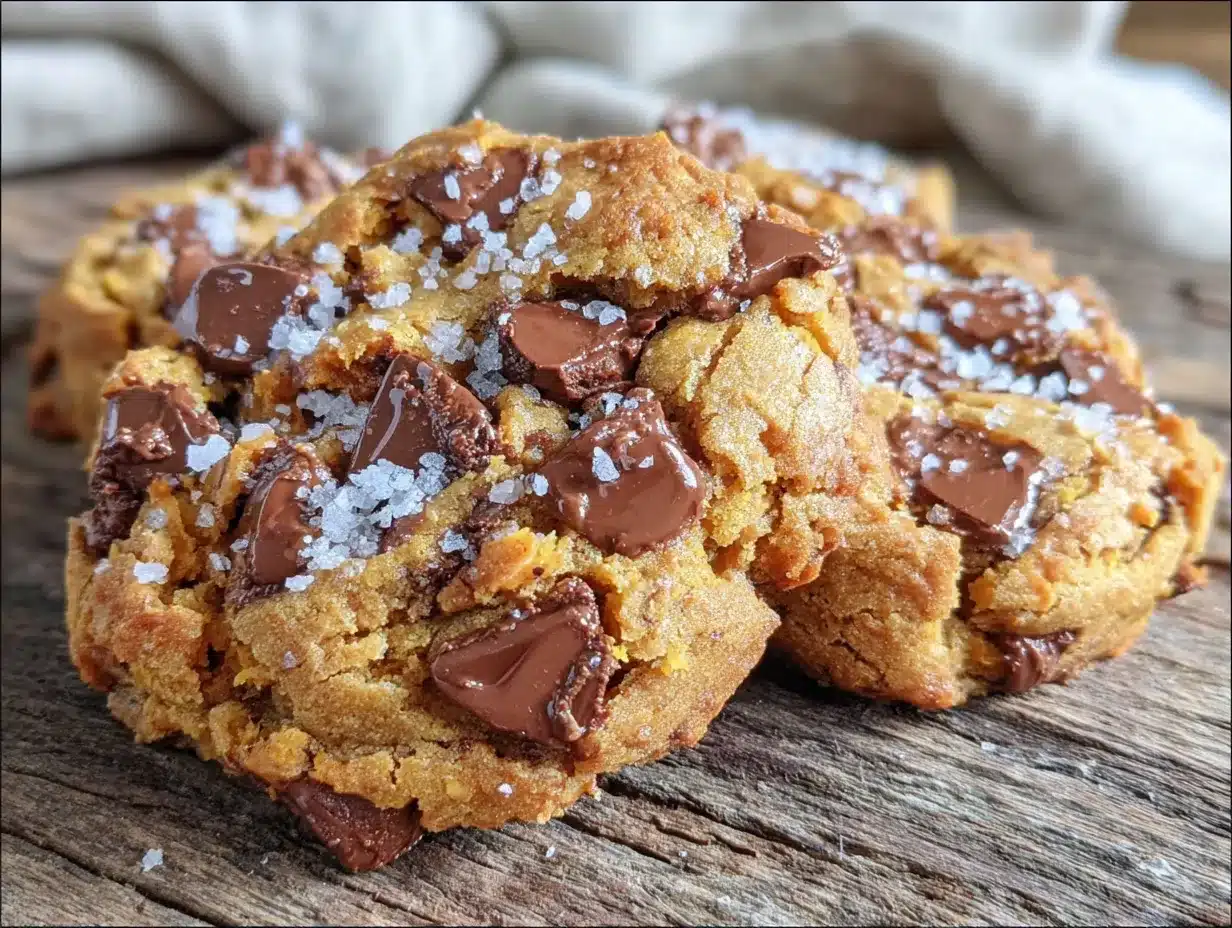
Let’s make these chewy pumpkin chocolate chip cookies. Follow these steps carefully, and you’ll get that perfect texture every time.
- Preheat your oven to 350°F (175°C). Line two baking sheets with parchment paper or silicone baking mats. Set them aside.
- In a large bowl, whisk together the flour, cornstarch, baking soda, salt, and pumpkin pie spice. Make sure everything is evenly distributed. The cornstarch can clump, so give it a good whisk. Set this bowl aside.
- In a medium bowl, whisk together the melted butter (cooled), brown sugar, and granulated sugar. Whisk until the mixture looks smooth and glossy, about 30 seconds. The sugar should be mostly dissolved.
- Add the egg yolk, pumpkin puree, and vanilla extract. Whisk until everything is fully combined and the mixture is a uniform orange-brown color. It will look a little thick—that’s normal.
- Pour the wet ingredients into the dry ingredients. Use a rubber spatula to fold everything together gently. Stir just until you no longer see streaks of flour. A few small lumps are okay. Do not overmix—that’s how you get tough cookies.
- Fold in the chocolate chips. Reserve about 2 tablespoons of chips to press onto the tops of the cookies later. Fold gently, just until the chips are evenly distributed. The dough will be soft and slightly sticky, not stiff.
- Chill the dough for 20-30 minutes. This step is non-negotiable. Chilling firms up the butter and allows the flour to hydrate, which prevents the cookies from spreading into flat discs. If you skip this, you’ll get thin, crispy cookies, not chewy ones. I’ve tested it both ways—trust me on this.
- Scoop the dough into 1.5-tablespoon balls (about 20-22g each). Place them 2 inches apart on the prepared baking sheets. I fit 8 cookies per sheet. If the dough feels too sticky to scoop, chill it another 10 minutes.
- Bake one sheet at a time for 10-12 minutes. The cookies should look puffed and slightly set around the edges, but the centers will still look soft and a little underdone. That’s exactly what you want. For softer, chewier cookies, bake for 10 minutes. For slightly firmer cookies, go to 12 minutes.
- Remove the baking sheet from the oven and immediately press a few reserved chocolate chips onto the tops of the warm cookies. This gives them that bakery-style look. Let the cookies cool on the baking sheet for 5 minutes—they’ll continue to set as they cool.
- Transfer the cookies to a wire cooling rack. Let them cool completely (if you can wait that long). The texture really sets as they cool, so try not to eat them all straight off the sheet.
Sensory Cues: When you fold the wet and dry ingredients together, the dough should feel soft and slightly tacky, not dry or crumbly. If it feels too dry, add a teaspoon of milk. If it feels too wet (which is unlikely with this ratio), add a tablespoon of flour. The baked cookies should have lightly browned edges and a pale, soft center. They’ll look almost underbaked when you pull them out—that’s the chewy texture you’re after.
Cooking Tips & Techniques
I learned a few things the hard way so you don’t have to. Here are my best tips for perfect chewy pumpkin chocolate chip cookies every time.
- Don’t skip the chilling step. I know, I know—you want cookies now. But unchilled dough spreads too much, and the cookies come out thin and crispy instead of thick and chewy. I once tried to rush it and ended up with pumpkin-flavored lace cookies. They tasted fine, but they weren’t what I wanted. Twenty minutes in the fridge makes all the difference.
- Blot your pumpkin if it looks watery. Some brands of pumpkin puree are looser than others. If you see liquid pooling on top of the pumpkin in the can, spoon the puree onto a paper towel-lined plate and gently blot it before measuring. Too much moisture = flat cookies.
- Use melted butter, not softened. Melted butter is the key to chewiness. It coats the flour proteins and prevents too much gluten from forming, which keeps the cookies tender. Creamed butter incorporates air and makes the cookies puffier. Save that for cakey recipes.
- Measure flour correctly. Spoon it into your measuring cup and level it off with a knife. Scooping directly from the bag can pack in 20-30% more flour, which will make your cookies dry and dense. If you have a kitchen scale, use it—188g is the sweet spot.
- Bake one sheet at a time. If you crowd the oven, the heat circulates unevenly and the cookies bake at different rates. I know it’s tempting to bake two sheets at once, but the extra 10 minutes is worth it for consistent results.
- Let them cool on the sheet. Those 5 minutes on the hot baking sheet are crucial. The cookies finish setting up without overbaking. If you move them too soon, they’ll fall apart. If you leave them too long, they’ll overbake and get hard.
My Biggest Mistake: The first time I made these, I used an extra egg white because I felt bad wasting it. The cookies came out like little pumpkin cakes. Not bad, but not chewy. Now I save the whites for omelets and stick to the recipe.
Variations & Adaptations
Once you’ve mastered the basic chewy pumpkin chocolate chip cookie, here are some fun ways to change it up.
- White Chocolate & Cranberry : Swap the semi-sweet chips for 1 cup of white chocolate chips and fold in ½ cup of dried cranberries. The tartness of the cranberries cuts through the sweetness beautifully. I made this version for Thanksgiving last year and it was a hit.
- Dark Chocolate & Pecan : Use dark chocolate chips (60-70% cacao) and add ½ cup of toasted, chopped pecans. The nuts add crunch and the dark chocolate makes the cookies feel a little more sophisticated. Perfect for holiday cookie exchanges.
- Gluten-Free Version : Substitute the all-purpose flour with a 1:1 gluten-free baking blend that contains xanthan gum. I’ve tested this with King Arthur Measure for Measure and Bob’s Red Mill 1:1. The texture is slightly more delicate, but the chewiness is still there. Chill the dough for 30 minutes instead of 20.
- Spice It Up : Add ¼ teaspoon of ground ginger and a pinch of cardamom to the flour mixture for a warmer, more complex spice profile. This is my go-to for fall baking when I want something a little different.
- Vegan Adaptation : Use melted vegan butter (I like Miyoko’s), a flax egg (1 tablespoon ground flaxseed + 3 tablespoons water, let sit for 5 minutes), and dairy-free chocolate chips. The texture will be slightly less chewy but still very good. Chill the dough for 30 minutes.
Personal Favorite: I once added a teaspoon of instant espresso powder to the dry ingredients, and it deepened the chocolate flavor without making the cookies taste like coffee. Try it if you’re feeling adventurous.
Serving & Storage Suggestions
These chewy pumpkin chocolate chip cookies are best served slightly warm, when the chocolate is still melty and the edges are just barely crisp. Let them cool on the baking sheet for 5 minutes, then transfer to a plate and serve immediately. If you’re feeling fancy, sprinkle a tiny pinch of flaky sea salt on top before the cookies cool completely—it makes the flavors pop.
What to Serve With Them: A tall glass of cold milk is the classic pairing, but these cookies are also incredible with a warm mug of cozy crockpot pumpkin chai latte or a cup of hot apple cider. For dessert, serve them alongside a scoop of vanilla bean ice cream or a dollop of whipped cream. They’re also perfect for packing into lunchboxes or bringing to a fall potluck.
Storage Instructions: Store the baked cookies in an airtight container at room temperature for up to 5 days. To keep them soft and chewy, add a slice of bread to the container—it absorbs excess moisture and keeps the cookies from drying out. Replace the bread slice every other day.
Freezing Instructions: You can freeze the baked cookies for up to 3 months. Layer them between sheets of parchment paper in a freezer-safe container. To thaw, let them sit at room temperature for about 15 minutes. You can also freeze the unbaked dough: scoop it into balls, place them on a parchment-lined baking sheet, and freeze until solid (about 2 hours). Transfer the frozen dough balls to a freezer bag. Bake from frozen, adding 2-3 minutes to the baking time. No need to thaw first.
Reheating Tip: Pop a cookie in the microwave for 10-15 seconds to get that just-baked warmth. Or, warm them in a 300°F oven for 3-4 minutes. The flavors actually deepen after a day or two, so don’t be surprised if you like them even more on day three.
Nutritional Information & Benefits
Here’s the approximate nutritional breakdown for one chewy pumpkin chocolate chip cookie (based on 20 cookies):
- Calories: 145
- Total Fat: 7g
- Saturated Fat: 4g
- Cholesterol: 20mg
- Sodium: 95mg
- Total Carbohydrates: 20g
- Dietary Fiber: 1g
- Sugars: 13g
- Protein: 2g
Health Benefits: Pumpkin is packed with vitamin A (beta-carotene), which supports eye health and immune function. It’s also a good source of fiber, which helps with digestion and keeps you feeling full. The brown sugar and chocolate chips aren’t exactly health foods, but let’s be real—these are cookies. They’re meant to be enjoyed in moderation as a treat. I like to think of them as a slightly more nutritious option than a standard chocolate chip cookie, thanks to the pumpkin. Plus, making them at home means you control the ingredients—no preservatives or artificial flavors.
Dietary Considerations: This recipe contains gluten, dairy, and eggs. For a gluten-free version, see the variations section. For a dairy-free version, use vegan butter and dairy-free chocolate chips. For a vegan version, use a flax egg and vegan butter. This recipe is not low-carb or keto-friendly due to the sugar and flour content.
Conclusion
These chewy pumpkin chocolate chip cookies are the fall cookie you’ve been looking for. They’re not cakey, not flat, not dry—they’re perfectly chewy with real pumpkin flavor and pools of melted chocolate in every bite. I spent three days and four batches getting them just right, and now I can’t stop making them. Honestly, I think you’ll feel the same way.
Don’t be afraid to make them your own. Swap the chocolate chips for white chocolate and cranberries, add a pinch of extra spice, or press a few flaky sea salt flakes on top before baking. The base recipe is solid, but the variations are where the fun begins. I’d love to hear how they turn out for you.
If you make these chewy pumpkin chocolate chip cookies, leave a comment below and let me know how they came out. Did you try a variation? Did you eat three in one sitting? (No judgment here.) Share a photo on Pinterest or Instagram and tag me—I love seeing your baking wins. And if you’re looking for more fall treats, don’t miss my best easy brown butter pumpkin chocolate chip cookies or these easy one-bowl pumpkin cream cheese muffins for even more pumpkin goodness.
Happy baking, friends. May your cookies always be chewy and your chocolate always melty.
Frequently Asked Questions
Can I use fresh pumpkin instead of canned?
Yes, but you’ll need to roast and puree it first, then strain it through a cheesecloth or fine-mesh sieve to remove excess water. Fresh pumpkin has a higher water content than canned, so blotting is essential. I’ve tested it, and the cookies turn out slightly softer but still delicious. If you’re short on time, canned is more reliable.
Why did my cookies turn out cakey?
Most likely, you used too much pumpkin or too much egg. This recipe uses only an egg yolk, not the whole egg, to avoid adding extra moisture. Also, make sure you’re measuring your flour correctly (spoon and level) and not overmixing the dough. Overmixing develops gluten, which makes cookies tough and cakey instead of tender and chewy.
Can I make the dough ahead of time?
Absolutely. You can refrigerate the dough for up to 48 hours before baking. In fact, the flavors deepen and the texture improves after an overnight chill. Just let the dough sit at room temperature for 10-15 minutes before scooping if it feels too firm. You can also freeze the dough balls for up to 3 months—see the storage section for details.
How do I prevent the cookies from spreading too much?
Chill the dough for at least 20 minutes. If your kitchen is warm, chill it for 30. Also, make sure your butter is melted and cooled, not hot. Hot butter will make the cookies spread immediately. Finally, use parchment paper or a silicone mat—greased baking sheets can cause excessive spreading.
Can I use pumpkin pie filling instead of pumpkin puree?
No. Pumpkin pie filling is pre-sweetened and spiced, which will throw off the sugar and spice balance in this recipe. The cookies will be too sweet and might not set properly. Always use 100% pumpkin puree. If you only have pumpkin pie filling, you can try reducing the sugar by half, but I can’t guarantee the results.
Pin This Recipe!
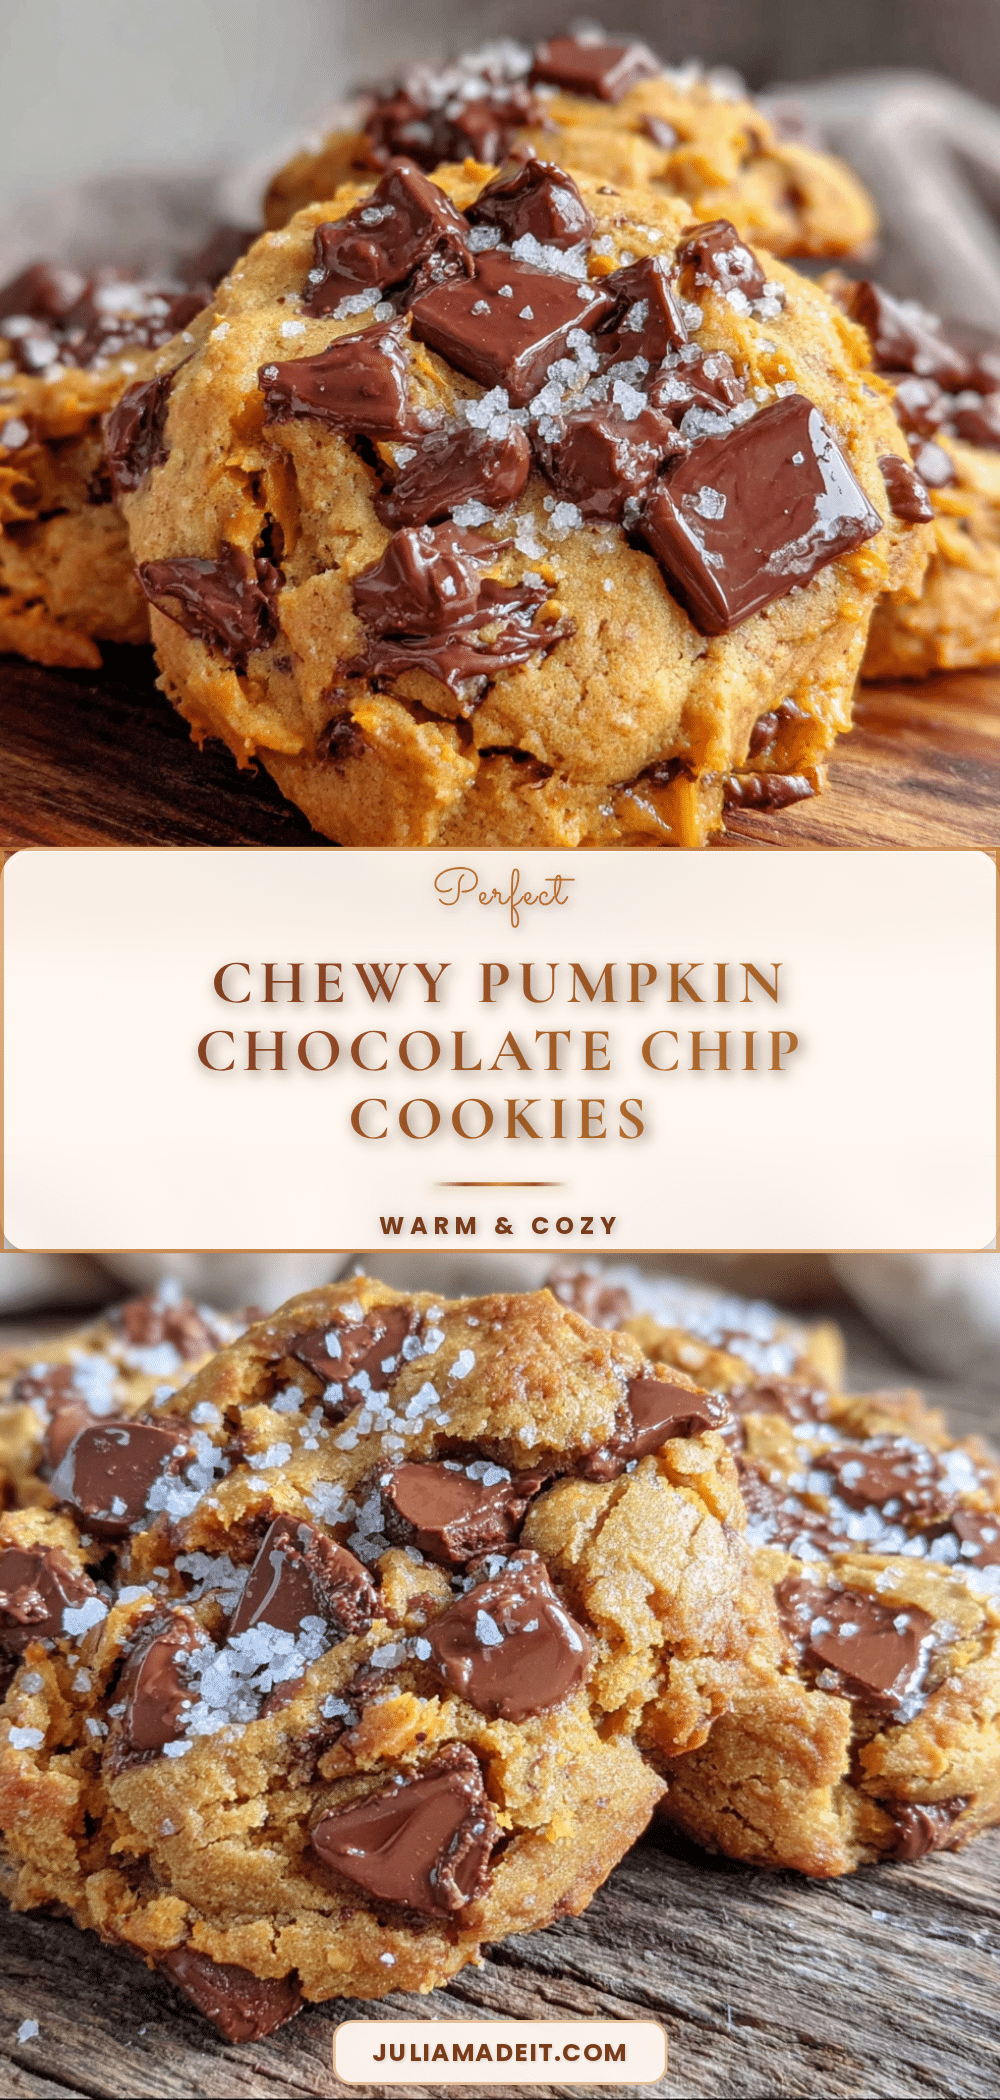
Best Chewy Pumpkin Chocolate Chip Cookies Recipe
These chewy pumpkin chocolate chip cookies have real pumpkin flavor and a satisfying bend, with slightly crisped edges and a soft, dense center. Made with simple pantry ingredients, they’re the perfect fall treat that’s freezer-friendly and a crowd-pleaser.
- Prep Time: 15 minutes
- Cook Time: 12 minutes
- Total Time: 47 minutes
- Yield: 20 cookies 1x
- Category: Dessert
- Cuisine: American
Ingredients
- 1 ½ cups (188g) all-purpose flour
- 1 teaspoon cornstarch
- ½ teaspoon baking soda
- ½ teaspoon salt
- 1 ½ teaspoons pumpkin pie spice
- ½ cup (113g) unsalted butter, melted and slightly cooled
- ¾ cup (150g) packed light brown sugar
- ¼ cup (50g) granulated sugar
- 1 large egg yolk
- ½ cup (120g) pumpkin puree
- 1 teaspoon vanilla extract
- 1 cup (170g) semi-sweet chocolate chips
Instructions
- Preheat your oven to 350°F (175°C). Line two baking sheets with parchment paper or silicone baking mats.
- In a large bowl, whisk together the flour, cornstarch, baking soda, salt, and pumpkin pie spice.
- In a medium bowl, whisk together the melted butter (cooled), brown sugar, and granulated sugar until smooth and glossy, about 30 seconds.
- Add the egg yolk, pumpkin puree, and vanilla extract to the butter mixture. Whisk until fully combined and uniform in color.
- Pour the wet ingredients into the dry ingredients. Use a rubber spatula to fold together gently until no streaks of flour remain. Do not overmix.
- Fold in the chocolate chips, reserving about 2 tablespoons to press onto the tops of the baked cookies.
- Chill the dough for 20-30 minutes. This step is non-negotiable for chewy cookies.
- Scoop the dough into 1.5-tablespoon balls (about 20-22g each) and place them 2 inches apart on the prepared baking sheets.
- Bake one sheet at a time for 10-12 minutes. The cookies should look puffed and set around the edges but soft in the center.
- Remove the baking sheet from the oven and immediately press reserved chocolate chips onto the tops of the warm cookies. Let cool on the baking sheet for 5 minutes.
- Transfer the cookies to a wire cooling rack and let cool completely.
Notes
Chilling the dough is essential for chewy texture. Blot pumpkin if watery. Use melted butter, not softened. Measure flour correctly by spooning and leveling. Bake one sheet at a time for even results. Let cookies cool on the baking sheet for 5 minutes before transferring.
Nutrition
- Serving Size: 1 cookie
- Calories: 145
- Sugar: 13
- Sodium: 95
- Fat: 7
- Saturated Fat: 4
- Carbohydrates: 20
- Fiber: 1
- Protein: 2
Keywords: pumpkin chocolate chip cookies, chewy pumpkin cookies, fall cookies, pumpkin dessert, chocolate chip cookies