Three-time in a week and counting, I found myself twisting the dough into eerie little fingers, pressing almond “nails” just so, and swirling the green frosting with a devilish grin. Honestly, I never planned on making these crispy witch finger cookies with green frosting and almond nails this often, but there was something hypnotic about the crackle of the cookie’s edges and the satisfying snap when you bite into them. The first batch felt almost too weirdly perfect — just the right balance of crunch and crumb, with that spooky green frosting that’s more fun than frightening. By the third time, I’d nailed the little details: the right almond placement for maximum creepiness, the frosting color that felt just the right kind of ghoulish, and a crispness that didn’t crumble too easily in your hands.
It’s funny how a simple cookie recipe can worm its way into your baking rotation, demanding repeat performances every Friday night in October. The smell of buttery sugar, with a whisper of almond and vanilla, wafting through the kitchen, paired with the visual charm of those creepy fingers lined up on a plate — it’s oddly comforting. Even the mess from the green frosting smudges on my fingers became part of the ritual.
What really kept pulling me back to these crispy witch finger cookies was the way they brought a little playful wickedness to the table, turning an ordinary snack into a conversation starter. Not to mention, seeing kids’ wide eyes as they reach for a “witch’s finger” on party night is priceless. If you’re wondering why this recipe sticks around in my kitchen like a mischievous ghost, it’s because it’s simple enough to make over and over, yet has that charming, spooky flair that never gets old. There’s a quiet thrill in perfecting the almond nails and frosting flicks each time — like crafting a tiny edible spell.
Why You’ll Love This Crispy Witch Finger Cookies Recipe
Having baked these cookies multiple times, I can vouch for just how much fun—and surprisingly easy—they are to pull off. I’m not just saying this because of the Halloween vibes; these cookies genuinely tick all the boxes when you want a festive treat that’s quick and fuss-free.
- Quick & Easy: This recipe comes together in under 45 minutes, making it perfect for last-minute Halloween parties or weekend baking marathons.
- Simple Ingredients: No weird spooky ingredients here—just basics like butter, sugar, flour, and almonds, all pantry staples you probably already have.
- Perfect for Halloween: These cookies bring the right touch of creepy-cute to your gatherings, school parties, or cozy nights in.
- Crowd-Pleaser: Kids love the fun shape and “gross” factor, while adults appreciate the buttery, crisp texture with a hint of almond.
- Unbelievably Delicious: The crispy edges and tender centers balance beautifully, and the green frosting isn’t just for show—it adds a sweet, tangy pop that brightens the cookie.
- Unique Technique: The almond nails pressed just right give a realistic “witch finger” look that’s surprisingly easy to master after a couple of tries.
Unlike other Halloween treats that rely on heavy decoration or hard-to-find ingredients, this recipe feels like a sweet ritual you can repeat each year or even throughout the spooky season. It’s not just about the look—it’s about the little sensory moments: the snap of the cookie, the creamy frosting, and that almond crunch. Honestly, if you’ve ever tried my brown butter chocolate chip cookies, you know I’m all about combining texture and flavor in a way that surprises.
What Ingredients You Will Need
This recipe uses simple, wholesome ingredients to deliver bold flavor and a satisfying crispy texture without any fuss. Most are pantry staples, and you can make little swaps if needed.
- Unsalted butter (1 cup / 225g, softened) – adds richness and helps with that crisp snap
- Granulated sugar (3/4 cup / 150g) – for sweetness and crunch
- Large egg (1, room temperature) – binds the dough and adds moisture
- Pure vanilla extract (1 tsp) – for flavor depth
- Almond extract (1/2 tsp) – subtle nutty note that pairs perfectly with almond nails
- All-purpose flour (2 cups / 250g) – the base of the dough; I suggest King Arthur for consistent texture
- Baking powder (1/2 tsp) – lightens the dough a bit
- Salt (1/4 tsp) – balances the sweetness
- Whole almonds (about 24) – sliced lengthwise for the “nails”
- Powdered sugar (1 cup / 120g) – for the frosting
- Cream cheese (2 tbsp, softened) – adds tang and smoothness to the frosting
- Unsalted butter (2 tbsp, softened) – helps frosting hold shape
- Milk (1-2 tbsp) – thins frosting to spreadable consistency
- Green food coloring (a few drops) – for the iconic witch finger look (use gel for vibrant color without watering down)
If you want a dairy-free version, swap the butter and cream cheese in the frosting for coconut-based alternatives. For gluten-free, almond flour works but expect a slightly different texture. In summer, I’ve even swapped the green frosting for a bright raspberry glaze, which gives a bloody effect—fun for a twist!
Equipment Needed
- Mixing bowls: One for dough, one for frosting. Glass or stainless steel works best to avoid sticking.
- Electric hand mixer or stand mixer: Speeds up creaming butter and sugar, though you can do it by hand if you’re patient.
- Baking sheets: Preferably rimmed to catch any drips from frosting.
- Parchment paper or silicone mats: Prevent cookies from sticking and make cleanup easier.
- Spoon or piping bag: For applying green frosting precisely around the “nails.”
- Cooling rack: To let cookies cool evenly and maintain crispness.
I usually use a medium-sized offset spatula to spread frosting smoothly, but a butter knife works fine. If you want budget-friendly options, parchment paper and a simple whisk will do just fine. For those who love neat frosting edges, a small piping bag with a round tip helps keep things tidy.
Preparation Method
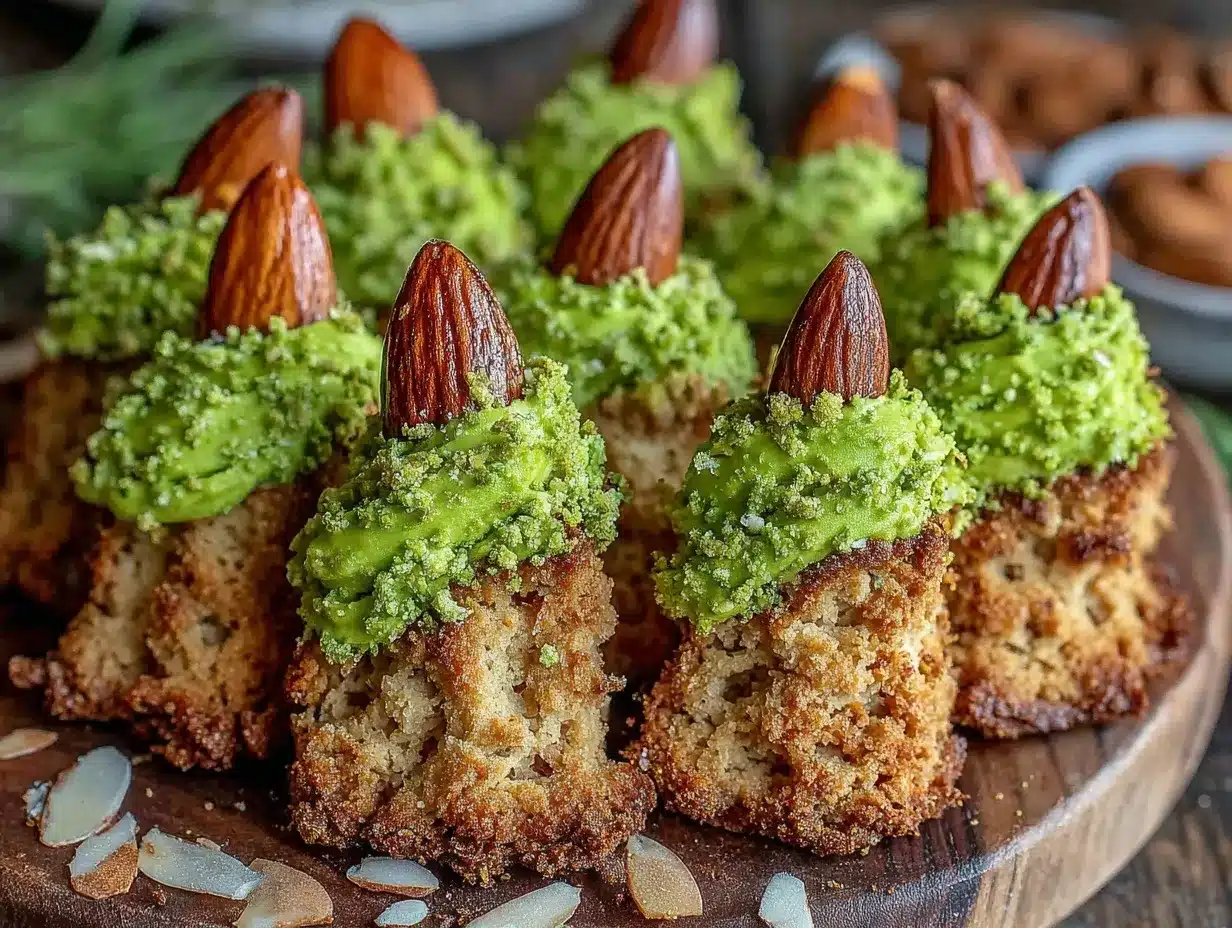
- Cream the butter and sugar. In a large bowl, beat 1 cup (225g) softened unsalted butter with ¾ cup (150g) granulated sugar until light and fluffy—about 3-4 minutes. You’ll see the mixture pale and get a bit airy, which is key for a crisp finish.
- Add egg and extracts. Beat in 1 large room-temperature egg, 1 tsp vanilla extract, and ½ tsp almond extract until fully combined. The dough will start to come together with a slightly glossy sheen.
- Mix dry ingredients. In a separate bowl, whisk 2 cups (250g) all-purpose flour, ½ tsp baking powder, and ¼ tsp salt.
- Combine wet and dry. Gradually add the dry mix to the wet, stirring gently with a spatula until just combined. The dough should feel soft but not sticky—kind of like modeling clay.
- Shape fingers. Preheat oven to 350°F (175°C). Scoop out small portions of dough (about 1 tbsp or 15g each) and roll into 2.5-inch (6 cm) finger shapes. Taper one end slightly to mimic knuckles and press three shallow indentations with the back of a knife to create “knuckle lines.”
- Add almond nails. Press a sliced almond into the tapered end of each finger dough piece. Press firmly but gently so it sticks during baking.
- Bake cookies. Arrange fingers on parchment-lined baking sheets, spaced about 2 inches apart. Bake for 14-16 minutes until edges turn golden and centers feel set but not hard. They should crackle slightly when tapped.
- Prepare green frosting. While cookies bake, mix 1 cup (120g) powdered sugar, 2 tbsp softened cream cheese, 2 tbsp softened butter, and 1-2 tbsp milk in a bowl. Add 3-4 drops gel green food coloring and beat until smooth and spreadable. Adjust milk to get a thick but pipeable texture.
- Frost nails. Once cookies cool for about 10 minutes on a rack (still slightly warm but not hot), carefully pipe or spread green frosting around each almond nail, flicking the frosting outward slightly to look like wicked cuticles.
- Let frosting set. Allow cookies to rest at room temperature for 30 minutes before serving, so frosting firms up a bit.
Pro tip: If your dough gets too soft while shaping, pop it in the fridge for 10 minutes. And don’t skip the knuckle lines—they add so much character and help the cookie break in the right places. This recipe pairs nicely with the buttery crunch of my crispy lemon ricotta zucchini fritters for a fun sweet-savory Halloween spread.
Cooking Tips & Techniques
Getting the perfect crispy texture on these witch finger cookies means paying attention to a few key details. First, make sure your butter is softened but not melting—too soft and the dough will spread too much in the oven, losing finger shape. Second, the almond nails should press in firmly but not too deep; otherwise, they can pop out or burn.
When baking, watch the cookies closely after 12 minutes. They can go from lightly golden to overdone quickly. You want the edges crisp and the center set but still slightly soft to the touch. That contrast is what gives these cookies their satisfying snap without being brittle.
Frosting consistency matters a lot. Too runny and it’ll drip off the nails; too thick and it’s hard to pipe. I learned this the hard way after my first batch turned into a green mess! Also, letting the cookies cool a bit before frosting keeps the frosting from melting, but frosting on warm cookies helps it adhere better. Finding that middle ground comes with practice.
Multi-task by preparing the frosting while cookies bake to save time. And if you want a little extra spooky flair, sprinkle a tiny bit of edible glitter or colored sugar on the frosting before it sets. It’s a subtle touch that makes a big impression.
Variations & Adaptations
- Chocolate Witch Fingers: Add ¼ cup (25g) unsweetened cocoa powder to the dry ingredients for a rich, chocolatey twist. Use dark chocolate almonds for nails.
- Spiced Fingers: Mix 1 tsp cinnamon, ½ tsp nutmeg, and ¼ tsp ground cloves into the dough for a warm, autumnal flavor profile.
- Gluten-Free Option: Substitute all-purpose flour with a 1:1 gluten-free baking blend. The texture will be slightly softer but still delicious.
- Vegan Version: Replace butter with vegan margarine, egg with flax egg (1 tbsp ground flaxseed + 3 tbsp water), and use dairy-free cream cheese and milk for frosting.
For a fresh twist, I once tried swapping the green frosting with a blood-red raspberry glaze—perfect for a haunted dinner party. Baking the fingers a minute less gives a chewier texture if you prefer that over crisp. You can also try adding a pinch of cayenne pepper for a subtle spicy surprise, though that’s for the brave!
Serving & Storage Suggestions
Serve these witch finger cookies at room temperature, arranged on a dark platter to make the green frosting pop. Pair them with a warm cup of spiced cider or a frothy pumpkin latte for a classic Halloween vibe. They also make a fun addition to a dessert table alongside other spooky treats like my crispy mummy crescent roll hot dogs.
For storage, keep the cookies in an airtight container at room temperature for up to 4 days. The frosting may soften a bit but will still taste great. You can refrigerate them if your kitchen is warm, but let them come to room temperature before serving to regain that crisp bite. These cookies freeze well too—just wrap tightly and freeze for up to 3 months. Thaw overnight in the fridge, then let sit at room temp before frosting.
The flavors actually deepen after a day, so if you can wait, that’s even better. Just don’t wait too long—these fingers tend to disappear fast!
Nutritional Information & Benefits
Each crispy witch finger cookie contains approximately 110 calories, 6g fat, 13g carbohydrates, and 1g protein. The almond nails add a dose of healthy fats and vitamin E, while the butter provides a source of fat-soluble vitamins. Using real butter and fresh ingredients keeps this treat free from preservatives or artificial additives.
These cookies are gluten-containing by default but can be adapted to gluten-free. They’re not low-carb, but their small size helps with portion control. The almond extract and nuts add a lovely nutty dimension that complements the classic butter cookie base.
From a wellness perspective, I appreciate that this recipe is straightforward—no funky ingredients or fillers—just a nostalgic, slightly spooky treat you can make yourself with love and care.
Conclusion
These crispy witch finger cookies with green frosting and almond nails have become more than just a Halloween snack in my kitchen—they’re a bit of a seasonal obsession that perfectly balances fun and flavor. You can customize them to suit your taste or dietary needs, and the straightforward ingredients make them accessible for any home baker.
Whether you’re baking for kids, party guests, or just to satisfy a spooky craving, these cookies bring a playful touch to the table without fuss. I love how they combine a satisfying crunch with a whimsical look that sparks smiles (and maybe a little playful shiver).
If you try this recipe, I’d love to hear how your fingers turn out and any spooky twists you add. Baking is always better when shared, and I’m excited to see your creations!
FAQs About Crispy Witch Finger Cookies
Can I make the dough ahead of time?
Yes! You can prepare the dough up to 24 hours in advance and keep it refrigerated. Just shape and bake when ready.
How do I keep the almond nails from falling off?
Press them firmly into the dough before baking, and add frosting around the edges while the cookies are still warm to help secure them.
What if I don’t have green food coloring?
You can skip the coloring or use natural alternatives like spinach powder, though the color will be subtler.
Can I freeze these cookies?
Absolutely. Freeze baked cookies in an airtight container for up to 3 months. Thaw before frosting for best results.
Are these cookies suitable for kids with nut allergies?
Since almonds are used for the nails, this recipe isn’t safe for nut allergies. You can substitute sliced strawberries or candy for nails instead.
Pin This Recipe!
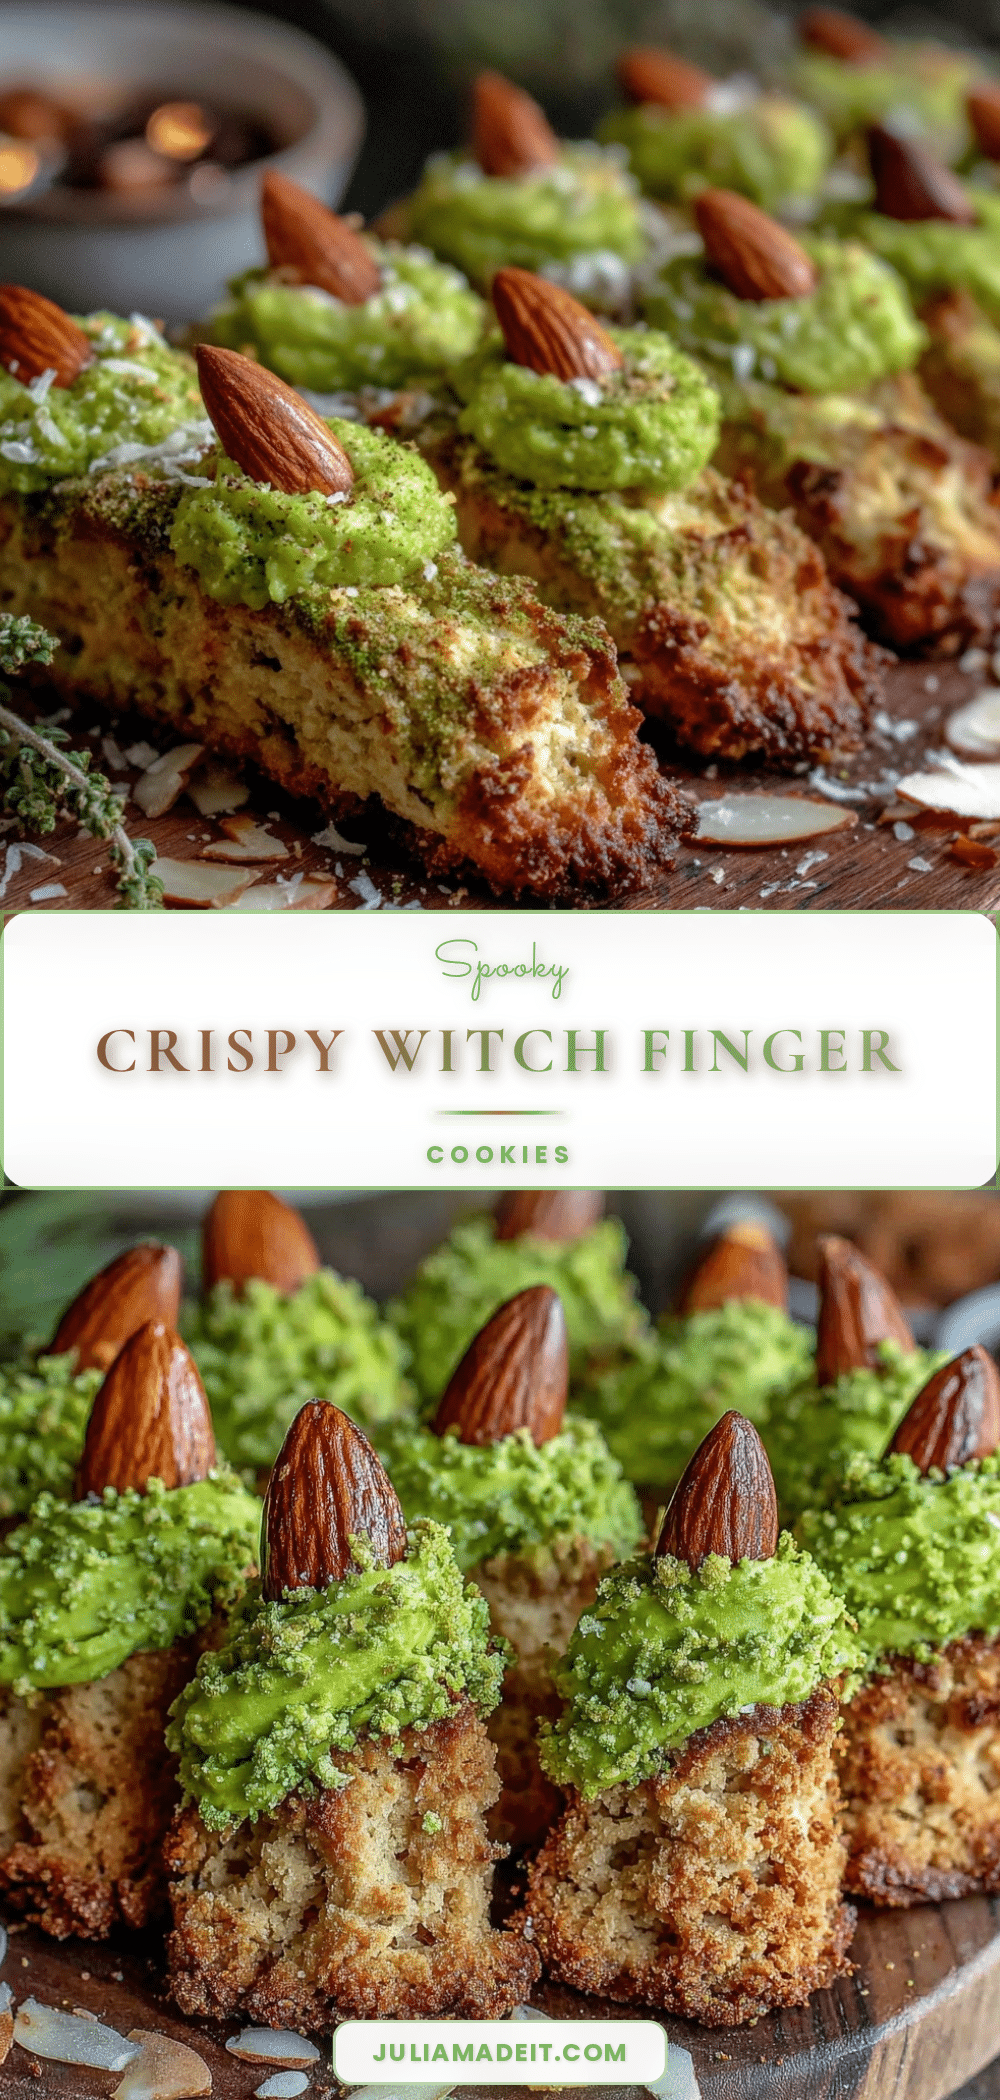
Crispy Witch Finger Cookies with Green Frosting and Almond Nails

These crispy witch finger cookies feature a perfect balance of crunch and crumb, topped with spooky green frosting and almond nails for a fun Halloween treat. Easy to make and perfect for parties or cozy nights in.
- Prep Time: 15 minutes
- Cook Time: 16 minutes
- Total Time: 45 minutes
- Yield: 24 cookies 1x
- Category: Dessert
- Cuisine: American
Ingredients
- 1 cup (225g) unsalted butter, softened
- 3/4 cup (150g) granulated sugar
- 1 large egg, room temperature
- 1 tsp pure vanilla extract
- 1/2 tsp almond extract
- 2 cups (250g) all-purpose flour
- 1/2 tsp baking powder
- 1/4 tsp salt
- About 24 whole almonds, sliced lengthwise for nails
- 1 cup (120g) powdered sugar
- 2 tbsp cream cheese, softened
- 2 tbsp unsalted butter, softened
- 1–2 tbsp milk
- 3–4 drops gel green food coloring
Instructions
- Cream the butter and sugar in a large bowl until light and fluffy, about 3-4 minutes.
- Beat in the egg, vanilla extract, and almond extract until fully combined.
- In a separate bowl, whisk together the flour, baking powder, and salt.
- Gradually add the dry ingredients to the wet ingredients, stirring gently until just combined. The dough should be soft but not sticky.
- Preheat oven to 350°F (175°C). Scoop out about 1 tbsp (15g) portions of dough and roll into 2.5-inch (6 cm) finger shapes. Taper one end slightly and press three shallow indentations with the back of a knife to create knuckle lines.
- Press a sliced almond into the tapered end of each finger to form nails.
- Arrange fingers on parchment-lined baking sheets about 2 inches apart. Bake for 14-16 minutes until edges are golden and centers are set but slightly soft.
- While cookies bake, prepare the frosting by mixing powdered sugar, cream cheese, butter, milk, and green food coloring until smooth and spreadable.
- Once cookies have cooled for about 10 minutes, pipe or spread green frosting around each almond nail, flicking outward to resemble cuticles.
- Allow frosting to set at room temperature for 30 minutes before serving.
Notes
If dough becomes too soft while shaping, chill in the fridge for 10 minutes. Press almond nails firmly but not too deep to avoid burning or falling off. Frost cookies when slightly warm for better adhesion. Watch cookies closely after 12 minutes to avoid overbaking. For dairy-free, substitute butter and cream cheese with coconut-based alternatives. For gluten-free, use a 1:1 gluten-free baking blend.
Nutrition
- Serving Size: 1 cookie
- Calories: 110
- Fat: 6
- Carbohydrates: 13
- Protein: 1
Keywords: Halloween cookies, witch finger cookies, crispy cookies, almond nails, green frosting, spooky treats, easy Halloween recipe