The crackling sound of the apple slices hitting the hot butter is what I remember most. That sharp, sweet sizzle that fills the kitchen before the smell even has a chance to catch up. I was standing there, spatula in hand, trying to convince myself that throwing fruit into a chicken skillet wasn’t a weird mistake. But the color on those Honeycrisp wedges—turning amber at the edges, softening just slightly while keeping their shape—that was the moment I knew. This Easy Honey Garlic Butter Skillet Chicken with Apples wasn’t just going to work; it was going to be one of those recipes I’d make on repeat until someone asked for it. And honestly, it’s exactly that kind of dinner—the one that tastes like you fussed for hours but comes together in a single pan in under thirty minutes. I’ve always loved the way sweet and savory fight it out on a plate, and this dish lets them dance without either one winning completely. The chicken stays tender, the apples add this little pop of brightness, and that honey garlic butter sauce? It clings to everything like it was made for it. Which, I suppose, it was.
Why You’ll Love This Recipe
This isn’t just another chicken dinner. It’s the kind of meal that makes you look forward to Tuesday nights. After testing this recipe about four times (the first batch had way too much garlic—rookie mistake), I can confidently say this version hits every note just right. You get the savory richness of pan-seared chicken, the natural sweetness of tender apples, and a sticky honey garlic butter sauce that ties it all together. It’s balanced, it’s fast, and it genuinely feels special without requiring a trip to a specialty grocery store.
- Quick & Easy: From start to finish, this dish is on the table in about 30 minutes. Perfect for those evenings when you want something impressive but don’t have the energy for a complicated recipe.
- Simple Ingredients: You probably have honey, garlic, and butter in your kitchen right now. The only thing you might need to grab is a couple of firm apples and some chicken thighs or breasts.
- Perfect for Fall Evenings: The combination of warm apples and savory chicken screams cozy autumn dinner. But honestly, I’ve made this in July too and nobody complained.
- Crowd-Pleaser: Kids love the sweetness from the honey and apples. Adults appreciate the savory depth. It’s the rare dish that makes everyone at the table happy.
- One-Pan Wonder: Less cleanup means more time to actually enjoy your meal. The skillet does all the work, and you barely have to touch anything else.
What sets this recipe apart is the way the apples are handled. They’re not just thrown in as an afterthought. They get a quick sear in the same butter the chicken was cooked in, picking up all those browned bits from the pan. That little technique—letting the fruit absorb the savory fond—makes all the difference. It’s not just chicken with apples; it’s chicken that tastes like apples and apples that taste like garlic butter chicken. If you’re a fan of simple, one-pan meals, you’ll also love this crispy one-pan garlic butter chicken thighs recipe for another quick weeknight win. This dish is comfort food that doesn’t weigh you down—it’s satisfying, a little sweet, a little savory, and completely doable on a busy weeknight.
What Ingredients You Will Need
This recipe relies on a handful of everyday ingredients, each playing an important role in building flavor and texture. Here’s what you need and why each one matters:
- Chicken Thighs (boneless, skinless) — about 1.5 lbs (680g): I prefer thighs for this recipe because they stay juicy and tender even after a quick sear. The higher fat content also means they don’t dry out as easily as breasts. If you want to use chicken breasts, go for it—just keep an eye on the cooking time and use a meat thermometer to avoid overcooking.
- Honey — 3 tablespoons (60ml): This is the backbone of the sweet element. Use a good-quality honey—something that isn’t too processed. I like using local wildflower honey when I can find it. The honey not only sweetens the sauce but also helps it caramelize beautifully around the chicken and apples.
- Garlic — 4 cloves, minced: Fresh garlic is non-negotiable here. The pre-minced stuff in a jar won’t give you the same punch. You want that sharp, aromatic hit that mellows out as it cooks in the butter.
- Unsalted Butter — 3 tablespoons (42g): Butter adds richness and helps create that glossy sauce. Using unsalted lets you control the salt level. If you only have salted butter, just reduce the added salt by about a quarter teaspoon.
- Apples — 2 medium, firm and slightly tart: Honeycrisp, Fuji, or Granny Smith work beautifully. You want apples that hold their shape during cooking and don’t turn into mush. Granny Smith adds a nice tart contrast to the sweet honey, while Honeycrisp brings a balanced sweetness.
- Chicken Broth — 1/2 cup (120ml): This deglazes the pan and forms the base of the sauce. Low-sodium is best so you can control the seasoning. If you don’t have broth, water with a pinch of salt works in a pinch.
- Apple Cider Vinegar — 1 tablespoon (15ml): A tiny splash of acid brightens everything up. It cuts through the richness of the butter and honey, keeping the dish from feeling heavy.
- Olive Oil — 1 tablespoon (15ml): For searing the chicken. Olive oil has a higher smoke point than butter, so it’s perfect for getting that golden-brown crust without burning.
- Salt and Black Pepper — to taste: Simple seasoning that lets the other flavors shine. I use kosher salt and freshly cracked black pepper.
- Fresh Thyme or Rosemary — 2-3 sprigs (optional but recommended): Herbs add an earthy, aromatic layer that complements both the chicken and the apples. Thyme is my go-to here.
Ingredient Selection Tips: For the chicken, look for thighs that are uniform in thickness so they cook evenly. If they’re uneven, you can pound them gently between two pieces of plastic wrap. For the apples, give them a gentle squeeze—they should be firm with no soft spots. And please, use real butter. Margarine or spreads won’t give you the same rich sauce texture.
Equipment Needed
You don’t need a fancy kitchen to make this dish. Here’s what you’ll need:
- Large Skillet (12-inch / 30cm): A cast-iron skillet is ideal because it holds heat evenly and gives the chicken a beautiful sear. A stainless steel or non-stick skillet works perfectly too. Just avoid using a pan that’s too small—crowding the pan will steam the chicken instead of browning it.
- Tongs: For flipping the chicken and turning the apple slices without piercing the meat and losing juices.
- Sharp Knife and Cutting Board: For mincing garlic and slicing apples. A sharp knife makes the prep work faster and safer.
- Measuring Spoons and Liquid Measuring Cup: For accurate measurements. Honey is sticky, so lightly spray your measuring spoon with non-stick spray before measuring—it slides right off.
- Meat Thermometer (optional but recommended): Takes the guesswork out of cooking chicken. You’re looking for 165°F (74°C) at the thickest part.
- Wooden Spoon or Silicone Spatula: For stirring the sauce and scraping up the browned bits from the bottom of the pan.
Budget-Friendly Tip: If you don’t own a cast-iron skillet, a good non-stick pan will work just fine. I’ve made this recipe in a well-seasoned carbon steel pan too, and it turned out great. The key is using a pan that’s large enough to hold everything without overcrowding.
Preparation Method
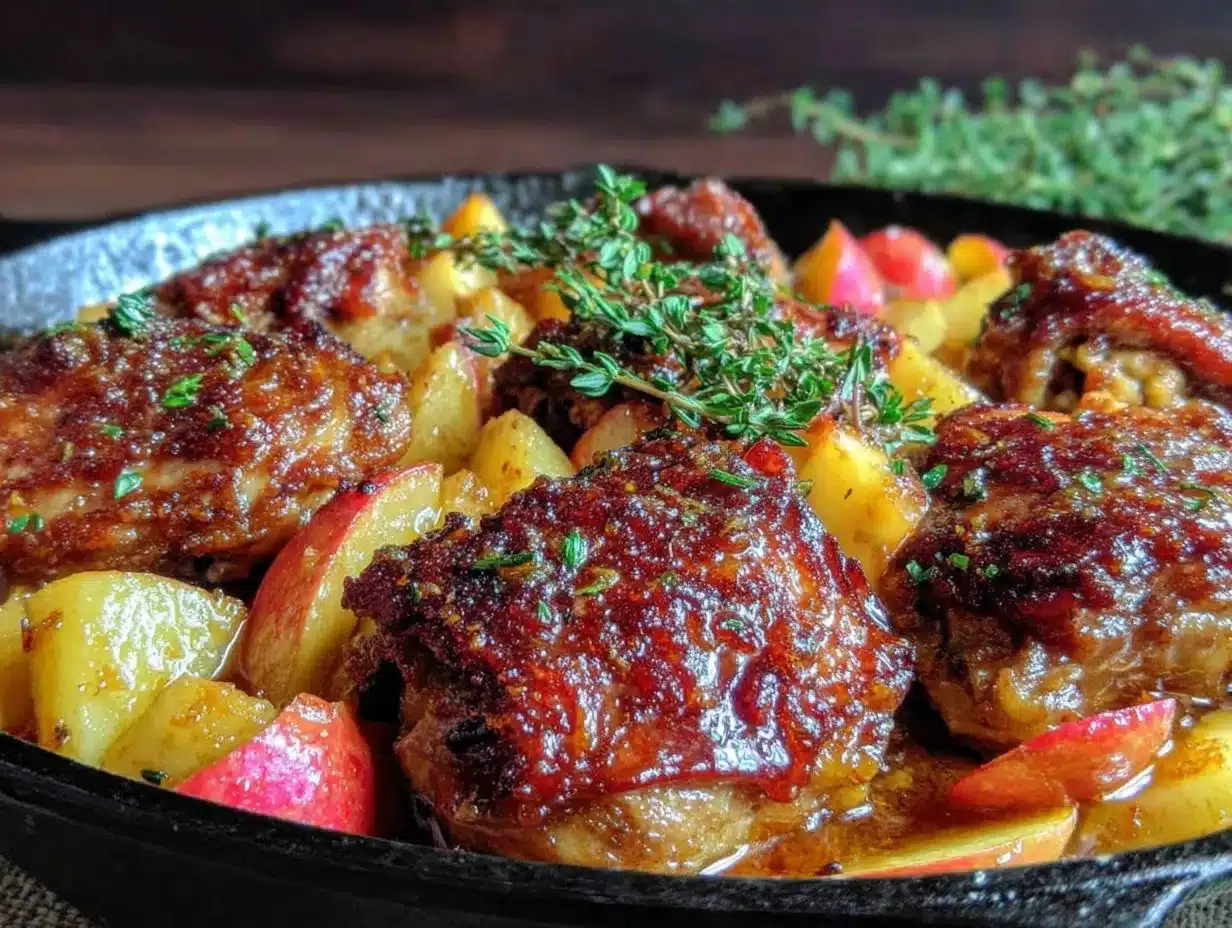
Let’s get cooking. This recipe moves quickly, so I recommend having all your ingredients prepped and measured before you turn on the stove. Trust me on this one—once that chicken hits the pan, you won’t want to be scrambling for the honey jar.
- Prep the Chicken and Apples: Pat the chicken thighs dry with paper towels. This step is crucial—dry chicken browns better. Season both sides generously with salt and black pepper. Core the apples and slice them into wedges about 1/2-inch thick. You don’t need to peel them; the skin helps them hold their shape during cooking. Mince the garlic and set it aside.
- Sear the Chicken: Heat the olive oil in your large skillet over medium-high heat. Once the oil is shimmering (you’ll see tiny ripples on the surface), carefully place the chicken thighs in the pan, smooth side down. Let them cook undisturbed for 5-6 minutes. I know it’s tempting to peek, but leave them alone—they need that time to develop a golden-brown crust. Flip the chicken using tongs and cook for another 4-5 minutes on the second side. The chicken should be cooked through and register 165°F (74°C) on a meat thermometer. Transfer the chicken to a plate and tent loosely with foil to keep warm.
- Sauté the Apples: Reduce the heat to medium. Add 1 tablespoon of the butter to the skillet. Once it melts and starts to foam, add the apple wedges in a single layer. Let them cook for 2-3 minutes per side, until they’re golden brown and slightly softened but still holding their shape. The apples will pick up all those delicious browned bits from the chicken—that’s pure flavor. Use tongs to transfer the apples to the plate with the chicken.
- Make the Honey Garlic Butter Sauce: Reduce the heat to medium-low. Add the remaining 2 tablespoons of butter to the skillet. Once melted, add the minced garlic and cook for about 30 seconds, stirring constantly. You want the garlic fragrant but not browned—burnt garlic turns bitter fast. Pour in the chicken broth, honey, and apple cider vinegar. Stir everything together, scraping up any browned bits from the bottom of the pan with your wooden spoon. Let the sauce simmer for 2-3 minutes, until it thickens slightly and becomes glossy.
- Combine Everything: Return the chicken and apples to the skillet, nestling them into the sauce. Add the fresh thyme or rosemary sprigs if using. Spoon some of the sauce over the chicken and apples. Let everything simmer together for 2-3 minutes, allowing the flavors to meld and the sauce to coat each piece.
- Rest and Serve: Remove the skillet from heat. Let it rest for about 5 minutes before serving. This short rest allows the juices in the chicken to redistribute, making every bite more tender. Discard the herb sprigs before serving.
Sensory Cues: When the chicken is searing, you should hear a steady, enthusiastic sizzle. If it’s silent, your pan isn’t hot enough. When the apples are cooking, they should soften at the edges but still offer slight resistance when pierced with a fork. The sauce is ready when it coats the back of a spoon and leaves a clear trail when you run your finger through it.
Prep Note: If you’re using chicken breasts instead of thighs, cut them in half horizontally to create thinner cutlets. They’ll cook faster and more evenly, about 3-4 minutes per side.
Cooking Tips & Techniques
I’ve made this recipe enough times to know where things can go sideways. Here are the lessons I learned the hard way so you don’t have to:
Don’t Skip Drying the Chicken. This is probably the most common mistake. Wet chicken steams instead of sears, and you end up with pale, sad-looking meat. Pat those thighs dry like you mean it.
Watch Your Heat. Medium-high for searing, medium for apples, medium-low for the sauce. If your pan is too hot when you add the garlic, it’ll burn in seconds. I once had to start over because I got distracted and turned my garlic into charcoal. The smell lingers, by the way.
Use a Meat Thermometer. I know, I sound like a broken record. But chicken that’s perfectly cooked at 165°F (74°C) is juicy and tender. Chicken that’s overcooked by even a few degrees starts to dry out. A cheap instant-read thermometer is one of the best investments you can make for your kitchen.
Let the Apples Be the Star. Don’t overcrowd the pan when cooking the apples. If they’re piled on top of each other, they’ll steam and turn mushy. Cook them in a single layer, even if that means doing it in two batches. Your patience will be rewarded.
Timing Strategy: While the chicken is searing, core and slice your apples. While the apples are cooking, mince your garlic and measure your liquids. This way, everything flows smoothly without any frantic scrambling.
If the Sauce Is Too Thin: Let it simmer a minute or two longer. The honey will help it thicken naturally. If it’s too thick, add a splash of chicken broth or water. You’re looking for a consistency that coats the back of a spoon but still pours easily.
Variations & Adaptations
One of the best things about this recipe is how flexible it is. Here are some ways to make it your own:
Dietary Variations:
- Gluten-Free: This recipe is naturally gluten-free as written. Just make sure your chicken broth is certified gluten-free if that’s a concern.
- Dairy-Free: Swap the butter for a high-quality vegan butter or use coconut oil. The flavor will shift slightly, but it’s still delicious.
- Low-Carb/Keto: Replace the honey with a sugar-free honey substitute or monk fruit sweetener. The apples will add some natural carbs, so keep that in mind if you’re strictly counting.
Flavor Twists:
- Spicy Version: Add a pinch of red pepper flakes along with the garlic. The heat cuts through the sweetness beautifully.
- Herb Swap: Try fresh sage instead of thyme. Sage and apples are a classic combination that works wonderfully here.
- Add Bacon: Cook 3-4 slices of bacon in the skillet before searing the chicken. Crumble the bacon over the finished dish. Because everything is better with bacon.
Different Cooking Methods:
- Oven-Baked: Sear the chicken and apples in an oven-safe skillet, then transfer to a 375°F (190°C) oven for 15-20 minutes. Add the sauce after baking.
- Slow Cooker: Sear the chicken first, then add everything to a slow cooker. Cook on low for 4-5 hours. Add the apples during the last hour so they don’t turn to mush.
I once tried this with pears instead of apples when I ran out of apples mid-week. It was surprisingly good—the pears were a little softer, but the sweetness paired perfectly with the honey garlic sauce. Don’t be afraid to experiment based on what you have on hand.
Serving & Storage Suggestions
This dish is versatile enough to serve with a variety of sides. Here’s how I like to enjoy it:
Serving Temperature and Presentation: Serve the chicken and apples hot, straight from the skillet. Spoon extra sauce over the top right before serving. A sprinkle of fresh thyme leaves or a pinch of flaky sea salt adds a nice finishing touch. For a complete meal, I love serving this over a bed of fluffy rice, mashed potatoes, or with a side of crusty bread to soak up every last drop of that honey garlic butter sauce. If you’re looking for another cozy one-pan meal, try this easy 30-minute fall harvest chicken skillet recipe for a seasonal twist.
Complementary Dishes:
- Steamed green beans or roasted broccoli add a nice green contrast.
- A simple arugula salad with lemon vinaigrette cuts through the richness.
- Wild rice or quinoa add a nutty, earthy element.
Storage Instructions:
- Refrigerator: Store leftovers in an airtight container for up to 3 days. The flavors actually meld and deepen overnight, so leftovers are often even better the next day.
- Freezer: This dish freezes well for up to 2 months. Let it cool completely, then transfer to a freezer-safe container. Thaw overnight in the refrigerator before reheating.
Reheating Tips:
- Stovetop: Reheat gently in a skillet over medium-low heat, adding a splash of chicken broth or water to loosen the sauce. This is my preferred method because it preserves the texture of the chicken and apples.
- Microwave: Quick and convenient, but the apples may soften more. Heat in 30-second bursts at 50% power.
- Oven: Place in a covered baking dish at 325°F (160°C) for 10-15 minutes.
The sauce will thicken as it sits, so don’t be alarmed if it looks different after refrigeration. A little extra broth or water when reheating brings it back to life.
Nutritional Information & Benefits
Here’s an approximate nutritional breakdown per serving (based on 4 servings, using chicken thighs):
| Nutrient | Amount per Serving |
|---|---|
| Calories | 385 |
| Protein | 28g |
| Fat | 22g |
| Saturated Fat | 9g |
| Carbohydrates | 22g |
| Fiber | 3g |
| Sugar | 17g |
| Sodium | 480mg |
Health Benefits:
- Apples are packed with fiber and vitamin C. The pectin in apples also supports gut health.
- Garlic is known for its immune-boosting properties and adds antioxidants to the dish.
- Chicken Thighs provide a good source of protein, iron, and B vitamins, which support energy metabolism.
Dietary Considerations: This recipe is naturally gluten-free and nut-free. It contains dairy from the butter, but that’s easily swapped. The honey means it’s not suitable for strict keto or low-sugar diets unless you use a substitute. I personally love that this dish feels indulgent but still uses whole, recognizable ingredients. It’s the kind of meal that satisfies without making you feel heavy afterward.
Conclusion
This Easy Honey Garlic Butter Skillet Chicken with Apples has become one of those recipes I turn to again and again. It’s simple enough for a Tuesday but impressive enough for company. The combination of savory chicken, sweet apples, and that glossy honey garlic butter sauce is just plain good cooking. What I love most is how forgiving it is—you can swap the herbs, change the apples, adjust the sweetness, and it still works. That’s the mark of a great recipe, in my opinion.
I’d love to hear how it turns out for you. Did you try a variation? Use a different type of apple? Add a little heat? Drop a comment below and let me know. Share this recipe with someone who needs a quick, comforting dinner idea. And if you’re looking for another easy weeknight meal, this quick garlic butter shrimp pasta in 15 minutes is another skillet favorite that comes together in no time. Happy cooking, and remember—the best meals are the ones made with a little love and a lot of butter.
Frequently Asked Questions
Can I use chicken breasts instead of thighs?
Absolutely. Just cut the breasts into thinner cutlets so they cook evenly and quickly. Reduce the cooking time to about 3-4 minutes per side, and use a meat thermometer to ensure they reach 165°F (74°C) without drying out.
What type of apple works best for this recipe?
Firm, slightly tart apples like Honeycrisp, Fuji, or Granny Smith are ideal. They hold their shape during cooking and provide a nice contrast to the sweet honey garlic sauce. Avoid soft apples like McIntosh or Red Delicious, as they’ll turn mushy.
Can I make this recipe ahead of time?
Yes, you can prepare this dish up to 2 days in advance. The flavors actually deepen overnight. Store it in an airtight container in the refrigerator and reheat gently on the stovetop, adding a splash of broth to loosen the sauce.
Is this recipe gluten-free?
Yes, as written, this recipe is naturally gluten-free. Just double-check that your chicken broth is certified gluten-free if you have celiac disease or a severe sensitivity. All other ingredients are naturally gluten-free.
Can I freeze the leftovers?
Definitely. Let the dish cool completely, then transfer to a freezer-safe container. It will keep for up to 2 months. Thaw overnight in the refrigerator and reheat gently on the stovetop. The apples may soften slightly after freezing, but the flavor remains excellent.
Pin This Recipe!
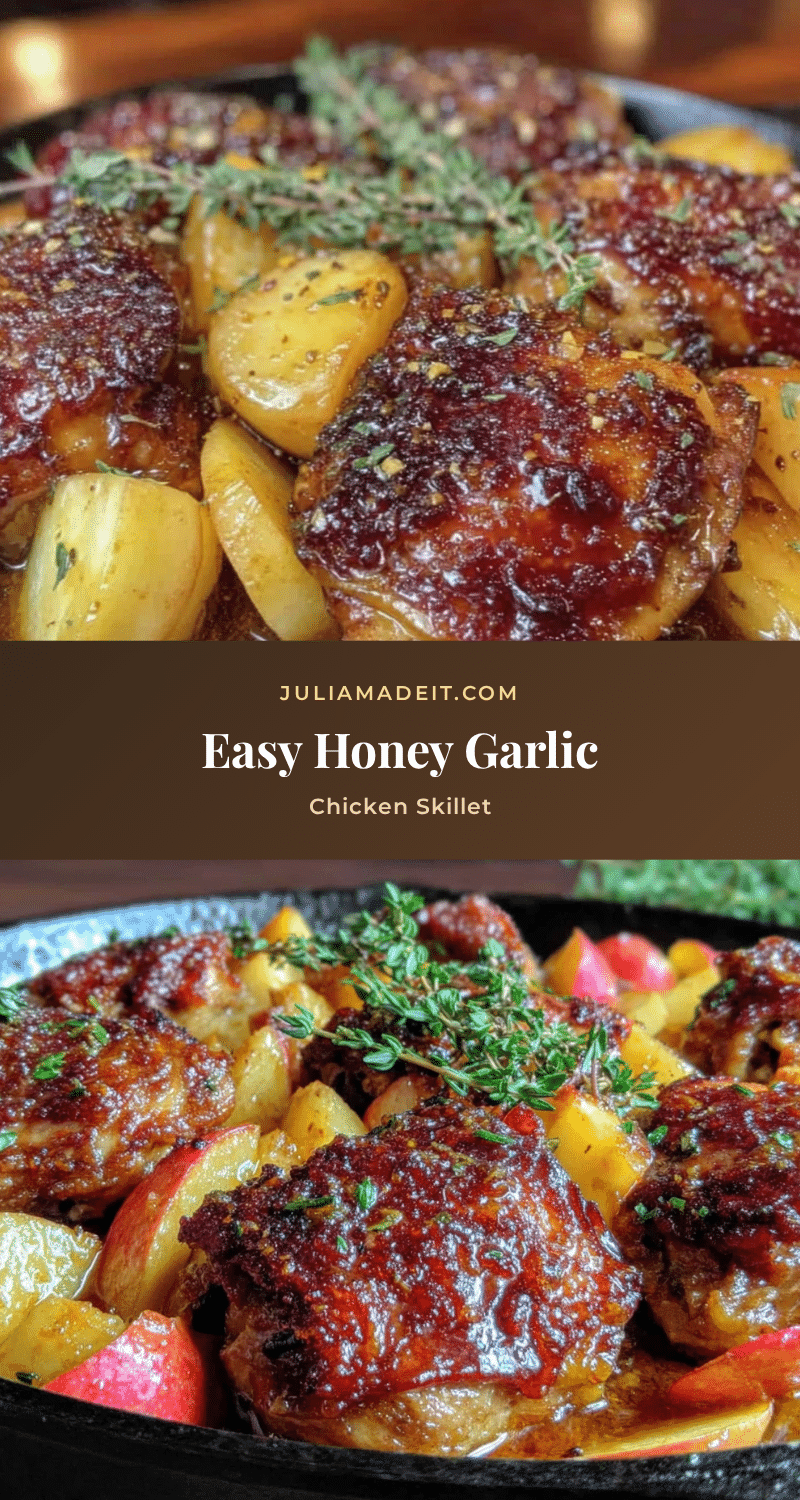
Easy Honey Garlic Butter Skillet Chicken with Apples

A quick and easy one-pan dinner featuring tender chicken thighs and caramelized apples in a sticky honey garlic butter sauce. Perfect for busy weeknights, this dish comes together in under 30 minutes and is sure to become a family favorite.
- Prep Time: 10 minutes
- Cook Time: 20 minutes
- Total Time: 30 minutes
- Yield: 4 servings 1x
- Category: Main Course
- Cuisine: American
Ingredients
- 1.5 lbs (680g) boneless, skinless chicken thighs
- 3 tablespoons (60ml) honey
- 4 cloves garlic, minced
- 3 tablespoons (42g) unsalted butter
- 2 medium firm apples (Honeycrisp, Fuji, or Granny Smith), cored and sliced into 1/2-inch wedges
- 1/2 cup (120ml) low-sodium chicken broth
- 1 tablespoon (15ml) apple cider vinegar
- 1 tablespoon (15ml) olive oil
- Salt and black pepper to taste
- 2–3 sprigs fresh thyme or rosemary (optional)
Instructions
- Pat the chicken thighs dry with paper towels and season both sides generously with salt and black pepper. Core the apples and slice into 1/2-inch thick wedges. Mince the garlic.
- Heat olive oil in a large skillet over medium-high heat. Once shimmering, add the chicken thighs smooth side down. Cook undisturbed for 5-6 minutes until golden brown. Flip and cook for another 4-5 minutes until cooked through (165°F/74°C). Transfer chicken to a plate and tent with foil.
- Reduce heat to medium. Add 1 tablespoon of butter to the skillet. Once melted and foaming, add apple wedges in a single layer. Cook for 2-3 minutes per side until golden and slightly softened. Transfer apples to the plate with chicken.
- Reduce heat to medium-low. Add remaining 2 tablespoons of butter. Once melted, add minced garlic and cook for 30 seconds, stirring constantly. Pour in chicken broth, honey, and apple cider vinegar. Stir, scraping up browned bits. Simmer for 2-3 minutes until slightly thickened and glossy.
- Return chicken and apples to the skillet, nestling into the sauce. Add fresh herb sprigs if using. Spoon sauce over everything and simmer for 2-3 minutes to meld flavors.
- Remove from heat and let rest for 5 minutes. Discard herb sprigs before serving.
Notes
Pat chicken dry for best browning. Use a meat thermometer to avoid overcooking. For chicken breasts, cut into thinner cutlets and reduce cooking time. If sauce is too thin, simmer longer; if too thick, add a splash of broth.
Nutrition
- Serving Size: 1 serving
- Calories: 385
- Sugar: 17
- Sodium: 480
- Fat: 22
- Saturated Fat: 9
- Carbohydrates: 22
- Fiber: 3
- Protein: 28
Keywords: honey garlic chicken, skillet chicken, apple chicken, one-pan chicken, easy chicken dinner, fall chicken recipe