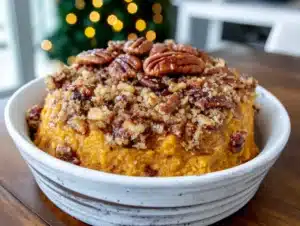
My husband took a bite of these brown butter pumpkin pie bars and just stopped mid-chew. He looked at the bar in his hand, then back at me, and said, “Wait—this is actually better than regular pumpkin pie.” No prompting, no fishing for compliments. He just stood there in the kitchen, crumbs on his shirt, trying to figure out how a bar could outshine the classic. And honestly? I kind of agreed with him.
I wasn’t trying to reinvent Thanksgiving dessert that day. I had a half-used can of pumpkin puree in the fridge from the pumpkin cream cheese muffins I made earlier that week and a bag of pecans staring at me from the pantry. The brown butter thing? That was a happy accident. I let it go a shade too dark while I was answering a text, and instead of dumping it, I poured it into the crust anyway. Best mistake I’ve made in a long time.
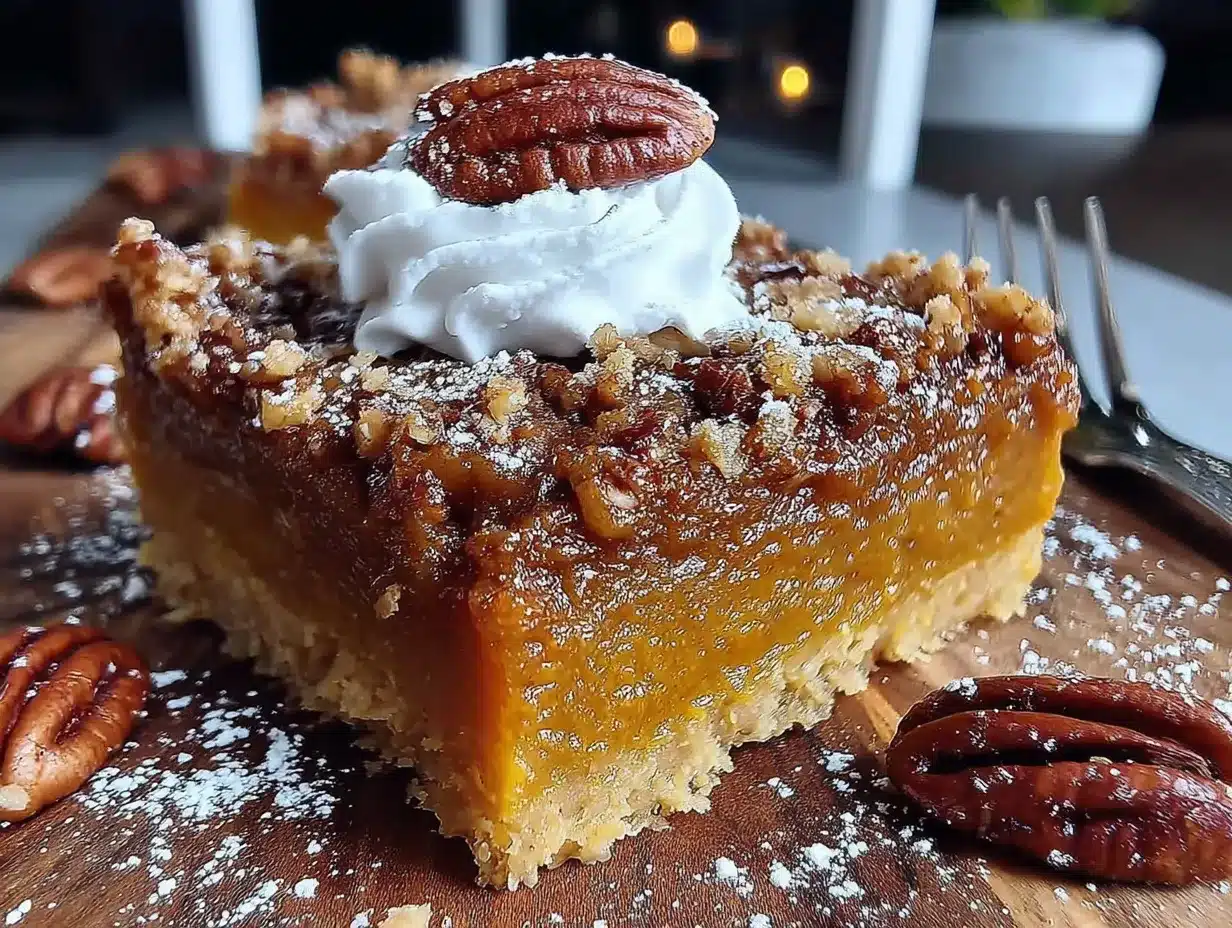
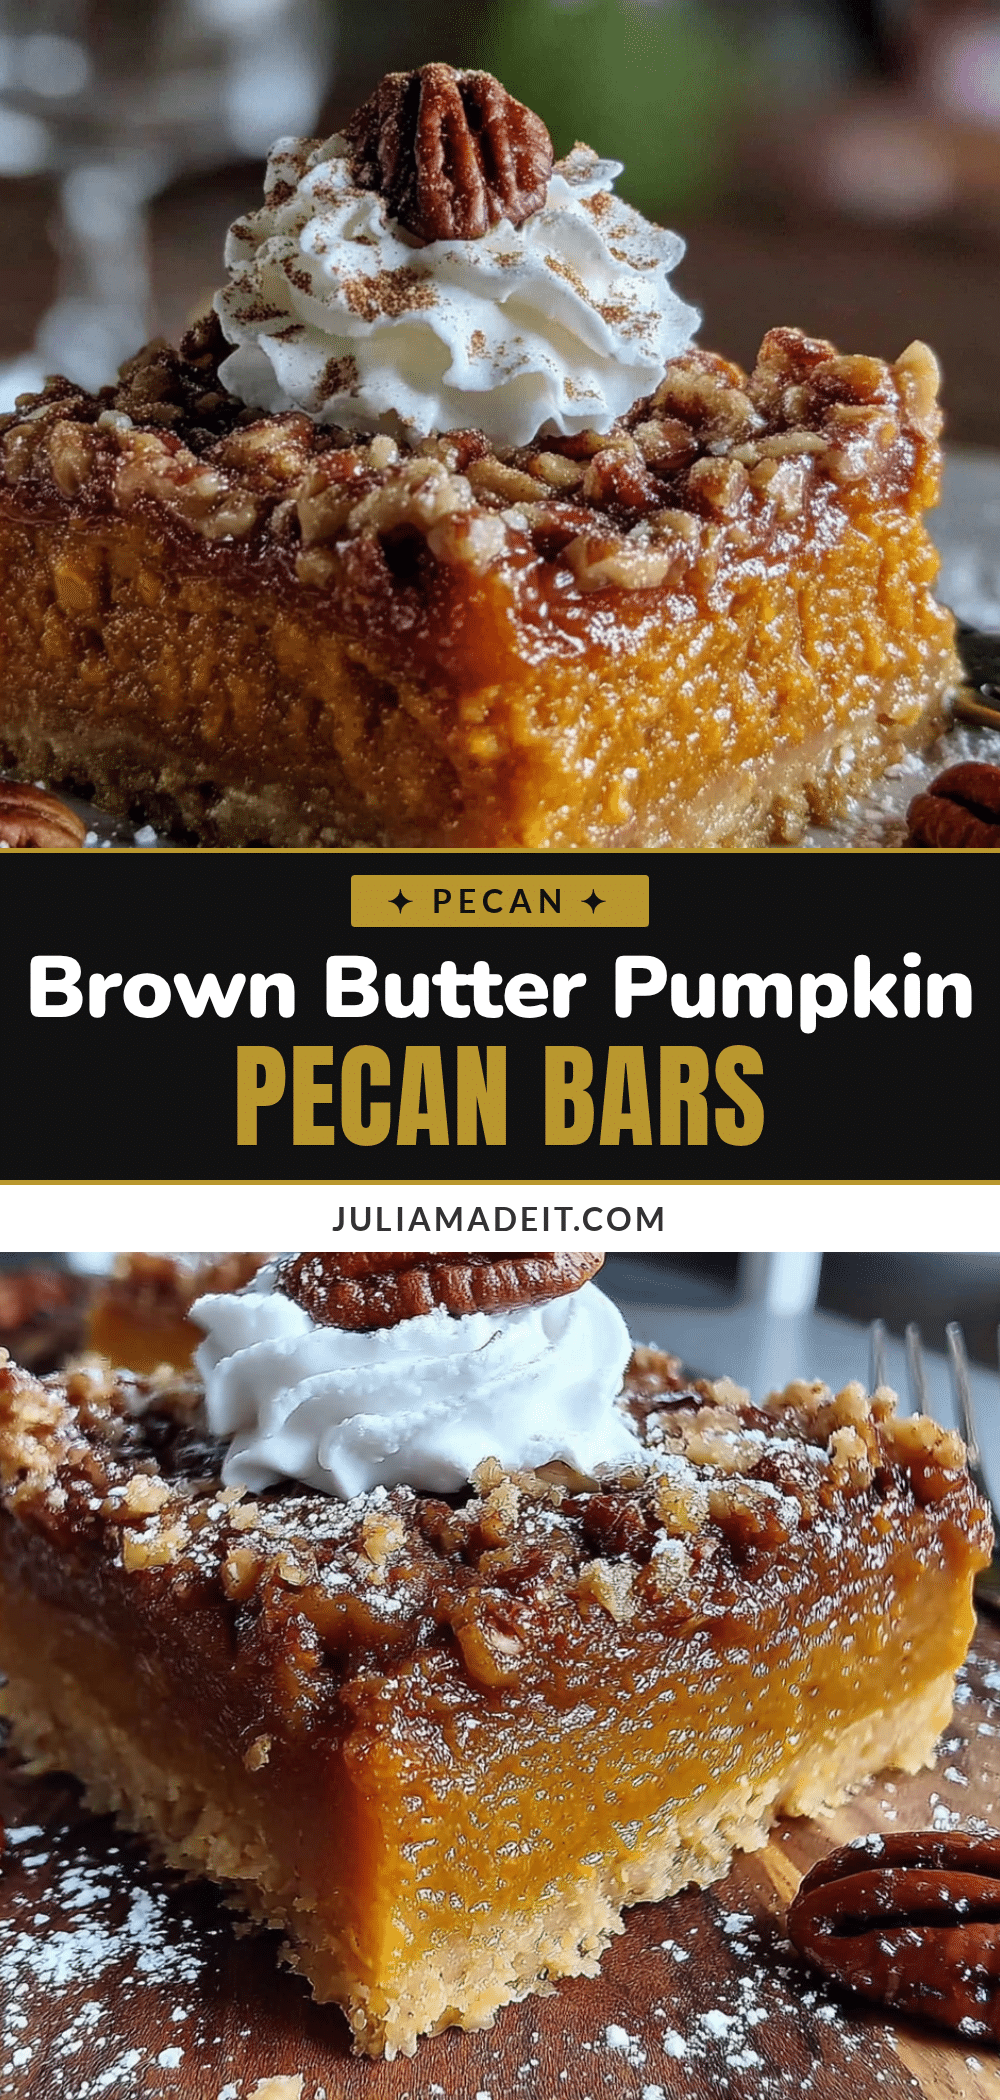
These bars have that nutty, almost toffee-like flavor from the browned butter that makes the pecan crust taste like a butter cookie’s sophisticated cousin. The filling is silky—not too dense, not too jiggly—with just enough spice to remind you it’s fall without hitting you over the head with cinnamon. It’s the kind of dessert that makes people close their eyes on the first bite.
I’ve made three batches in two weeks. That’s not a brag—it’s just what happens when you accidentally create something that works better than the original.
Why You’ll Love These Brown Butter Pumpkin Pie Bars
Let’s be real for a second. Pumpkin pie is great, but it has problems. The crust gets soggy. The filling cracks. It takes forever to chill. These bars solve all of that without losing any of the cozy fall vibes.
- No Soggy Crust Ever: The pecan crust gets pre-baked, so it stays crisp and buttery even after the filling goes on. No more sad, wet pie bottoms.
- Portable and Sliceable: Bars travel better than pie. You can pack them for potlucks, stack them on a platter, or eat one over the sink at 10 PM. No judgment here.
- Brown Butter Changes Everything: That nutty, caramelized butter takes the pecan crust from good to “what did you put in this?” territory. It’s subtle but unmistakable.
- Make-Ahead Friendly: These bars actually taste better the next day. The flavors meld, the texture sets perfectly, and you free up oven space on the big day.
- Crowd-Pleasing Texture: The filling is creamy without being custard-like, and the crust has that shortbread-meets-cookie crumble that everyone fights over.
I’ve tested this recipe with a peach cobbler crowd and a Thanksgiving table full of critics. Both groups cleaned the pan. That’s the kind of versatility you want in your fall baking rotation.
What Ingredients You Will Need
This recipe uses simple, pantry-friendly ingredients, but each one plays a specific role. The brown butter is the star, the pecans add crunch, and the pumpkin filling brings that familiar autumn comfort. Here’s what you’ll need:
For the Pecan Crust
- Unsalted butter, ½ cup (1 stick) — You’ll brown this, so don’t skip that step. I use Kerrygold for its lower water content, but any good unsalted butter works.
- All-purpose flour, 1 ¼ cups — Spoon and level it. Scooping packs the flour and makes the crust tough.
- Pecans, ¾ cup finely chopped — Toast them lightly before chopping for deeper flavor. You want them fine but not powdered.
- Powdered sugar, ¼ cup — Dissolves into the crust better than granulated sugar, giving it that melt-in-your-mouth texture.
- Vanilla extract, 1 teaspoon — Pure, not imitation. It brightens the nutty notes.
- Salt, ¼ teaspoon — Flaky sea salt if you have it. It balances the sweetness.
For the Pumpkin Filling
- Pumpkin puree, 1 can (15 oz) — Not pumpkin pie filling. Libby’s is my go-to for consistent texture and color.
- Sweetened condensed milk, 1 can (14 oz) — This gives the filling its silky richness without needing to mess with evaporated milk and sugar separately.
- Large eggs, 2 — Room temperature. Cold eggs can seize the mixture and create lumps.
- Brown sugar, ¼ cup packed — Light or dark works. Dark adds more molasses depth.
- Pumpkin pie spice, 2 teaspoons — Store-bought is fine, but I mix my own with cinnamon, ginger, nutmeg, and a pinch of cloves.
- Cinnamon, 1 teaspoon — Because you can never have too much.
- Salt, ¼ teaspoon — It makes the spices pop.
- Vanilla extract, 1 teaspoon — Rounds out the flavor profile.
Equipment Needed
Nothing fancy here. Most of this you probably already have:
- 9×13-inch baking pan — Glass or metal both work. Glass gives you a slightly softer crust edge; metal gets crispier.
- Parchment paper — Non-negotiable for easy lifting. Let the edges hang over the sides like handles.
- Light-colored saucepan — Essential for browning butter. Dark pans make it hard to see the color change.
- Food processor or pastry cutter — For the crust. A food processor is faster, but your fingers work fine if you don’t mind getting messy.
- Mixing bowls — One large, one medium.
- Whisk — For smoothing the filling without overbeating.
- Cooling rack — Helps the bars set evenly before refrigeration.
If you don’t have a food processor, just chop the pecans by hand and cut the butter into the flour mixture with a pastry blender or two forks. It takes a few extra minutes but works perfectly.
Preparation Method
Take your time with the brown butter step—it’s where the magic happens.
Step 1: Brown the Butter
Cut the stick of butter into pieces and drop them into your light-colored saucepan. Set it over medium heat and let it melt, swirling occasionally. At first it’ll foam up, then the foam will subside, and you’ll see little brown specks forming at the bottom. That’s the milk solids toasting. Keep swirling until the butter smells nutty and turns a deep amber color—about 5 to 7 minutes total. The second it starts looking like melted caramel, pull it off the heat and pour it into a heatproof bowl to stop the cooking. Don’t walk away during this part. Burnt butter happens fast.
Step 2: Make the Crust
Preheat your oven to 350°F. Line your 9×13 pan with parchment paper, leaving overhang on two opposite sides.
In a food processor, pulse the flour, chopped pecans, powdered sugar, and salt until the pecans are finely ground and everything looks sandy. Drizzle in the browned butter (scrape all those brown bits in—that’s flavor gold) and the vanilla. Pulse again until the mixture clumps together when you pinch it.
Press the mixture evenly into the bottom of your prepared pan. Use the bottom of a measuring cup to really pack it down. Prick the crust all over with a fork to prevent bubbling. Bake for 15 to 18 minutes, until the edges are just starting to turn golden and the whole kitchen smells like toasted pecans. Set it on a rack to cool while you make the filling.
Step 3: Make the Filling
In a large bowl, whisk the pumpkin puree and sweetened condensed milk together until smooth. Add the brown sugar, pumpkin pie spice, cinnamon, and salt, and whisk again. Crack the eggs into a small bowl first (just in case of shells), then add them to the pumpkin mixture with the vanilla. Whisk gently until everything is combined—don’t beat it like you’re angry. Overmixing adds air bubbles that can cause cracks.
The filling should be thick but pourable, like a milkshake that’s starting to melt. If it looks curdled or separated, your eggs were too cold. Let the mixture sit for 5 minutes and whisk again—it usually comes back together.
Step 4: Assemble and Bake
Pour the filling over the pre-baked crust. Spread it gently to the edges—it’ll settle on its own. Bake at 350°F for 35 to 40 minutes. The edges should look set and puffed slightly, but the center will still jiggle a little when you shake the pan. That’s okay. It’ll finish setting as it cools.
If the crust starts browning too fast around the 25-minute mark, tent the pan loosely with foil. Every oven runs differently, so check early if yours runs hot.
Step 5: Cool and Chill
Let the bars cool completely on a wire rack—about 1 hour. Then transfer the pan to the fridge and chill for at least 4 hours, preferably overnight. This is the hardest part, I know. But the bars need that time to set into clean, sliceable pieces. If you cut them warm, you’ll get pumpkin soup with crust chunks.
Once chilled, lift the whole block out using the parchment handles. Slice into squares with a sharp knife, wiping the blade clean between cuts for neat edges.
Cooking Tips & Techniques
I’ve made enough mistakes with this recipe to know what goes wrong and how to fix it.
Don’t Skip the Pre-Bake: I tried skipping the crust pre-bake once because I was in a hurry. The result was a sad, doughy bottom that never recovered. That 15-minute bake is non-negotiable.
Watch Your Butter Like a Hawk: Brown butter goes from perfect to burnt in about 30 seconds. If you see black specks instead of golden brown ones, you’ve gone too far. Start over—it’s worth it.
Room Temperature Eggs Matter: Cold eggs can make the filling lumpy or cause the fat to separate. Set them out 30 minutes before you start, or float them in warm water for 5 minutes.
Don’t Overbake: The center should jiggle like Jell-O, not slosh like soup. Overbaked pumpkin filling gets rubbery and cracks. Pull it when the edges are set and the middle still has a slight wobble.
Chill Completely: I know you want to taste it. I do too. But warm pumpkin bars are a mess. The texture transforms during chilling—it goes from loose to luxuriously creamy.
Variations & Adaptations
This recipe is flexible, and I’ve tried several twists that worked beautifully:
- Gluten-Free Version: Swap the all-purpose flour with a 1:1 gluten-free baking blend. I’ve used King Arthur’s with great results. The crust will be slightly more crumbly but just as delicious.
- Dairy-Free Option: Use vegan butter for the crust (melt and brown it the same way) and full-fat coconut milk instead of sweetened condensed milk. The filling will be a little less sweet, so add an extra tablespoon of brown sugar.
- Spice It Up: Add ¼ teaspoon of cayenne or black pepper to the filling for a warm, unexpected kick. It sounds weird, but it works the same way pepper does on fresh fruit—it makes the pumpkin taste more pumpkin-y.
- Chocolate Drizzle: Melt ½ cup of dark chocolate chips with a teaspoon of coconut oil and drizzle over the chilled bars. The bitterness cuts through the sweetness beautifully.
- Maple Pecan Topping: Before baking, sprinkle an extra ¼ cup of chopped pecans over the filling and press them in gently. Drizzle with maple syrup after baking for a candied effect.
I personally love the chocolate drizzle version for holiday parties. It makes the bars look fancy with almost no extra effort.
Serving & Storage Suggestions
These bars are best served cold or at cool room temperature. Straight from the fridge, they slice like a dream and have that dense, creamy texture that makes pumpkin desserts so satisfying. If you prefer them softer, let them sit out for 15 minutes before serving.
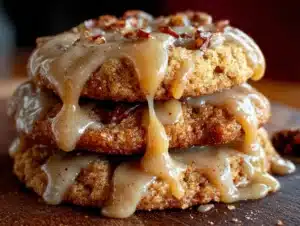
Presentation Ideas: Dust with powdered sugar just before serving. Add a dollop of lightly sweetened whipped cream and a sprinkle of cinnamon for a more polished look. For Thanksgiving, I arrange them on a wooden board with brown butter pumpkin chocolate chip cookies and fresh cranberries for color.
Storage: Keep leftovers in an airtight container in the fridge for up to 5 days. The crust stays crisp, and the filling actually gets creamier on day two. I’ve never had them last longer than that, but they’d probably hold for a week.
Freezing: These freeze beautifully. Slice the chilled bars, wrap each piece individually in plastic wrap, then stash them in a freezer bag. They’ll keep for up to 3 months. Thaw in the fridge overnight or at room temperature for about 30 minutes.
Reheating: I don’t recommend reheating these. They’re meant to be served cold or cool. If you really want a warm dessert, microwave a single piece for 10 seconds—just enough to take the chill off without melting the texture.
Nutritional Information & Benefits
Here’s the honest truth: these are dessert bars. They’re not health food, but they’re made with real ingredients that offer some nutritional value.
| Nutrient | Per Serving (1 bar, approx 1/12 of recipe) |
|---|---|
| Calories | 320 |
| Total Fat | 18g |
| Saturated Fat | 8g |
| Carbohydrates | 38g |
| Fiber | 3g |
| Sugar | 24g |
| Protein | 6g |
| Vitamin A | 120% DV |
| Iron | 8% DV |
Pumpkin is packed with vitamin A and fiber, which supports eye health and digestion. Pecans provide healthy fats and magnesium. The brown butter? Well, it provides happiness—and that counts for something.
For a lower-sugar option, reduce the brown sugar in the filling to 2 tablespoons and use a sugar substitute in the crust. The texture will change slightly, but the flavor will still shine.
Conclusion
These brown butter pumpkin pie bars aren’t trying to replace your grandma’s pumpkin pie. They’re just offering an upgrade—one that’s easier to make, easier to serve, and honestly, easier to love. The pecan crust stays crunchy. The filling stays creamy. And that brown butter flavor lingers in the best way possible.
I’ve made these for casual weeknight cravings and for full-blown holiday spreads. They disappear every single time. If you’re on the fence about trying them, just go for it. The hardest part is waiting for them to chill—and trust me, it’s worth the wait.
Have you tried these bars? Let me know in the comments how they turned out, or share your own twist on the recipe. I love hearing what you guys come up with.
Frequently Asked Questions
Can I use a different nut for the crust?
Absolutely. Walnuts, almonds, or even hazelnuts work well. Just keep the total amount the same and chop them finely. The flavor will change, but the texture stays similar.
Why did my filling crack on top?
Overbaking is usually the culprit. The filling cracks when it gets too dry. Next time, pull the bars when the center still has a slight jiggle. Also, make sure your oven temperature is accurate—an oven thermometer helps.
Can I make these without a food processor?
Yes! Finely chop the pecans by hand and cut the cold browned butter into the flour mixture using a pastry cutter or two forks. It takes a little elbow grease, but the crust comes out just as good.
How far in advance can I make these?
Up to 3 days ahead if stored in the fridge. They actually taste better on day two. You can also freeze them for up to 3 months—just wrap each bar individually.
Can I use fresh pumpkin instead of canned?
You can, but you’ll need to roast and puree it first, then drain off excess liquid using a cheesecloth or fine-mesh strainer. Canned pumpkin is more consistent and saves time, so I stick with it for this recipe.
Pin This Recipe!
Best Brown Butter Pumpkin Pie Bars with Pecan Crust
These brown butter pumpkin pie bars feature a nutty pecan crust and silky pumpkin filling. They’re portable, sliceable, and actually better than traditional pumpkin pie.
- Prep Time: 20 minutes
- Cook Time: 55 minutes
- Total Time: 5 hours 15 minutes (includes chilling)
- Yield: 12 servings 1x
- Category: Dessert
- Cuisine: American
Ingredients
- ½ cup (1 stick) unsalted butter
- 1 ¼ cups all-purpose flour
- ¾ cup finely chopped pecans
- ¼ cup powdered sugar
- 1 teaspoon vanilla extract
- ¼ teaspoon salt
- 1 can (15 oz) pumpkin puree
- 1 can (14 oz) sweetened condensed milk
- 2 large eggs, room temperature
- ¼ cup packed brown sugar
- 2 teaspoons pumpkin pie spice
- 1 teaspoon cinnamon
- ¼ teaspoon salt
- 1 teaspoon vanilla extract
Instructions
- Brown the butter: Cut the stick of butter into pieces and place in a light-colored saucepan over medium heat. Swirl occasionally until the butter melts, foams, and turns a deep amber color with brown specks (about 5-7 minutes). Immediately pour into a heatproof bowl to stop cooking.
- Make the crust: Preheat oven to 350°F. Line a 9×13-inch baking pan with parchment paper, leaving overhang on two opposite sides. In a food processor, pulse flour, chopped pecans, powdered sugar, and salt until sandy. Drizzle in browned butter and vanilla, then pulse until the mixture clumps when pinched.
- Press the crust mixture evenly into the prepared pan using the bottom of a measuring cup. Prick all over with a fork. Bake for 15-18 minutes until edges are golden. Cool on a rack.
- Make the filling: In a large bowl, whisk pumpkin puree and sweetened condensed milk until smooth. Add brown sugar, pumpkin pie spice, cinnamon, and salt; whisk again. In a small bowl, lightly beat eggs, then add to pumpkin mixture with vanilla. Whisk gently until combined—do not overmix.
- Assemble and bake: Pour filling over pre-baked crust and spread gently to edges. Bake at 350°F for 35-40 minutes until edges are set and center jiggles slightly. If crust browns too fast, tent with foil after 25 minutes.
- Cool and chill: Cool completely on a wire rack (about 1 hour), then refrigerate for at least 4 hours, preferably overnight. Lift out using parchment handles, slice into squares with a sharp knife, wiping blade clean between cuts.
Notes
Don’t skip pre-baking the crust—it prevents sogginess. Watch the brown butter carefully; it goes from perfect to burnt in about 30 seconds. Use room temperature eggs to avoid lumps in the filling. The center should jiggle slightly when done; overbaking causes cracks. Chill completely before slicing for clean edges. Bars taste even better the next day.
Nutrition
- Serving Size: 1 bar (1/12 of recip
- Calories: 320
- Sugar: 24
- Sodium: 200
- Fat: 18
- Saturated Fat: 8
- Carbohydrates: 38
- Fiber: 3
- Protein: 6
Keywords: pumpkin pie bars, brown butter, pecan crust, Thanksgiving dessert, fall baking, pumpkin dessert, easy pumpkin bars