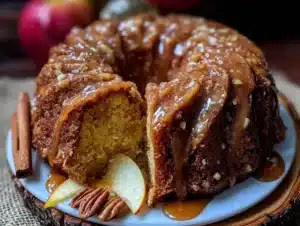
My sister-in-law, Jen, wasn’t trying to impress anyone that Tuesday afternoon. I’d stopped by to borrow a steam cleaner (don’t ask) and the smell of warm cinnamon and chocolate hit me before I even got through the mudroom. It was that kind of cozy, spiced aroma that makes you forget why you came in the first place. She was standing there in her stained apron, casually pulling a muffin tin out of the oven, and I honestly thought I’d walked into a bakery.
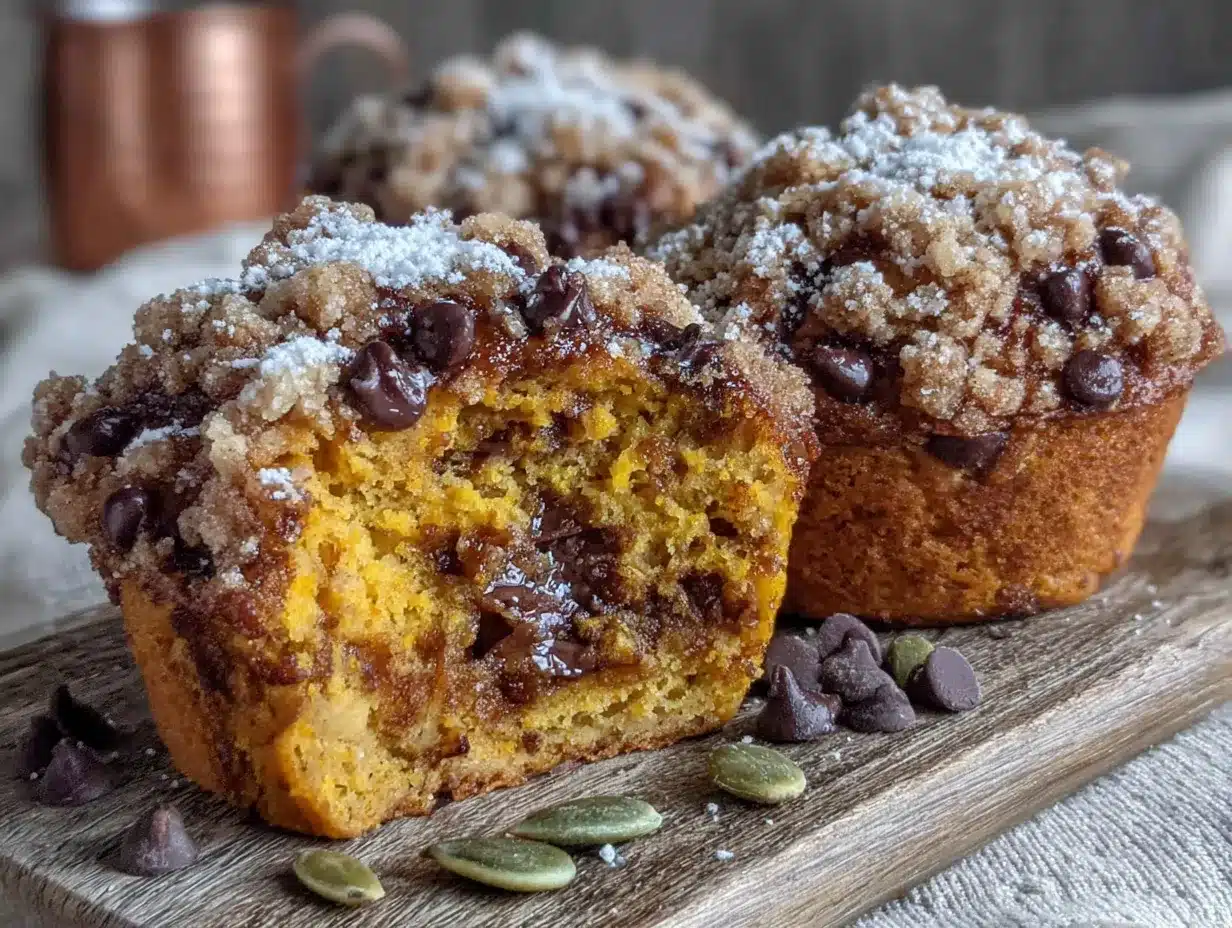
“Oh, those are just for the kids’ lunchboxes,” she said, waving her hand like she’d made a pot of plain oatmeal. But these weren’t just any muffins. They were these perfectly domed, golden-brown pumpkin chocolate chip muffins with little melty pockets of chocolate peeking through the tops. My own kids were in the car, and I knew—I just knew—if I didn’t get one of those muffins into their hands, I’d never hear the end of it. So I did what any reasonable aunt would do. I asked for a sample. And then another. And then the recipe.
You know that feeling when you bite into something and you’re already planning when you’ll make it again? That’s what these Kid-Approved Pumpkin Chocolate Chip Muffins did to me. They were soft, not too sweet, and somehow managed to taste like fall without screaming “pumpkin spice” at you. Jen’s secret? She uses a whole can of pumpkin puree and just the right amount of chocolate chips so every bite has a little something special. Honestly, I’ve made these muffins at least a dozen times since that afternoon, and they’ve never let me down. They’re the kind of recipe that makes you look like a hero in the kitchen without breaking a sweat.
Why You’ll Love This Recipe
Let’s be real—finding a muffin recipe that pleases both a picky four-year-old and a hungry teenager is like finding a unicorn. But these pumpkin chocolate chip muffins? They’re that unicorn. I’ve tested them on my own kids, my neighbor’s kids, and even a classroom full of second graders, and the verdict is always the same: gone in minutes.
- Quick & Easy: From start to finish, you’re looking at about 30 minutes. That’s faster than a trip to the bakery, and way cheaper.
- Simple Ingredients: You probably have most of this stuff in your pantry right now. No weird flours or exotic extracts—just real, honest baking staples.
- Perfect for Lunchboxes: These muffins pack beautifully and taste even better the next day. No crumbs all over the car seat, promise.
- Crowd-Pleaser: I’ve brought these to playdates, school bake sales, and Sunday brunch. Adults and kids alike go back for seconds.
- Unbelievably Delicious: The texture is seriously perfect—moist, tender, and not at all dense like some pumpkin recipes can be. The chocolate chips melt into little pools of happiness.
What makes these different from the other pumpkin muffin recipes out there? It’s the ratio. I spent three batches tweaking the flour-to-pumpkin ratio until I got that ideal crumb that’s soft but sturdy enough to hold a generous handful of chocolate chips. Plus, I use a little trick—mixing the wet ingredients separately and letting them sit for five minutes before combining. It sounds fussy, but it makes the muffins rise higher and stay moist for days.
This isn’t just another pumpkin muffin recipe. It’s the one you’ll bookmark, print out, and stick on your fridge with a magnet. It’s the one your kids will ask for by name. And honestly? That feels pretty good.
What Ingredients You Will Need
This recipe uses simple, wholesome ingredients that come together to create something truly special. Most of these are pantry staples, so you might not even need a grocery run.
For the Muffins
- 1 ¾ cups all-purpose flour – Spoon and level it for the best results. Too much flour makes dense muffins.
- 1 cup granulated sugar – Just enough sweetness without overpowering the pumpkin flavor.
- 1 teaspoon baking soda – Helps the muffins rise nice and tall.
- ½ teaspoon baking powder – Adds a little extra lift for that bakery-style dome.
- 1 ½ teaspoons ground cinnamon – The star spice here. I use Cinnamon Supreme from Penzeys, but any good cinnamon works.
- ½ teaspoon ground nutmeg – Freshly grated if you have it, but pre-ground is totally fine.
- ½ teaspoon salt – Balances the sweetness and brings out the pumpkin flavor.
- 1 cup canned pumpkin puree – Not pumpkin pie filling! Just plain puree. Libby’s is my go-to brand.
- ½ cup vegetable oil – Keeps the muffins incredibly moist. You can also use melted coconut oil.
- 2 large eggs – Room temperature eggs blend more evenly into the batter.
- 1 teaspoon vanilla extract – Pure vanilla makes a difference. Imitation works, but pure is better.
- 1 cup semi-sweet chocolate chips – I like Ghirardelli for their size and meltability. Save a few to sprinkle on top.
Ingredient Swap Ideas: If you’re out of all-purpose flour, try a 1:1 gluten-free baking blend. For a dairy-free option, use dairy-free chocolate chips (Enjoy Life makes great ones). And if you want to cut back on sugar, you can reduce it to ¾ cup without ruining the texture—just know they’ll be a little less sweet.
Equipment Needed
You don’t need a fancy kitchen to pull these off. Here’s what I use:
- 12-cup muffin tin – A standard non-stick pan works great. If yours is older, give it a good spray.
- Paper muffin liners – I prefer the unbleached ones. They peel off easily and make cleanup a breeze.
- Two mixing bowls – One large, one medium. Nothing fancy needed.
- Whisk and wooden spoon – A whisk for the dry ingredients, a wooden spoon for the wet. Don’t overmix!
- Measuring cups and spoons – Accurate measurements matter here, especially for the flour and pumpkin.
- Cooling rack – Lets the muffins cool evenly so the bottoms don’t get soggy.
If you don’t have a cooling rack, just use a clean kitchen towel laid flat on the counter. And if you’re short on mixing bowls, a large measuring cup works for the wet ingredients in a pinch. I’ve done it more times than I’d like to admit.
Preparation Method
Let’s get baking! This recipe comes together in about 30 minutes, and I promise it’s as easy as it gets.
- Preheat your oven to 350°F (175°C). Line a 12-cup muffin tin with paper liners. I like to give the liners a quick spritz of non-stick spray, just in case.
- In a large bowl, whisk together the dry ingredients: flour, sugar, baking soda, baking powder, cinnamon, nutmeg, and salt. Whisk for about 20 seconds to make sure everything is evenly distributed. This step matters—you don’t want a pocket of baking soda in one muffin.
- In a separate medium bowl, combine the wet ingredients: pumpkin puree, vegetable oil, eggs, and vanilla extract. Whisk until smooth. Let it sit for 5 minutes. I know it sounds weird, but letting the pumpkin and oil hang out together helps the muffins rise higher. Trust me on this one.
- Pour the wet ingredients into the dry ingredients. Use a wooden spoon or spatula to fold everything together. Stir just until you don’t see any more streaks of flour. A few lumps are totally fine. Overmixing will make the muffins tough, so stop the second it comes together.
- Fold in the chocolate chips. Gently stir them in with a few quick folds. Reserve about 2 tablespoons of chips to sprinkle on top of the muffins before baking. This makes them look extra pretty.
- Divide the batter evenly among the 12 muffin cups. I use a cookie scoop for this—it’s less messy and gives you even portions. Fill each cup about ¾ full. The batter will be thick, almost like a soft cookie dough. That’s normal.
- Sprinkle the reserved chocolate chips on top. Press them in just slightly so they stick to the batter as it bakes.
- Bake for 18-22 minutes or until a toothpick inserted into the center comes out clean (a few melted chocolate smears are okay). The tops should be golden brown and spring back when lightly touched. My oven runs hot, so I check at 18 minutes.
- Let the muffins cool in the pan for 5 minutes. Then transfer them to a cooling rack. Don’t skip this step—they need that time to set properly.
- Enjoy warm or at room temperature. Warm muffins with melty chocolate chips? That’s the good stuff right there.
Pro tip: If you want bakery-style domed tops, bake the muffins at 400°F (200°C) for the first 5 minutes, then reduce the temperature to 350°F (175°C) for the remaining time. It creates a quick burst of steam that pushes the batter up. Just don’t open the oven door during those first 5 minutes!
Cooking Tips & Techniques
After making these pumpkin chocolate chip muffins more times than I can count, I’ve learned a few things the hard way. Here’s what I wish I’d known from the start:
Don’t overmix the batter. I know I’ve said it already, but it’s the number one mistake people make. Stir until the flour just disappears. A few streaks are better than a tough muffin. I once got distracted by my kids arguing over a toy and kept stirring. Those muffins came out like hockey pucks. Learn from my failure.
Use room temperature eggs. Cold eggs can make the batter seize up, especially when mixed with pumpkin puree. Just set them on the counter 30 minutes before you start. If you forget, place them in a bowl of warm water for 5 minutes.
Measure your flour correctly. Scooping straight from the bag with your measuring cup packs in too much flour. Instead, spoon it into the cup and level it off with a knife. This one change made my muffins go from dense to fluffy overnight.
Let the batter rest. I mentioned this earlier, but letting the wet ingredients sit for 5 minutes before mixing really does make a difference. It gives the pumpkin time to hydrate the flour evenly, which means a more tender crumb.
Rotate the pan halfway through. Ovens have hot spots. Halfway through baking, give the pan a quick 180-degree turn. Your muffins will bake more evenly, and you won’t end up with some dark and some pale.
Check for doneness with a toothpick. If it comes out clean or with a few moist crumbs, they’re done. If you see wet batter, give them another 2 minutes. Remember that melted chocolate can look like batter, so aim for the muffin center, not a chip.
Variations & Adaptations
One of the best things about this recipe is how easy it is to change up. Here are a few ways I’ve made it work for different moods and diets:
- Gluten-Free Version: Swap the all-purpose flour for a 1:1 gluten-free baking blend. I like Bob’s Red Mill. Add an extra tablespoon of milk or water since gluten-free flours absorb more liquid.
- Dairy-Free Version: Use dairy-free chocolate chips and replace the butter (if you’re using it) with coconut oil. The muffins still come out soft and delicious.
- Lower-Sugar Option: Cut the sugar to ¾ cup and use dark chocolate chips instead of semi-sweet. The dark chocolate adds richness without extra sweetness.
- Add Some Crunch: Fold in ½ cup of chopped pecans or walnuts along with the chocolate chips. My husband loves this version—it gives the muffins a little texture.
- Pumpkin Spice Twist: Add ½ teaspoon of ground ginger and ¼ teaspoon of ground cloves to the dry ingredients. It makes them taste even more like fall.
- Mini Muffins: Use a mini muffin tin and bake for 10-12 minutes. Perfect for little hands and lunchbox treats.
I once made a batch with white chocolate chips and dried cranberries for a holiday party, and they disappeared faster than the regular ones. Don’t be afraid to experiment—this recipe is forgiving enough to handle it.
Serving & Storage Suggestions
These muffins are at their absolute best when they’re still a little warm from the oven. The chocolate chips are all melty, and the pumpkin flavor is front and center. But honestly, they’re pretty amazing at room temperature too.
Serving Ideas: I love serving these with a pat of butter on top while they’re still warm—the butter melts into the muffin and makes everything extra rich. They’re also great with a glass of cold milk for the kids or a hot cup of coffee for the grown-ups. For a fun brunch spread, arrange them on a platter with fresh fruit and yogurt.
Storage: Keep leftover muffins in an airtight container at room temperature for up to 3 days. I line the container with a paper towel to absorb extra moisture, then put another paper towel on top. It keeps them from getting soggy.
Freezer Instructions: These muffins freeze like a dream. Let them cool completely, then pop them into a freezer-safe bag or container. They’ll keep for up to 3 months. When you’re ready to eat one, just microwave it for 20-30 seconds, or let it thaw on the counter for an hour. My kids love grabbing one from the freezer for their lunchbox—it’s like a little surprise treat.
Reheating Tip: For that just-baked texture, reheat muffins in a 300°F (150°C) oven for 5-7 minutes. It brings back the soft crumb and makes the chocolate chips melty again.
Nutritional Information & Benefits
Here’s the nutritional breakdown for one muffin (based on 12 muffins using the recipe as written):
| Nutrient | Amount |
|---|---|
| Calories | 245 |
| Total Fat | 12g |
| Saturated Fat | 3.5g |
| Carbohydrates | 33g |
| Fiber | 2g |
| Sugar | 18g |
| Protein | 4g |
| Vitamin A | 45% DV |
Pumpkin is packed with vitamin A, which is great for eye health and immune function. Plus, the fiber from the pumpkin and the antioxidants from the dark chocolate make these muffins a little more nutritious than your average bakery treat. They’re not health food, but they’re a smart choice when you want something sweet that also has some redeeming qualities. My kids get their veggies in muffin form, and nobody complains.
Frequently Asked Questions
Can I use fresh pumpkin instead of canned? Yes, you can! Just make sure to roast and puree the pumpkin first, then drain off any excess liquid. Fresh pumpkin has more water than canned, so you might need to reduce the oil by a tablespoon to keep the muffins from being too wet.
Why did my muffins turn out dense? The most common reason is overmixing the batter. Stir just until the flour disappears. Another culprit is too much flour—make sure you’re spooning it into the measuring cup and leveling it off.
Can I make these muffins ahead of time? Absolutely. You can bake them up to 2 days in advance and store them in an airtight container. They actually taste better on day two because the flavors have time to meld together.
How do I make these muffins vegan? Substitute the eggs with flax eggs (1 tablespoon ground flaxseed mixed with 3 tablespoons water per egg) and use dairy-free chocolate chips. The texture will be slightly denser, but they’ll still be delicious.
Can I freeze the muffin batter instead of baked muffins? Yes! Scoop the batter into the lined muffin tin and freeze until solid. Then pop the frozen batter cups into a freezer bag. When you’re ready to bake, add 3-5 minutes to the baking time. It’s a great way to have fresh muffins on demand.
Conclusion
These Kid-Approved Pumpkin Chocolate Chip Muffins have become a staple in my kitchen for good reason. They’re easy, they’re forgiving, and they make everyone happy—from the pickiest eater to the most discerning grown-up. Every time I bake a batch, I think back to that Tuesday afternoon at Jen’s house, standing in her mudroom with a borrowed steam cleaner and a mouth full of muffin. Some recipes just stick with you, you know?
I’d love to hear how these turn out for you. Did your kids love them? Did you try a fun variation? Drop a comment below and let me know—I read every single one. And if you share a photo on Pinterest or Instagram, tag me so I can see your beautiful bakes. Happy baking, friends!
Pin This Recipe!
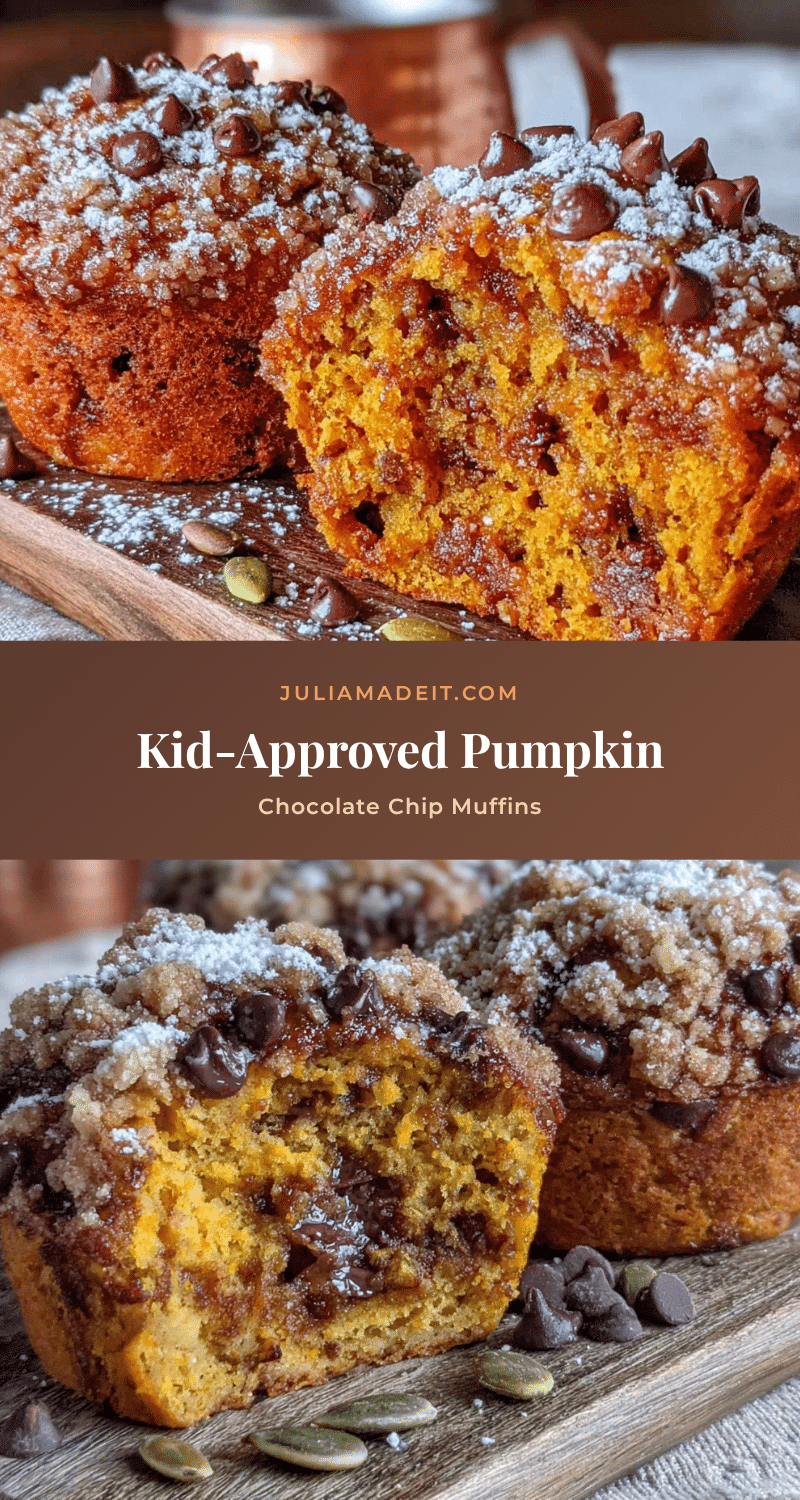
Best Kid-Approved Pumpkin Chocolate Chip Muffins
These soft, moist pumpkin chocolate chip muffins are packed with pumpkin flavor and melty chocolate chips. They’re quick to make, kid-approved, and perfect for lunchboxes or a cozy fall treat.
- Prep Time: 10 minutes
- Cook Time: 20 minutes
- Total Time: 30 minutes
- Yield: 12 muffins 1x
- Category: Dessert
- Cuisine: American
Ingredients
- 1 ¾ cups all-purpose flour
- 1 cup granulated sugar
- 1 teaspoon baking soda
- ½ teaspoon baking powder
- 1 ½ teaspoons ground cinnamon
- ½ teaspoon ground nutmeg
- ½ teaspoon salt
- 1 cup canned pumpkin puree
- ½ cup vegetable oil
- 2 large eggs
- 1 teaspoon vanilla extract
- 1 cup semi-sweet chocolate chips
Instructions
- Preheat your oven to 350°F (175°C). Line a 12-cup muffin tin with paper liners.
- In a large bowl, whisk together the dry ingredients: flour, sugar, baking soda, baking powder, cinnamon, nutmeg, and salt. Whisk for about 20 seconds.
- In a separate medium bowl, combine the wet ingredients: pumpkin puree, vegetable oil, eggs, and vanilla extract. Whisk until smooth. Let it sit for 5 minutes.
- Pour the wet ingredients into the dry ingredients. Use a wooden spoon or spatula to fold everything together. Stir just until you don’t see any more streaks of flour. A few lumps are fine.
- Fold in the chocolate chips. Reserve about 2 tablespoons of chips to sprinkle on top.
- Divide the batter evenly among the 12 muffin cups, filling each about ¾ full.
- Sprinkle the reserved chocolate chips on top and press them in slightly.
- Bake for 18-22 minutes or until a toothpick inserted into the center comes out clean (a few melted chocolate smears are okay).
- Let the muffins cool in the pan for 5 minutes, then transfer them to a cooling rack.
- Enjoy warm or at room temperature.
Notes
For bakery-style domed tops, bake at 400°F (200°C) for the first 5 minutes, then reduce to 350°F (175°C) for the remaining time. Do not open the oven door during those first 5 minutes. Letting the wet ingredients sit for 5 minutes before mixing helps the muffins rise higher.
Nutrition
- Serving Size: 1 muffin
- Calories: 245
- Sugar: 18
- Sodium: 200
- Fat: 12
- Saturated Fat: 3.5
- Carbohydrates: 33
- Fiber: 2
- Protein: 4
Keywords: pumpkin chocolate chip muffins, kid-approved muffins, easy pumpkin muffins, fall muffins, lunchbox muffins