“Are you telling me these little rolls just vanished from the lunchbox again?” — and that was it. I heard those words from my kid after school, holding an empty container with a grin that said it all. Honestly, the Crispy Mini Pizza Lunchbox Rolls with Mozzarella and Basil have this sneaky way of disappearing faster than I can pack them. One afternoon, while scrambling to find something quick, tasty, and mess-free for lunch, I stumbled on this recipe almost by accident.
It wasn’t some grand kitchen experiment. I was just trying to turn the classic pizza flavors into something portable and kid-approved without the usual mess of slices or crumbly bread. The smell of melted mozzarella mingling with fresh basil and crispy golden dough quickly took over the house, and soon enough, the rolls became a staple not just for lunchboxes but for quick snacks and even casual get-togethers.
These mini pizza rolls aren’t just cute; they pack that punch of gooey cheese and bright basil with a crispy exterior that makes you want to keep reaching for more. I remember the first time I made them, the anticipation was real — would the dough crisp up just right? Would the basil overwhelm the mozzarella? The answer was a resounding no and yes to cheese-filled delight.
They became my quiet little secret for satisfying that pizza craving without the fuss or grease. Plus, they travel well, which means you can sneak in some fresh herbs and real mozzarella wherever you go. That simple lunchbox moment turned into a personal favorite recipe I keep coming back to, especially when I want a break from the usual sandwiches or wraps.
Honestly, if you ever find yourself wondering how to make pizza more fun and practical, these rolls might just change your game too. They’re proof that sometimes the best recipes come from the most offhanded conversations and a bit of kitchen curiosity. And, well, they’re pretty much guaranteed to disappear just as fast at your place.
Why You’ll Love This Recipe
There’s something about these Crispy Mini Pizza Lunchbox Rolls with Mozzarella and Basil that makes them a winner every time. After making them countless times (and yes, eating way too many myself), here’s why this recipe stands out:
- Quick & Easy: You can whip these up in under 30 minutes, perfect for those hectic mornings or last-minute snack emergencies.
- Simple Ingredients: Nothing fancy—just basics like mozzarella, fresh basil, and dough you can find at any grocery store (or make from scratch if you prefer).
- Perfect for Lunchboxes & Parties: These rolls work equally well as a kid-friendly lunch treat or a fun finger food for gatherings.
- Crowd-Pleaser: Kids, adults, picky eaters—they all seem to love these rolls. The crispy crust and melty cheese combo is almost impossible to resist.
- Unbelievably Delicious: The crispy outside with the oozy mozzarella and fragrant basil inside hits just right every time.
What makes this recipe different? It’s all about the balance. The dough crisps up beautifully without turning hard or dry, while the fresh basil adds just the right hint of herbal brightness without overpowering the gooey mozzarella. Plus, I tweak the seasoning just enough to keep things interesting but familiar.
Honestly, it’s the kind of recipe where you close your eyes after the first bite and think, “Yep, this is exactly what pizza should be—just smaller, crispier, and totally portable.” Whether you’re packing lunchboxes or making snacks for a busy afternoon, these mini rolls bring comfort food vibes with none of the hassle.
What Ingredients You Will Need
This recipe uses simple, wholesome ingredients to deliver bold flavor and satisfying texture without the fuss. Most of these are pantry staples, and you can easily swap a few if needed.
- Pizza Dough: About 1 pound (450g) of store-bought or homemade dough. I recommend a soft, elastic dough like Bob’s Red Mill for best texture.
- Mozzarella Cheese: 1 cup (100g) shredded or small mozzarella balls (bocconcini) work beautifully for that melty effect.
- Fresh Basil Leaves: About 10-12 leaves, washed and patted dry. Fresh is key here for brightness.
- Tomato Sauce: ½ cup (120ml) simple marinara or pizza sauce. I usually go for a no-sugar-added brand or homemade version.
- Olive Oil: 2 tablespoons (30ml), preferably extra virgin for brushing over the rolls.
- Garlic Powder: ½ teaspoon (2.5g) to add a subtle savory note.
- Italian Seasoning: 1 teaspoon (3g) to sprinkle over the sauce for extra herby flavor.
- Salt and Pepper: To taste, but about ¼ teaspoon salt and a pinch of freshly ground black pepper usually does the trick.
Substitution tips: Use almond flour-based dough for gluten-free variation, or swap mozzarella for vegan cheese if you need a dairy-free option. In summer, try swapping basil with fresh oregano or thyme for a different herbal twist.
Equipment Needed
- Baking Sheet: A rimmed baking sheet lined with parchment paper or a silicone mat works best to avoid sticking and promote even baking.
- Rolling Pin: For rolling out the dough evenly. If you don’t have one, a clean wine bottle or smooth glass can work in a pinch.
- Sharp Knife or Pizza Cutter: To slice the dough into perfect mini rolls.
- Mixing Bowl: For combining ingredients and letting dough rest.
- Pastry Brush: Optional but handy for brushing olive oil on top of the rolls for that golden finish.
If you’re short on budget, a sturdy chopping board and a butter knife can substitute for some of these tools, though a proper rolling pin really helps with even thickness. Keep your baking sheet clean and well-maintained to avoid sticking, and if you use a silicone mat, it’s a game-changer for cleanup.
Preparation Method
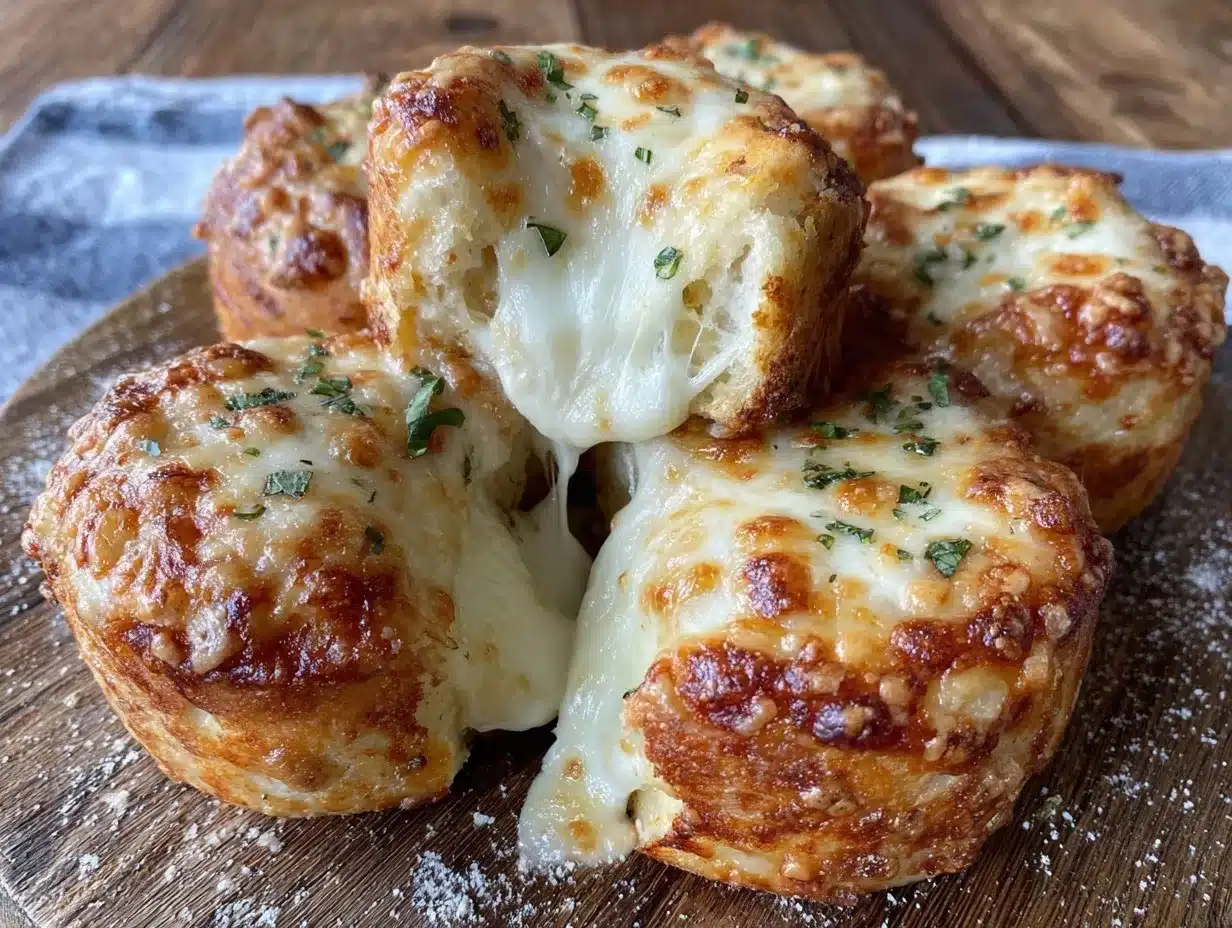
- Prepare the dough: Lightly flour your surface and roll out the pizza dough into a rectangle about 10×12 inches (25×30 cm). This should take about 5-7 minutes. The dough should be soft but not sticky. If it is, sprinkle a bit more flour.
- Spread the sauce: Using the back of a spoon, spread the ½ cup (120ml) of tomato sauce evenly over the dough, leaving about a ½-inch border around the edges. This should take 2-3 minutes.
- Add seasoning: Sprinkle garlic powder (½ tsp / 2.5g), Italian seasoning (1 tsp / 3g), salt (¼ tsp), and a pinch of pepper evenly over the sauce. This adds a subtle depth of flavor without overpowering the fresh ingredients.
- Layer the cheese and basil: Evenly distribute the shredded mozzarella (1 cup / 100g) over the sauce layer. Then scatter the fresh basil leaves (10-12 leaves) on top. Tear large leaves if needed to fit. This step takes about 3 minutes.
- Roll it up: Starting on the longer side, roll the dough tightly into a log, sealing the edges by pinching the dough. This rolling should be firm but gentle to avoid squeezing out the cheese. Expect about 3 minutes here.
- Slice into rolls: Using a sharp knife or pizza cutter, slice the log into 12 equal pieces, each about 1-inch (2.5 cm) thick. Try to keep the slices uniform for even baking.
- Arrange and oil: Place the rolls cut side up on your prepared baking sheet, spaced about 1 inch (2.5 cm) apart. Brush the tops with olive oil (2 tbsp / 30ml) to encourage browning and crispiness. This step takes around 2 minutes.
- Bake: Preheat your oven to 400°F (200°C). Bake the rolls for 15-18 minutes until golden brown and crispy on the outside with melted cheese inside. Keep an eye around the 15-minute mark to avoid burning.
- Cool and serve: Let the rolls cool for 5 minutes before serving. This helps the cheese set slightly and avoids burnt tongues!
Pro tip: If you notice the bottoms browning too fast, place the baking sheet on a higher rack or use a baking stone to distribute heat more evenly. And if your basil wilts during baking, try adding a few fresh leaves right after baking for that fresh pop.
Cooking Tips & Techniques
Mastering these Crispy Mini Pizza Lunchbox Rolls is easier when you keep a few pointers in mind from my own kitchen mishaps:
- Dough consistency is key: Too sticky, and you’ll end up with tough rolls. Too dry, and the dough cracks when you roll. Aim for soft, slightly tacky dough and adjust flour or water as needed.
- Don’t overfill: It’s tempting to pile on mozzarella, but too much cheese can cause the rolls to ooze and lose shape. I stick to about 1 cup shredded cheese for nice melty pockets without mess.
- Use fresh basil last: Adding basil before baking gives flavor but can brown or dry out. For a fresher note, sprinkle a few fresh leaves on top right after baking.
- Brush with olive oil: This little step makes a huge difference for a golden, crispy crust—don’t skip it!
- Timing matters: Bake around 15-18 minutes at 400°F (200°C). Ovens vary, so start checking at 15 minutes to avoid burning.
- Multitasking tip: While rolls bake, clean up your workspace or prepare a quick side salad to serve alongside—makes the whole meal feel pulled together.
My first batch was a bit soggy because I skipped the oil brush and overstuffed the rolls. Live and learn, right? Now I treat these tips like gospel, and the results are consistently crispy, cheesy little bites of joy.
Variations & Adaptations
This recipe adapts well, depending on your preferences or what’s on hand. Here are a few ways to switch things up:
- Vegetarian upgrade: Add finely chopped bell peppers, olives, or mushrooms inside the rolls for extra flavor and texture.
- Gluten-free option: Use a gluten-free pizza dough mix or almond flour dough to keep these safe for gluten-sensitive eaters.
- Spicy twist: Add a sprinkle of red pepper flakes or swap basil for fresh arugula to give a peppery kick.
- Herb swap: Try fresh oregano or thyme in place of basil for a slightly different herbal profile that pairs beautifully with mozzarella.
- Cooking method: Instead of baking, pan-fry the rolls in a little olive oil over medium heat for a golden crust on one side, then finish in the oven or cover on the stove.
Once, I tried adding some crispy parmesan zucchini rounds on the side, and that combo was a crowd-pleaser at a casual lunch gathering. It’s fun to mix and match finger foods with these rolls.
Serving & Storage Suggestions
These mini pizza rolls are best served warm and fresh, straight from the oven, when the cheese is still gooey and the crust is crispy. For lunchboxes, pack them with a small ice pack to keep them fresh until lunchtime.
They pair wonderfully with a crisp green salad or a light soup like creamy Greek lemon chicken soup for a comforting lunch or dinner.
To store, place cooled rolls in an airtight container in the refrigerator for up to 3 days. For longer storage, freeze them in a single layer on a baking sheet, then transfer to a freezer bag for up to 2 months.
Reheat in a 350°F (175°C) oven for 8-10 minutes or until warmed through and crisp again. Avoid microwaving if possible, or they may get soggy.
Flavors tend to deepen after a day, so if you make them the night before, they often taste even better the next day. Just reheat to bring back the crispiness and melty cheese magic.
Nutritional Information & Benefits
Each mini pizza roll is approximately 120 calories, with around 6 grams of fat, 10 grams of carbohydrates, and 5 grams of protein. These are estimates and can vary based on exact ingredients used.
Mozzarella offers a good source of calcium and protein, while fresh basil provides antioxidants and a subtle dose of vitamins A and K. Choosing a whole wheat or multigrain dough can bump up the fiber content for added nutrition.
This recipe is naturally gluten-free adaptable and vegetarian. Just swap the dough or cheese to meet specific dietary needs. Plus, it’s a fun way to sneak some fresh herbs into meals, which is always a win in my book.
Conclusion
So there you have it—Crispy Mini Pizza Lunchbox Rolls with Mozzarella and Basil that are simple, delicious, and surprisingly versatile. Whether you’re packing lunches, feeding a crowd, or just craving a quick snack, this recipe ticks all the boxes.
Feel free to customize the fillings or herbs to make it your own. I love how these rolls bring that perfect balance of crispy crust and melty cheese with a fresh herbal kick that always hits the spot.
They’re a recipe I keep coming back to because they’re easy to make, loved by everyone at the table, and frankly, just plain fun to eat. If you try them, I’d love to hear how you make them yours—drop a comment or share your tweaks!
Now, time to roll out the dough and get baking. You’re going to love these little bites of crispy, cheesy heaven.
Frequently Asked Questions
Can I make the dough from scratch for these pizza rolls?
Absolutely! Homemade pizza dough works wonderfully. Just make sure it’s pliable and not too dry. You can find many easy pizza dough recipes online if you want to skip store-bought.
How do I keep the basil from burning during baking?
Great question! Adding fresh basil after baking or toward the end helps preserve its bright flavor and color. If you add it beforehand, it may brown or dry out.
Can I use other cheeses instead of mozzarella?
Yes! Provolone, fontina, or even mild cheddar can work. Just keep in mind mozzarella melts best for that gooey texture.
Are these rolls freezer-friendly?
Definitely. Freeze them after baking or even before baking. Just thaw and reheat in the oven to get that crispy finish back.
What’s the best way to reheat without losing crispiness?
Reheating in an oven or toaster oven at 350°F (175°C) for 8-10 minutes works best. Microwaving can make them soggy.
Pin This Recipe!
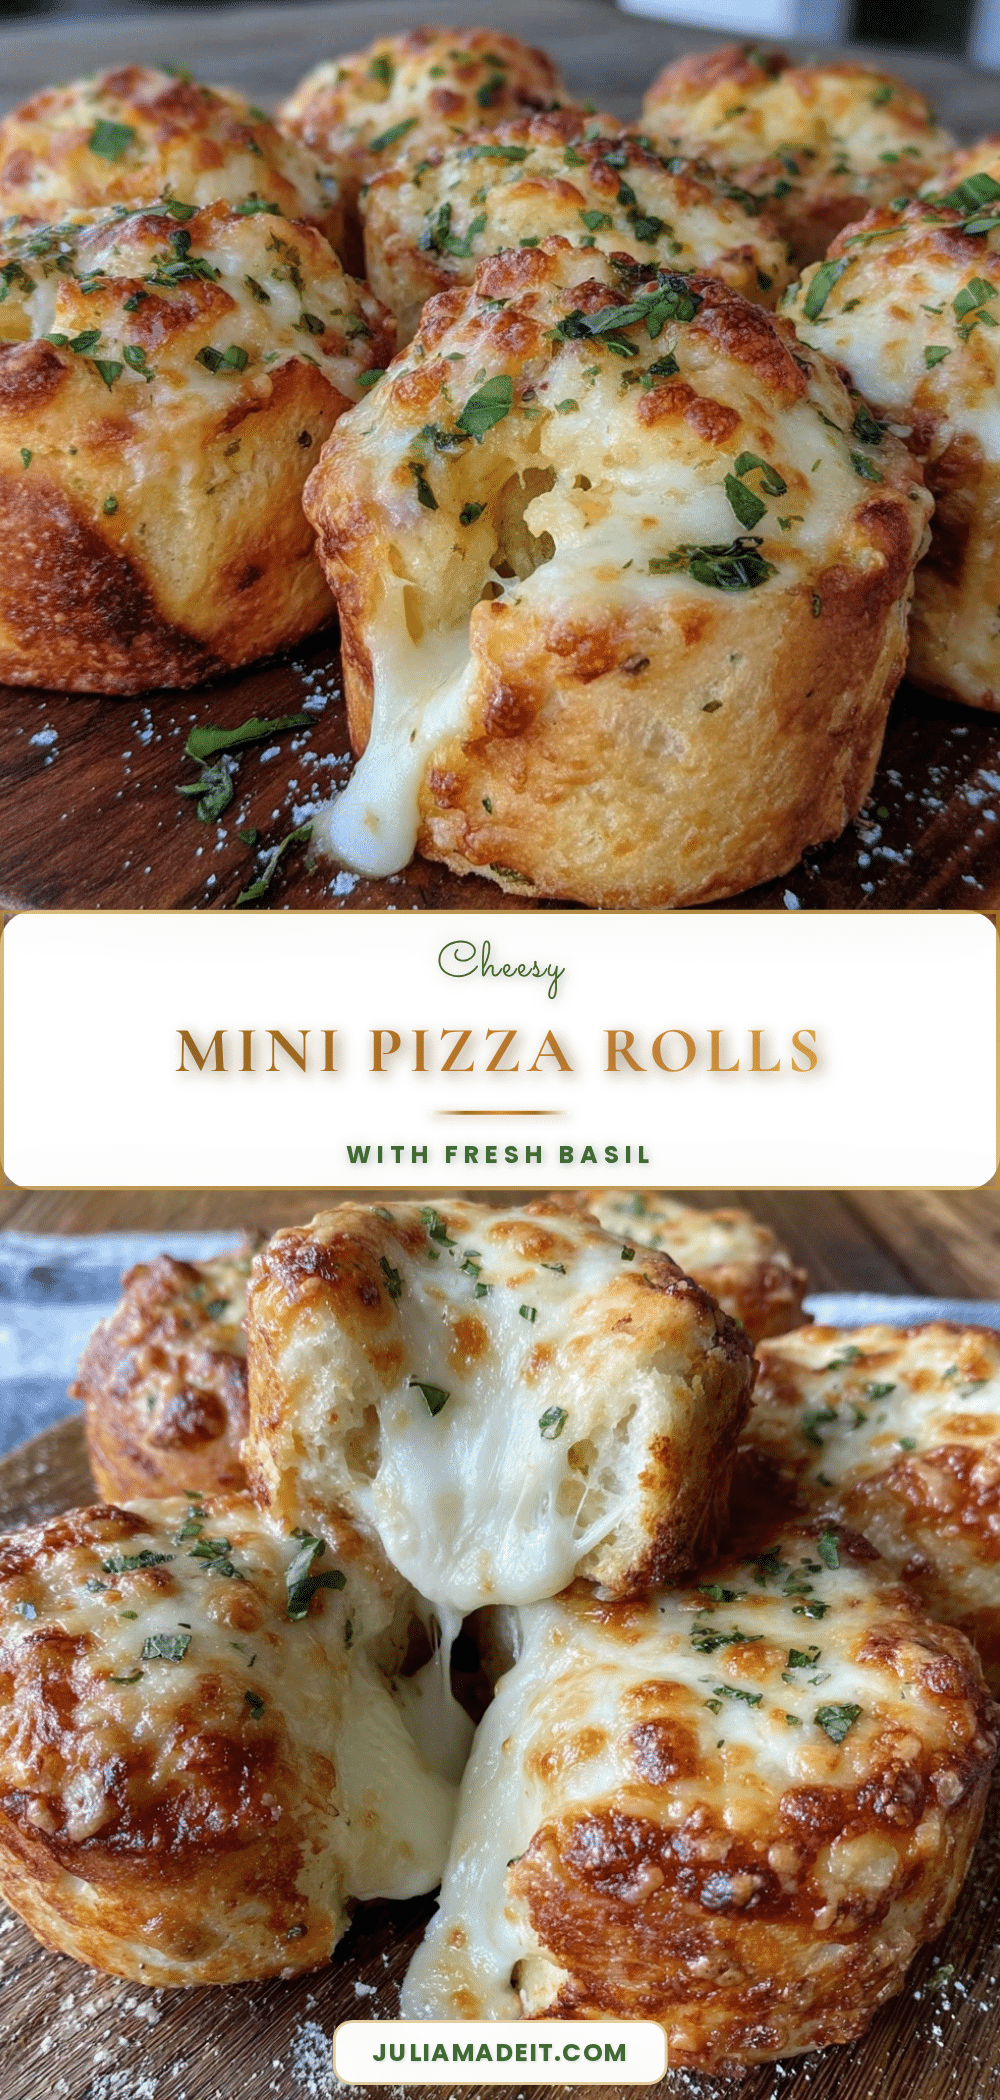
Crispy Mini Pizza Lunchbox Rolls with Mozzarella and Basil

These crispy mini pizza rolls combine gooey mozzarella and fresh basil in a portable, kid-friendly snack that’s perfect for lunchboxes or parties.
- Prep Time: 15 minutes
- Cook Time: 15-18 minutes
- Total Time: 30-33 minutes
- Yield: 12 rolls 1x
- Category: Snack
- Cuisine: Italian
Ingredients
- 1 pound (450g) pizza dough (store-bought or homemade)
- 1 cup (100g) shredded mozzarella cheese or small mozzarella balls (bocconcini)
- 10–12 fresh basil leaves, washed and patted dry
- ½ cup (120ml) tomato sauce or marinara sauce
- 2 tablespoons (30ml) extra virgin olive oil
- ½ teaspoon (2.5g) garlic powder
- 1 teaspoon (3g) Italian seasoning
- ¼ teaspoon salt
- Pinch of freshly ground black pepper
Instructions
- Lightly flour your surface and roll out the pizza dough into a rectangle about 10×12 inches (25×30 cm). The dough should be soft but not sticky.
- Spread ½ cup (120ml) of tomato sauce evenly over the dough, leaving about a ½-inch border around the edges.
- Sprinkle garlic powder, Italian seasoning, salt, and black pepper evenly over the sauce.
- Evenly distribute the shredded mozzarella over the sauce layer, then scatter the fresh basil leaves on top, tearing large leaves if needed.
- Starting on the longer side, roll the dough tightly into a log, sealing the edges by pinching the dough.
- Slice the log into 12 equal pieces, each about 1 inch (2.5 cm) thick.
- Place the rolls cut side up on a rimmed baking sheet lined with parchment paper or a silicone mat, spaced about 1 inch apart.
- Brush the tops with 2 tablespoons (30ml) olive oil.
- Preheat oven to 400°F (200°C) and bake the rolls for 15-18 minutes until golden brown and crispy.
- Let the rolls cool for 5 minutes before serving.
Notes
Brush olive oil on top for a golden, crispy crust. Add fresh basil after baking to preserve its bright flavor. Avoid overfilling with cheese to prevent oozing. Reheat in oven at 350°F for 8-10 minutes to maintain crispiness. Freeze baked or unbaked rolls for up to 2 months.
Nutrition
- Serving Size: 1 mini pizza roll
- Calories: 120
- Fat: 6
- Carbohydrates: 10
- Protein: 5
Keywords: mini pizza rolls, mozzarella, basil, lunchbox recipe, kid-friendly snack, crispy pizza rolls, easy pizza recipe