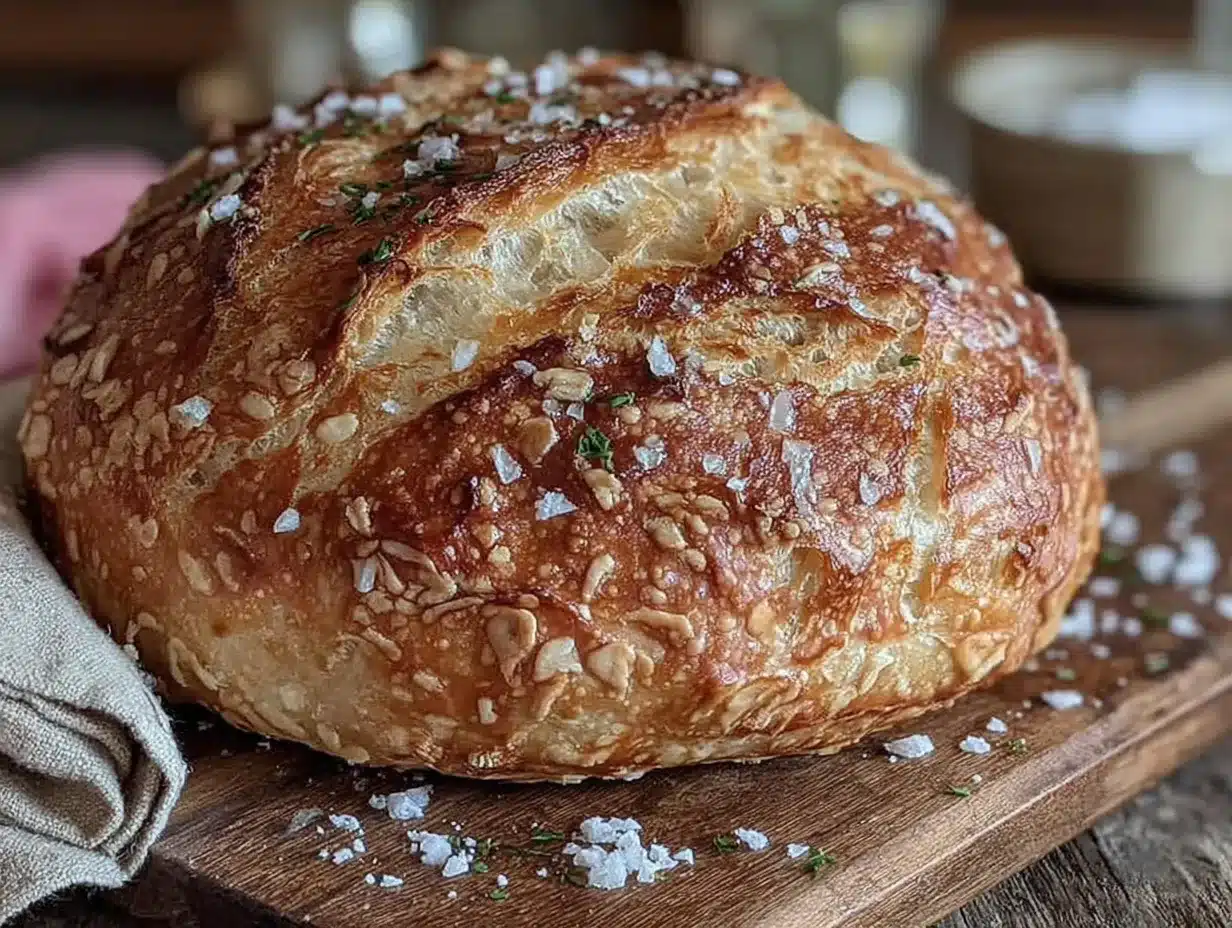
I want bread right now. Not the fluffy, sandwich-soft kind that disappears into a chew, but bread with a crust that shatters when you bite into it—loudly, dramatically, leaving crumbs all over the counter. The kind that makes your jaw work for every piece. The problem? My starter is bubbling away in the corner of the kitchen, right where it always is. And honestly? I don’t have the energy for a long kneading session. My arms are tired, the counter is cluttered with the aftermath of a week’s worth of cooking, and I just want bread to happen without me wrestling it into submission. That’s the moment I remember that this no-knead method exists. It feels like cheating, but the results are anything but. This isn’t complicated bread. It’s patient bread. And that patience pays off in a way that feels almost unfair for how little you actually do.
The first time I made a loaf this way, I was skeptical. No kneading? Just mixing flour, water, salt, and starter, then walking away for hours? It felt like baking for people who don’t actually bake. But that first crust crackled under my knife and the inside was a web of irregular, gorgeous holes—the kind you see in bakery windows and assume requires a decade of training. It didn’t. It just required a Dutch oven, a cheap kitchen scale, and the willingness to let time do the work. This recipe isn’t about skill. It’s about trust. Trusting the fermentation, trusting the steam, and trusting that you don’t need to be a professional to eat like one.
So here it is. The real, honest, crusty no-knead Dutch oven sourdough bread that changed how I think about homemade bread. It’s the recipe I come back to when I need something reliable, something that makes the house smell like a bakery, and something that proves that simple ingredients, when treated with a little patience, can become extraordinary.
Why You’ll Love This Recipe
This isn’t just another bread recipe. It’s the one that makes you feel like you’ve unlocked a secret level of home baking. Let me tell you why it works so well.
- Minimal Effort, Maximum Reward : You mix four ingredients in a bowl, wait, shape, wait again, and bake. No kneading. No stand mixer required. The dough does the work through a long, slow fermentation that builds flavor and structure while you do absolutely nothing.
- That Bakery-Quality Crust : The Dutch oven creates a steamy environment that mimics a professional bread oven. The result is a deep golden, shatteringly crisp crust that stays crunchy for hours. You’ll hear it crackle as it cools on the counter—one of the most satisfying sounds in baking.
- Simple, Clean Ingredients : You only need all-purpose or bread flour, water, salt, and your active sourdough starter. No commercial yeast, no dough conditioners, no weird additives. This is bread in its purest form.
- Perfect for Beginners and Experts Alike : If you’re new to sourdough, this recipe is forgiving. The high hydration (about 78%) sounds intimidating, but the no-knead method handles it beautifully. Experienced bakers will appreciate the deep, tangy flavor that develops during the long bulk fermentation.
- Unbelievably Versatile : Serve it warm with butter for breakfast, toast it for sandwiches, dip it in soup, or eat it plain straight off the cutting board (which I definitely do, no judgment). It’s also the perfect vessel for something like creamy roasted tomato basil soup—the combination is pure comfort.
This bread is the kind that makes you close your eyes after the first bite. It’s simple, honest, and deeply satisfying. And you made it yourself. That never gets old.
What Ingredients You Will Need
This recipe uses just four ingredients. That’s it. But each one plays a critical role, so let’s talk about them. The quality of your ingredients matters more here than in a heavily spiced or sauced dish, because there’s nothing to hide behind.
- Bread Flour (400g / about 3 cups) : Bread flour has a higher protein content than all-purpose flour, which means more gluten development. This gives the bread its structure and that chewy, open crumb. I prefer King Arthur Bread Flour for its consistent protein content, but any good bread flour works. If you only have all-purpose, you can use it—the crumb will be slightly less open and the crust a bit less crisp, but it’s still delicious.
- Water (320g / about 1 ⅓ cups, lukewarm) : The water temperature matters. Lukewarm water (around 80°F or 27°C) helps kickstart fermentation without killing the beneficial bacteria in your starter. Tap water is fine if it’s not heavily chlorinated—if you’re unsure, let it sit out for an hour before using. The hydration level here (80% relative to flour) creates a wet, sticky dough that bakes into an airy, open crumb.
- Active Sourdough Starter (80g / about ⅓ cup) : This is your leavening agent. Your starter should be bubbly, doubled in size, and pass the float test (a small dollop floats in water) before you use it. I feed mine the night before baking with a 1:1:1 ratio of starter, flour, and water. If your starter is sluggish, your bread will be dense—so make sure it’s happy and active. If you don’t have a starter yet, you can make one from scratch in about 5 to 7 days, or ask a baking friend for a bit of theirs.
- Salt (10g / about 1 ½ teaspoons) : Salt isn’t just for flavor. It strengthens the gluten structure, controls fermentation speed, and enhances the overall taste of the bread. I use fine sea salt. Table salt works too, but reduce the amount slightly to 8g since it’s more concentrated. Never skip the salt—your bread will taste flat and the dough will be harder to handle.
Optional additions: You can add 50g of whole wheat or rye flour in place of the same amount of bread flour for a deeper, nuttier flavor. Just remember that whole grains absorb more water, so you may need to add an extra 10-15g of water to maintain the same hydration.
That’s it. No sugar, no oil, no commercial yeast. Just four ingredients and time.
Equipment Needed
You don’t need a lot of fancy tools for this recipe, but a few key pieces make a big difference. Here’s what you’ll need:
- Dutch Oven (5 to 6-quart, enameled cast iron or regular cast iron) : This is non-negotiable for the perfect crust. The heavy lid traps steam released from the dough, creating a humid environment that allows the bread to rise fully before the crust sets. I use a 5.5-quart Le Creuset, but any heavy pot with a tight-fitting lid works. Lodge makes affordable, excellent options. If you don’t have a Dutch oven, you can use a heavy roasting pan with a lid or a large metal bowl inverted over a baking sheet—just be prepared for a slightly less dramatic crust.
- Kitchen Scale : Please, for the love of good bread, use a scale. Measuring flour by volume is wildly inconsistent—you could end up with 20% more or less flour than the recipe calls for. A scale costs about $15 and will transform your baking. I use a simple OXO scale and it’s been reliable for years.
- Large Mixing Bowl : Any bowl large enough to hold the dough as it doubles in size. Glass, ceramic, or stainless steel all work fine.
- Plastic Wrap or a Shower Cap : To cover the bowl during bulk fermentation. A reusable shower cap is honestly perfect for this—it stretches over any bowl and doesn’t waste plastic.
- Bench Scraper : A rectangular metal or plastic scraper makes handling sticky dough so much easier. It’s also great for dividing dough and cleaning your work surface.
- Banneton or Proofing Basket (or a Bowl Lined with a Floured Kitchen Towel) : This holds the dough’s shape during the final proof. If you don’t have a banneton, a medium mixing bowl lined with a clean kitchen towel and heavily dusted with rice flour works perfectly. Rice flour is ideal because it doesn’t absorb into the dough.
- Parchment Paper : For easy transfer of the dough into the hot Dutch oven. Trust me, you don’t want to try to lower a sticky, proofed loaf into a 450°F pot without it.
- Lame or Sharp Knife : For scoring the dough right before baking. A lame (a curved blade on a handle) gives the cleanest cuts, but a sharp serrated knife or even a clean razor blade works. Scoring isn’t just decorative—it controls where the bread expands during the oven spring.
- Cooling Rack : Essential for letting the bread cool properly. If you leave it in the pot or on a solid surface, the bottom will get soggy from trapped steam.
Most of these items are probably already in your kitchen. The Dutch oven is the only specialized piece, and it’s a worthwhile investment that you’ll use for soups, stews, and roasting too.
Preparation Method
This method is all about patience, not effort. The timeline looks long, but your active work time is maybe 15 minutes total. Here’s how it breaks down.
Step 1: Mix the Dough (Active time: 5 minutes)
In a large mixing bowl, combine 320g lukewarm water and 80g active sourdough starter. Stir until the starter is mostly dissolved—it doesn’t need to be perfectly smooth. Add 400g bread flour and 10g salt. Use your hand or a dough whisk to mix until no dry flour remains. The dough will be shaggy, sticky, and quite wet. That’s exactly what you want. Cover the bowl with plastic wrap or a damp towel and let it rest for 30 minutes. This rest period, called autolyse, allows the flour to fully hydrate and starts gluten development without any work from you.
Step 2: Stretch and Folds (Active time: 2 minutes per round, 4 rounds total)
After the 30-minute rest, perform your first set of stretch and folds. Wet your hand slightly to prevent sticking. Grab one side of the dough, stretch it up as high as it will go without tearing, and fold it over the center. Rotate the bowl 90 degrees and repeat. Do this four times total (all four sides). Cover the bowl again. Repeat this process every 30 minutes for the next 2 hours (4 sets total). You’ll notice the dough becoming smoother, stronger, and less sticky with each round. By the last set, it should feel more cohesive and slightly puffy.
Step 3: Bulk Fermentation (Active time: 0 minutes, passive time: 6 to 10 hours)
After the stretch and folds, cover the bowl and let it sit at room temperature (ideally 70-75°F / 21-24°C) for the bulk fermentation. This is where the magic happens. The dough should increase in volume by about 50-70%—it won’t quite double, but it should look noticeably larger and feel airy and jiggly when you gently shake the bowl. The surface should have small bubbles visible. This takes about 6 to 8 hours in a warm kitchen, or up to 10 hours if your kitchen is cooler. Don’t rush this step. Under-fermented dough leads to dense, flat bread.
Step 4: Shape the Dough (Active time: 3 minutes)
Lightly flour your work surface. Turn the dough out gently—try not to deflate it too much. Using a bench scraper, fold the edges of the dough toward the center, creating a rough ball. Flip it over so the smooth side is up. Using your hands, gently cup the dough and drag it toward you in short, quick motions. This creates tension on the surface. You should see the dough tighten into a round or oval shape. Don’t overwork it—just enough to create a taught outer layer.
Step 5: Final Proof (Active time: 0 minutes, passive time: 2 to 4 hours at room temperature, or overnight in the fridge)
Place the shaped dough seam-side up into a floured banneton or lined bowl. Cover it with a towel or plastic wrap. For same-day baking, let it proof at room temperature for 2 to 4 hours, until it looks puffy and passes the poke test (press gently with a floured finger—the indentation should spring back slowly, leaving a small dent). For deeper flavor and an easier schedule, refrigerate the covered banneton overnight (8 to 14 hours). Cold proofing also makes scoring easier since the dough is firmer.
Step 6: Preheat and Bake (Active time: 5 minutes, Bake time: 45 minutes)
About 30 minutes before you’re ready to bake, place your Dutch oven (with the lid on) in the oven and preheat to 450°F (230°C). This ensures the pot is screaming hot when the dough goes in. When ready, carefully remove the hot Dutch oven. Place a piece of parchment paper over the proofed dough, invert the banneton, and gently lower the dough onto the parchment. Score the top with a lame or sharp knife—a single deep slash down the center, or a cross pattern. The cut should be about ½ inch deep. Use the parchment as a sling to lower the dough into the hot Dutch oven. Put the lid on and bake for 30 minutes. Remove the lid and bake for another 15 to 20 minutes, until the crust is deep golden brown and the internal temperature reaches 200-210°F (93-99°C). The bread should sound hollow when tapped on the bottom.
Step 7: Cool (Active time: 0 minutes, Passive time: 2 hours)
Transfer the bread to a cooling rack. I know you want to slice into it immediately—the smell is intoxicating—but resist. The bread is still cooking internally, and cutting too early will result in a gummy, sticky crumb. Let it cool completely for at least 2 hours. Yes, really. Use that time to make creamy homemade pumpkin cold foam for your coffee, or just enjoy the sound of the crust crackling as it cools.
Cooking Tips & Techniques
I’ve made this recipe dozens of times, and I’ve made every mistake you can imagine. Here are the lessons I learned the hard way, so you don’t have to.
- Don’t skip the stretch and folds. They build the gluten structure that traps the gas from fermentation. Without them, your bread will be flat and dense. The 30-minute intervals are important—any longer and the gluten starts to relax too much.
- Watch your water temperature. If your kitchen is cold (below 68°F / 20°C), use slightly warmer water (85°F / 29°C). If your kitchen is hot, use cooler water. The goal is steady fermentation, not a race. I once used hot water on a cold day and the dough fermented in 4 hours but tasted sour and flat. Patience wins here.
- The poke test is your friend. Under-proofed dough springs back quickly and fully. Over-proofed dough doesn’t spring back at all. You want that slow, partial spring back. It takes practice, but you’ll develop a feel for it.
- Rice flour is magic for dusting bannetons. It doesn’t absorb into the dough like wheat flour does, so it prevents sticking without making the crust tough. You can find it in most grocery stores or Asian markets.
- Steam is crucial. The Dutch oven creates steam, but if you’re using a different setup, you need to generate steam another way. Place a metal pan on the bottom rack of the oven and pour 1 cup of hot water into it when you put the bread in. Close the door quickly to trap the steam.
- Let it cool completely. I cannot stress this enough. The crumb structure sets during cooling. Cutting into warm bread is like cutting into a half-baked cake—it will be gummy and sticky. The flavor also continues to develop as it cools. Trust the process.
- Store it properly. Once completely cool, store the bread cut-side down on a cutting board, or wrap it in a clean kitchen towel. Don’t use plastic wrap—it will soften the crust. For longer storage, slice and freeze the bread in a zip-top bag. Toast slices directly from frozen for that fresh-baked taste.
Variations & Adaptations
Once you’ve mastered the basic recipe, the possibilities are endless. Here are some of my favorite variations.
- Seeded Sourdough : Add 2 tablespoons each of sesame seeds, poppy seeds, sunflower seeds, and flax seeds to the flour before mixing. For extra flavor, toast the seeds lightly in a dry pan first. You can also roll the shaped dough in seeds before the final proof for a beautiful crust.
- Whole Wheat or Spelt Blend : Replace 100g of the bread flour with whole wheat or spelt flour. These flours add a nutty, earthy flavor and a denser crumb. Because they absorb more water, increase the water by 20g. This version pairs beautifully with creamy pumpkin overnight oats for a hearty breakfast.
- Herb and Garlic Sourdough : Add 2 teaspoons of dried rosemary, 1 teaspoon of dried thyme, and 2 cloves of minced garlic (or 1 teaspoon of garlic powder) to the flour. The aroma while baking is incredible. This version is perfect for serving alongside creamy roasted tomato basil soup or dipping in olive oil.
- Cheese and Jalapeño : Fold in 100g of sharp cheddar cheese (cut into small cubes) and 2 finely diced jalapeños (seeds removed for less heat) during the last set of stretch and folds. The cheese melts into pockets throughout the bread, creating savory, gooey surprises in every slice.
- Gluten-Free Option : While this specific recipe relies on wheat flour for gluten structure, you can adapt it using a high-quality gluten-free bread flour blend that includes xanthan gum. The hydration and technique will be different, so look for a dedicated gluten-free sourdough recipe for best results.
Serving & Storage Suggestions
This bread is at its absolute best on the day it’s baked, but it’s still wonderful for a few days after. Here’s how to make the most of it.
Serving: Serve the bread warm or at room temperature. Slice it thick—about ¾ inch is perfect. The crust should crackle as you cut through it. For a simple, perfect snack, toast a slice and slather it with high-quality salted butter. The contrast between the crispy crust, the soft, tangy crumb, and the creamy butter is unbeatable. It’s also incredible for dipping into soups, stews, or olive oil with balsamic vinegar. For breakfast, try it with a fried egg and avocado, or use it to make French toast—the tangy sourdough flavor is a game-changer.
Storage: Once the bread is completely cool, store it cut-side down on a wooden cutting board. This keeps the crust crisp and the crumb from drying out too quickly. If you have a bread box, that’s even better. Do not store it in plastic—the crust will become soft and chewy within hours. The bread will stay good for 2 to 3 days at room temperature. After that, it’s best toasted.
Freezing: Slice the fully cooled bread and arrange the slices in a single layer on a baking sheet. Freeze for 1 to 2 hours, then transfer the frozen slices to a zip-top freezer bag. This prevents them from sticking together. Toast slices directly from frozen—no need to thaw. The bread will taste almost as fresh as the day you baked it for up to 3 months.
Reviving Day-Old Bread: If your bread is a day or two old and has lost some of its crusty magic, run the whole loaf under cold tap water for a few seconds (yes, really), then place it in a 350°F (175°C) oven for 5 to 10 minutes. The water creates steam that re-crisps the crust and softens the interior. It’s like magic.
Nutritional Information & Benefits
This bread is made from simple, whole-food ingredients with no preservatives, no added sugar, and no commercial yeast. Here’s an approximate nutritional breakdown per slice (based on 12 slices per loaf):
- Calories: 160
- Carbohydrates: 32g
- Protein: 5g
- Fat: 0.5g
- Fiber: 1.5g
- Sodium: 195mg
Health Benefits: Sourdough fermentation breaks down phytic acid, a compound in grains that can interfere with mineral absorption. This means the minerals in the flour (like zinc, magnesium, and iron) are more bioavailable. The fermentation also produces beneficial lactic acid bacteria, which can support gut health. The long fermentation time also partially breaks down gluten, making sourdough easier to digest for some people with mild gluten sensitivities (though it’s not gluten-free).
Dietary Considerations: This bread is naturally vegan and contains no dairy or eggs. It’s low in fat and has no added sugars. For a lower-carb option, this isn’t the recipe for you—but for a wholesome, satisfying source of complex carbohydrates, it’s excellent. The fiber content is modest, so pair it with fiber-rich foods like vegetables, beans, or avocado for a more balanced meal.
Allergen Note: This bread contains wheat and gluten. If you have celiac disease or a severe gluten allergy, this recipe is not suitable. Please use a dedicated gluten-free sourdough recipe instead.
Conclusion
This crusty no-knead Dutch oven sourdough bread is proof that you don’t need to be a professional baker to make incredible bread at home. It’s about letting time and simple ingredients do the hard work while you go about your day. The crust shatters, the crumb is airy and tangy, and the satisfaction of pulling a beautiful loaf out of your own oven never gets old.
I love this recipe because it’s forgiving. It’s given me confidence in the kitchen and shown me that good bread isn’t about perfection—it’s about patience, practice, and a little bit of trust. Every loaf is a little different, and that’s the beauty of it. Some are more open, some are more closed, but they’re all delicious.
Now I want to hear from you. Did you try this recipe? How did your loaf turn out? Did you add any fun mix-ins or try a variation? Drop a comment below and let me know—I read every single one. And if you loved this recipe, share it with a friend who’s been intimidated by sourdough. This is the one that changes everything. Happy baking!
Frequently Asked Questions
Why didn’t my bread rise properly?
The most common reason is under-fermentation. Your bulk fermentation likely wasn’t long enough, or your starter wasn’t active enough. Make sure your starter is bubbly and passes the float test before using. Also, check your kitchen temperature—if it’s below 70°F (21°C), fermentation will be slow. Give it more time, not more heat.
Can I use all-purpose flour instead of bread flour?
Yes, you can. The bread will still be delicious, but the crumb will be slightly less open and the crust less crisp. Bread flour’s higher protein content gives better structure and chew. If using all-purpose, consider adding an extra 10g of water to compensate for the lower protein absorption.
My dough is really sticky. Is that normal?
Yes, absolutely. This is a high-hydration dough (80%), so it’s meant to be sticky and wet. Resist the urge to add more flour—that will make the bread dense. Use wet hands for the stretch and folds, and use a bench scraper to handle the dough during shaping. A light dusting of flour on your work surface is fine, but don’t overdo it.
Can I bake this without a Dutch oven?
You can, but the crust won’t be as dramatic. Use a heavy baking sheet or a pizza stone, and create steam by placing a metal pan on the bottom rack and pouring hot water into it when you add the bread. You can also invert a large metal bowl over the bread for the first 30 minutes to trap steam. The results are good, but a Dutch oven is truly the best tool for this recipe.
How do I know when my bread is fully baked?
Use a combination of visual cues and temperature. The crust should be deep golden brown, and the bread should sound hollow when you tap the bottom. For precision, use an instant-read thermometer—the internal temperature should be between 200°F and 210°F (93°C to 99°C). If it’s below that, put it back in the oven without the lid for a few more minutes.
Pin This Recipe!
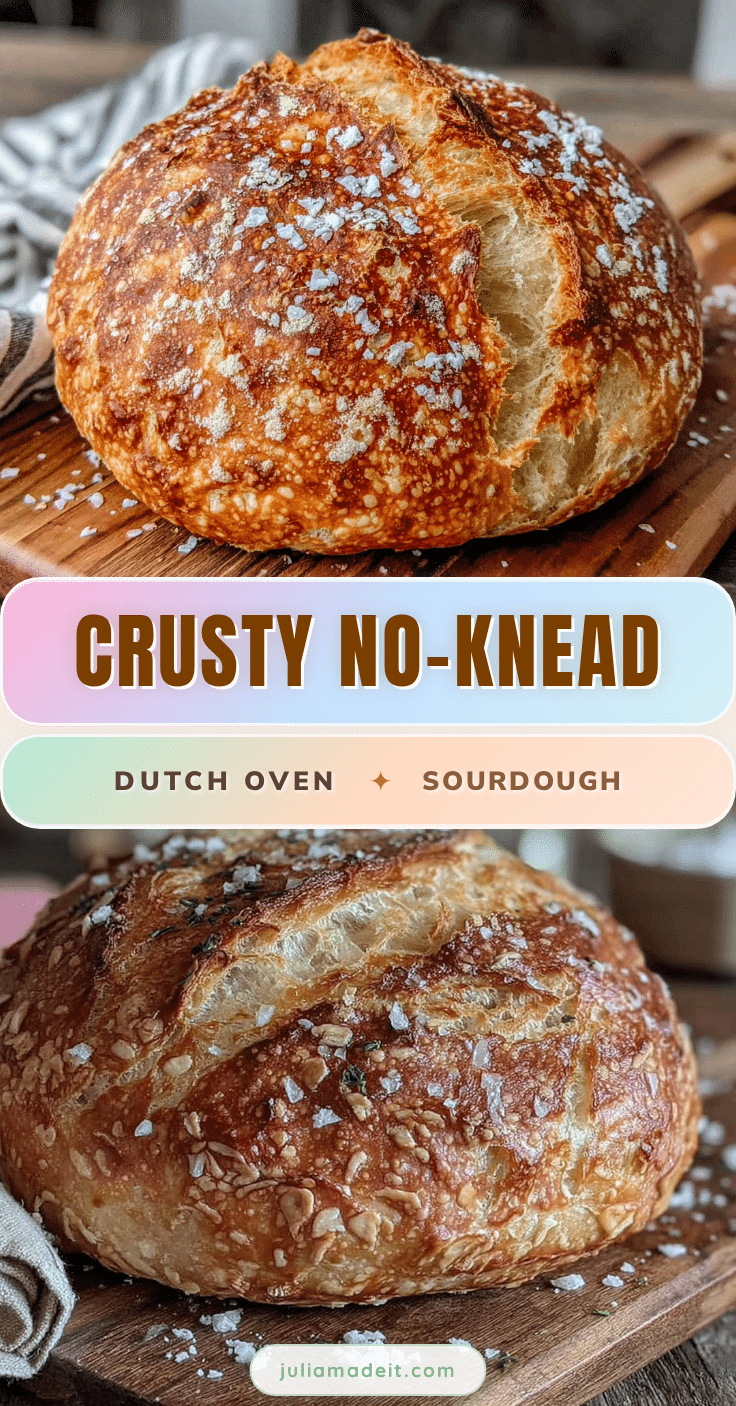
Crusty No-Knead Dutch Oven Sourdough Bread Recipe

This no-knead sourdough bread recipe delivers a shatteringly crisp crust and airy, tangy crumb with minimal effort. Just mix four ingredients, let time do the work, and bake in a Dutch oven for bakery-quality results.
- Prep Time: 15 minutes
- Cook Time: 45 minutes
- Total Time: 8 hours 45 minutes (includes 8 hours passive fermentation)
- Yield: 12 servings 1x
- Category: Bread
- Cuisine: American
Ingredients
- 400g bread flour (about 3 cups)
- 320g lukewarm water (about 1 ⅓ cups)
- 80g active sourdough starter (about ⅓ cup)
- 10g fine sea salt (about 1 ½ teaspoons)
Instructions
- In a large mixing bowl, combine 320g lukewarm water and 80g active sourdough starter. Stir until the starter is mostly dissolved.
- Add 400g bread flour and 10g salt. Mix until no dry flour remains. The dough will be shaggy, sticky, and wet. Cover and let rest for 30 minutes (autolyse).
- Perform 4 sets of stretch and folds every 30 minutes over 2 hours. Wet your hand slightly, grab one side of the dough, stretch it up, and fold it over the center. Rotate the bowl 90 degrees and repeat for all four sides. Cover between sets.
- Cover the bowl and let the dough bulk ferment at room temperature (70-75°F / 21-24°C) for 6 to 10 hours, until it increases in volume by 50-70% and feels airy and jiggly.
- Lightly flour your work surface. Turn the dough out gently. Fold the edges toward the center to form a rough ball. Flip smooth side up, cup the dough, and drag it toward you in short motions to create surface tension.
- Place the shaped dough seam-side up into a floured banneton or lined bowl. Cover and proof at room temperature for 2 to 4 hours until puffy (passes the poke test), or refrigerate overnight (8 to 14 hours) for deeper flavor.
- 30 minutes before baking, place a Dutch oven with lid in the oven and preheat to 450°F (230°C).
- Carefully remove the hot Dutch oven. Place parchment paper over the proofed dough, invert the banneton, and lower the dough onto the parchment. Score the top with a lame or sharp knife (about ½ inch deep).
- Use the parchment as a sling to lower the dough into the hot Dutch oven. Cover and bake for 30 minutes. Remove the lid and bake for another 15 to 20 minutes, until deep golden brown and internal temperature reaches 200-210°F (93-99°C).
- Transfer the bread to a cooling rack and let cool completely for at least 2 hours before slicing.
Notes
Don’t skip the stretch and folds—they build gluten structure. Use the poke test to check proofing: under-proofed dough springs back quickly, over-proofed doesn’t spring back. Rice flour is ideal for dusting bannetons as it doesn’t absorb into the dough. Let the bread cool completely for at least 2 hours to avoid a gummy crumb. Store cut-side down on a cutting board or wrapped in a kitchen towel; do not use plastic wrap. For longer storage, slice and freeze.
Nutrition
- Serving Size: 1 slice
- Calories: 160
- Sodium: 195
- Fat: 0.5
- Carbohydrates: 32
- Fiber: 1.5
- Protein: 5
Keywords: sourdough bread, no-knead bread, Dutch oven bread, crusty bread, homemade bread, artisan bread, easy sourdough