I had three apples sitting on the counter that were starting to get that sad, soft spot, and a pack of chicken thighs I’d defrosted without a plan. It was one of those afternoons where the air had that first real chill of October, and I just wanted something that tasted like the season without spending an hour scrubbing pans. So I grabbed my trusty cast iron skillet, chopped an onion that made my eyes water (as onions do), and started tossing things in.
The smell that filled my kitchen was honestly ridiculous. Sweet apples caramelizing, chicken skin getting all golden and crispy, and the faint warmth of sage and thyme drifting through the house. I wasn’t trying to reinvent dinner, I was just trying to use what I had. But when I took that first bite, fork loaded with tender chicken, a piece of roasted apple, and a little bit of that pan sauce, I knew this was going to be one of those recipes I’d make on repeat all season long.
This Easy 30-Minute Fall Harvest Chicken Skillet is exactly that—a weeknight hero that tastes like you spent hours in the kitchen. It’s cozy, it’s quick, and it uses simple ingredients that somehow feel special when they come together. No fuss, no fancy techniques, just honest food that makes you want to sit down and take a breath.
If you’re looking for a dinner that captures the essence of fall without the stress, this is it.
Why You’ll Love This Recipe
I’ve tested this Easy 30-Minute Fall Harvest Chicken Skillet more times than I care to admit, and every single time, it delivers. Here’s why I keep coming back to it.
- Quick & Easy : From start to finish, this comes together in 30 minutes flat. Perfect for those busy weeknights when you want something homemade but don’t have hours to spare.
- Simple Ingredients : You probably already have most of these in your kitchen—chicken, apples, onion, a few herbs. No special grocery trips required.
- Perfect for Fall : This dish screams autumn. The sweet apples, the savory herbs, the cozy vibes—it’s basically a sweater in food form.
- Crowd-Pleaser : My kids actually asked for seconds the first time I made this. That never happens. Adults love it too, which makes it perfect for family dinners.
- Unbelievably Delicious : The combination of crispy chicken skin, tender apples, and that savory pan sauce is pure comfort. It’s the kind of meal that makes you close your eyes after the first bite.
What sets this recipe apart is the technique. Instead of just dumping everything in the pan, you sear the chicken first to get that beautiful golden crust, then build the sauce right in the same skillet. The apples cook just enough to soften but still hold their shape, and the herbs infuse everything with that warm, earthy flavor you crave when the weather turns cool.
This isn’t just another chicken recipe. It’s the one you’ll turn to when you want something that feels special but doesn’t require a culinary degree. It’s comfort food, reimagined for real life.
What Ingredients You Will Need
This recipe uses simple, wholesome ingredients to deliver bold flavor and satisfying texture without the fuss. Most of these are pantry staples or easy to find at any grocery store.
- Chicken thighs (boneless, skin-on, about 1.5 pounds) — The skin gets beautifully crispy, and the meat stays juicy. Boneless cooks faster, but you can use bone-in if you add a few minutes to the cook time.
- Apples (2 medium, Honeycrisp or Granny Smith) — You want something that holds its shape when cooked. Honeycrisp adds sweetness, Granny Smith gives a nice tart contrast. I’ve used both and love them equally.
- Yellow onion (1 medium, diced) — Adds that savory base that makes everything taste deeper.
- Garlic (3 cloves, minced) — Because garlic makes everything better. (Adds richness)
- Fresh sage (6-8 leaves) — This is non-negotiable for me. Sage and apples are a match made in heaven. Dried sage works in a pinch, but fresh really shines here.
- Fresh thyme (4-5 sprigs) — Earthy and aromatic, it complements the chicken perfectly.
- Chicken broth (1/2 cup) — Use low-sodium so you can control the salt level. (I prefer Swanson or Kitchen Basics for consistent flavor.)
- Apple cider (1/4 cup) — This is the secret ingredient. It adds a subtle sweetness and depth that plain broth just can’t match. Look for unfiltered apple cider for the best flavor.
- Butter (2 tablespoons, unsalted) — For searing the chicken and enriching the sauce.
- Olive oil (1 tablespoon) — Helps prevent the butter from burning during searing.
- Salt and black pepper (to taste) — Simple seasoning is all you need.
Ingredient Selection Tips: When choosing apples for this dish, look for ones that are firm and feel heavy for their size. Avoid mealy or soft apples, as they’ll turn to mush in the pan. For the chicken, I recommend skin-on thighs because the skin renders fat that flavors the entire dish. If you’re watching your fat intake, you can use skinless thighs, but you’ll miss out on that crispy texture.
Substitution Guidance: For a gluten-free option, this recipe is naturally gluten-free as written. Use coconut aminos instead of soy sauce if you want to add umami. Swap fresh rosemary for sage if you prefer a more piney flavor. For a dairy-free version, use ghee or avocado oil instead of butter.
Equipment Needed
You don’t need a lot of fancy equipment for this one, which is part of the beauty.
- Large cast iron skillet (12-inch) — This is my go-to for this recipe. Cast iron holds heat beautifully and gives you that perfect sear. If you don’t have one, a heavy-bottomed stainless steel skillet works great too.
- Sharp chef’s knife — For dicing the onion and slicing the apples. A dull knife is more dangerous than a sharp one, trust me.
- Cutting board — I prefer a large wooden board, but any stable surface works.
- Tongs — For flipping the chicken without piercing the skin. (This is key for keeping those juices locked in.)
- Measuring spoons and cups — For the broth, apple cider, and seasonings.
- Wooden spoon or spatula — For stirring the apples and onions.
If you don’t have a cast iron skillet, don’t sweat it. I’ve made this in a non-stick pan before, and while the sear isn’t quite as deep, it still tastes amazing. Just make sure the pan is hot before you add the chicken. Also, a splatter screen is nice to have if you hate cleaning grease off your stovetop, but it’s totally optional.
Preparation Method
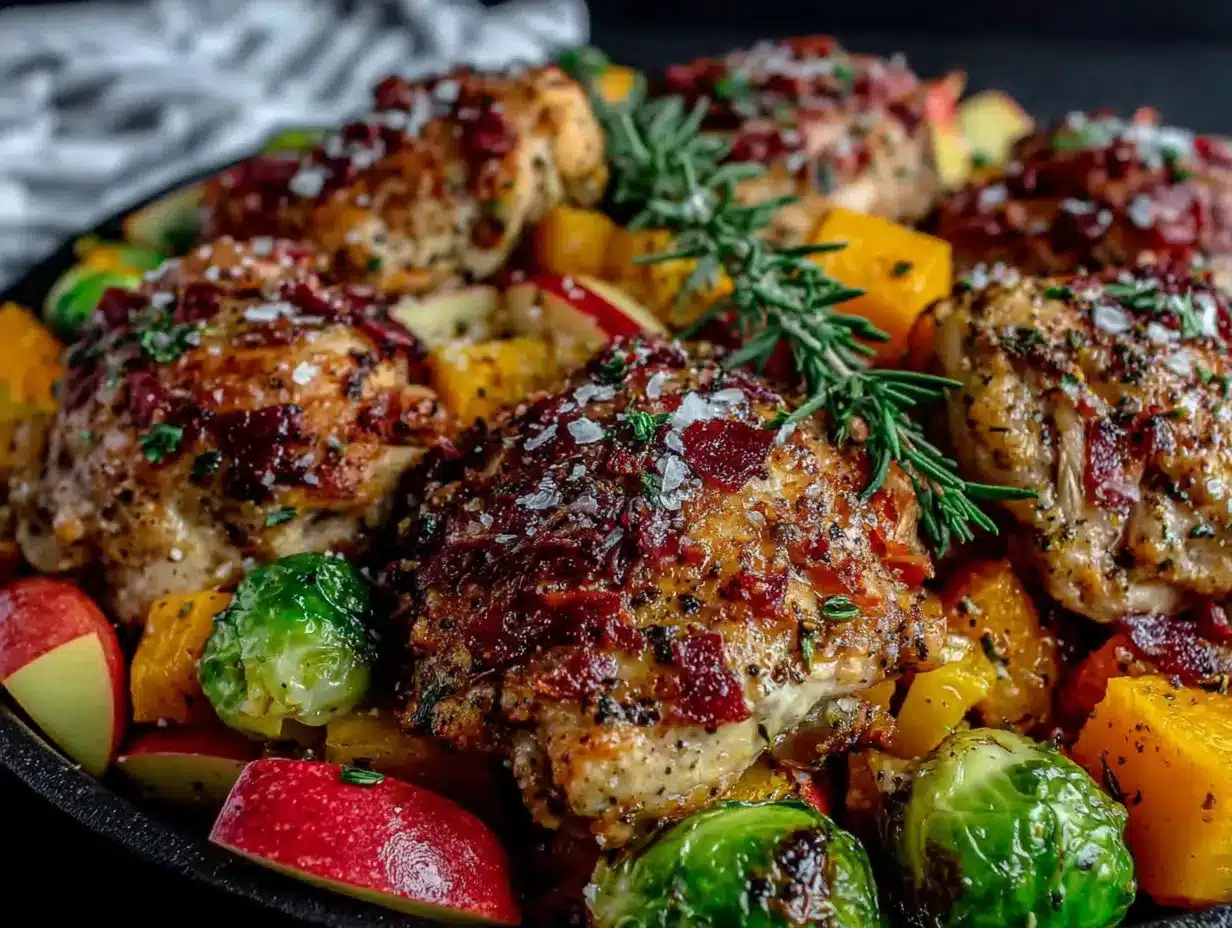
Let’s get cooking. This Easy 30-Minute Fall Harvest Chicken Skillet comes together faster than you think, so have everything prepped before you start.
- Prep your ingredients. Dice the onion, mince the garlic, and slice the apples into 1/2-inch thick wedges. Remove the chicken from the fridge and pat it dry with paper towels. (This is crucial for crispy skin.) Season both sides generously with salt and pepper.
- Heat the skillet. Place your cast iron skillet over medium-high heat. Add the butter and olive oil, swirling until the butter melts and starts to foam. The oil raises the smoke point, so the butter won’t burn.
- Sear the chicken. Place the chicken thighs skin-side down in the hot skillet. Don’t crowd the pan—cook in batches if needed. Let them cook undisturbed for 5-6 minutes, until the skin is deep golden brown and crispy. Flip and cook for another 3-4 minutes. The chicken should have an internal temperature of 165°F. Transfer to a plate and set aside.
- Cook the aromatics. Reduce the heat to medium. Add the diced onion to the skillet (there should be about 2 tablespoons of fat remaining). Cook for 3-4 minutes, stirring occasionally, until the onion is soft and translucent. Add the minced garlic and cook for 30 seconds until fragrant. (Your kitchen will smell incredible at this point.)
- Add the apples and herbs. Toss in the apple wedges, fresh sage leaves, and thyme sprigs. Cook for 2-3 minutes, stirring gently, until the apples start to soften and get a little color on the edges.
- Deglaze the pan. Pour in the chicken broth and apple cider, scraping up any browned bits from the bottom of the skillet with your wooden spoon. Those bits are pure flavor. Let the liquid simmer for 2-3 minutes, reducing slightly.
- Finish the dish. Return the chicken thighs to the skillet, nestling them among the apples and onions. Spoon some of the pan sauce over the chicken. Let everything simmer together for 2-3 minutes, allowing the flavors to meld.
- Rest and serve. Remove from heat and let the skillet rest for 5 minutes before serving. This allows the juices to redistribute and the sauce to thicken slightly.
Sensory Cues: When you sear the chicken, listen for a steady sizzle—if it’s too quiet, the pan isn’t hot enough. The apples should look slightly caramelized on the edges but still hold their shape when you stir them. The sauce should coat the back of a spoon, not be watery or syrupy.
Pro Tip: If your pan sauce seems thin at the end, remove the chicken and apples, then let the liquid simmer on high for 1-2 minutes to reduce. If it’s too thick, add a splash more broth.
Cooking Tips & Techniques
I’ve made this Easy 30-Minute Fall Harvest Chicken Skillet about a dozen times now, and I’ve learned a few things along the way. Here are my best tips.
Pat the chicken dry. This is the single most important step for crispy skin. Moisture is the enemy of browning. I use paper towels and press firmly to absorb any surface liquid.
Don’t move the chicken too soon. When you first put the chicken in the hot skillet, it will stick. That’s normal. Let it cook undisturbed for a full 5-6 minutes, and it will release naturally when the skin is properly seared. If you try to flip it too early, you’ll tear the skin and lose all that crispy goodness.
Use a meat thermometer. I know, I know, it’s one more thing to clean. But it’s the only way to guarantee perfectly cooked chicken. Insert it into the thickest part of the thigh, avoiding the bone. 165°F is your target.
Control your heat. Cast iron retains heat like a champ, so once it’s hot, you might need to reduce the heat to medium or even medium-low after searing. If the garlic burns, your pan is too hot. Burnt garlic tastes bitter and will ruin the dish.
Make extra sauce. I always double the broth and apple cider because the sauce is the best part. It’s perfect for spooning over rice, mashed potatoes, or crusty bread.
One mistake I made: The first time I made this, I added the apples too early, and they turned into apple sauce. Not the end of the world, but I prefer them with a little bite. Now I add them after the onions, and they come out perfect every time.
Variations & Adaptations
One of the best things about this Easy 30-Minute Fall Harvest Chicken Skillet is how flexible it is. Here are some variations I’ve tried and loved.
Pork chops instead of chicken. This works beautifully with bone-in pork chops. Just adjust the cooking time—pork chops cook faster, about 4-5 minutes per side depending on thickness. Use the same apple and herb combination.
Add some greens. Toss in a handful of fresh spinach or kale during the last 2 minutes of cooking. It wilts down and adds a pop of color and nutrients. I’ve done this with kale and it was fantastic.
Make it spicy. Add a pinch of red pepper flakes along with the garlic for a subtle heat that balances the sweetness of the apples. My husband loves this version.
Vegetarian option. Swap the chicken for thick slices of firm tofu or cauliflower steaks. Sear them the same way, and use vegetable broth instead of chicken broth. The apples and herbs are the stars here anyway.
Seasonal twists. In the summer, swap apples for ripe peaches or nectarines. In the winter, use pears and add a splash of brandy to the pan sauce. (I tried the pear version last December, and it was perfect for a cozy holiday dinner.)
Dairy-free adaptation. Use ghee or avocado oil instead of butter. The flavor changes slightly, but it’s still delicious.
Serving & Storage Suggestions
This dish is incredibly versatile when it comes to serving. Here’s how I like to enjoy it.
Serving Temperature: Serve this Easy 30-Minute Fall Harvest Chicken Skillet hot, straight from the skillet. The pan sauce should be warm and glossy. Let it rest for 5 minutes after cooking so the juices settle.
What to Serve With It: I love this over a bed of creamy mashed potatoes or fluffy rice to soak up all that sauce. A side of roasted Brussels sprouts or a simple green salad with a tangy vinaigrette balances the richness. If you’re feeling fancy, serve it with crusty bread for dipping. For a complete fall meal, pair it with my creamy roasted butternut squash soup as a starter.
Storage Instructions: Store leftovers in an airtight container in the refrigerator for up to 3 days. The flavors actually deepen overnight, so it tastes even better the next day. I’ve been known to make extra just for lunch the next day.
Reheating Methods: Reheat gently in a skillet over medium-low heat with a splash of broth to loosen the sauce. Microwave works in a pinch, but the skillet method keeps the chicken skin from getting soggy. If using the microwave, heat in 30-second bursts and cover with a damp paper towel.
Freezer Tips: This freezes well for up to 2 months. Let it cool completely, then transfer to a freezer-safe container. Thaw overnight in the refrigerator before reheating. The apples will be softer after freezing, but the flavor is still fantastic.
Nutritional Information & Benefits
Here’s a rough estimate of the nutritional breakdown per serving (based on 4 servings).
| Nutrient | Amount |
|---|---|
| Calories | 420 |
| Protein | 35g |
| Fat | 22g |
| Carbohydrates | 18g |
| Fiber | 4g |
| Sugar | 12g |
| Sodium | 480mg |
Health Benefits: Chicken thighs are a great source of protein and B vitamins, which support energy metabolism. Apples provide fiber and antioxidants, including quercetin, which has anti-inflammatory properties. Sage and thyme are packed with antioxidants and have been used traditionally for their digestive benefits.
Dietary Considerations: This recipe is naturally gluten-free, nut-free, and can be made dairy-free with simple substitutions. It’s also relatively low in carbs compared to many comfort food dishes. If you’re watching your sodium, use low-sodium broth and go easy on the added salt.
I love that this dish feels indulgent but is actually pretty balanced. It’s the kind of meal that satisfies your soul without leaving you feeling heavy.
Conclusion
This Easy 30-Minute Fall Harvest Chicken Skillet has become my go-to for busy weeknights when I want something that tastes like I put in more effort than I actually did. It’s quick, it’s simple, and it captures everything I love about fall cooking—warmth, depth, and a little bit of sweetness.
I hope you give this recipe a try and make it your own. Maybe you’ll add a little more sage, or swap in pears for the apples, or serve it over a bed of wild rice. That’s the beauty of a simple recipe—it’s a starting point, not a rulebook.
If you make it, I’d love to hear how it turned out. Drop a comment below or tag me in your photos. And if you’re looking for another cozy one-pan meal, check out my slow cooker beef stew for those days when you want dinner to cook itself.
Happy cooking, friends. Here’s to good food, warm kitchens, and the people we share them with.
Frequently Asked Questions
Can I use chicken breasts instead of thighs?
Absolutely. Boneless, skinless chicken breasts will work, but they cook faster and can dry out more easily. Reduce the searing time to 3-4 minutes per side, and check the internal temperature early (165°F). I recommend pounding the breasts to an even thickness first for consistent cooking.
Can I make this in a regular skillet instead of cast iron?
Yes, any heavy-bottomed skillet will work. Stainless steel or non-stick are fine. Just make sure the pan is hot before you add the chicken, and don’t overcrowd it. The key is getting that good sear, which any hot pan can do.
What can I use instead of apple cider?
If you don’t have apple cider, use apple juice or even a splash of white wine mixed with a teaspoon of honey. Chicken broth alone works too, but you’ll miss out on that subtle sweetness. I’ve also used pear nectar in a pinch, and it was lovely.
Can I add other vegetables to this dish?
Definitely. Root vegetables like diced sweet potatoes, parsnips, or carrots work beautifully. Add them along with the onions so they have time to soften. Butternut squash cubes are also fantastic—just give them a head start since they take longer to cook than apples.
How do I keep the chicken skin crispy when reheating?
Reheat in a skillet over medium heat, not the microwave. Place the chicken skin-side down in a dry pan for 1-2 minutes to re-crisp the skin, then add a splash of broth to warm the rest. This method works like a charm and brings back that fresh-from-the-skillet texture.
Pin This Recipe!
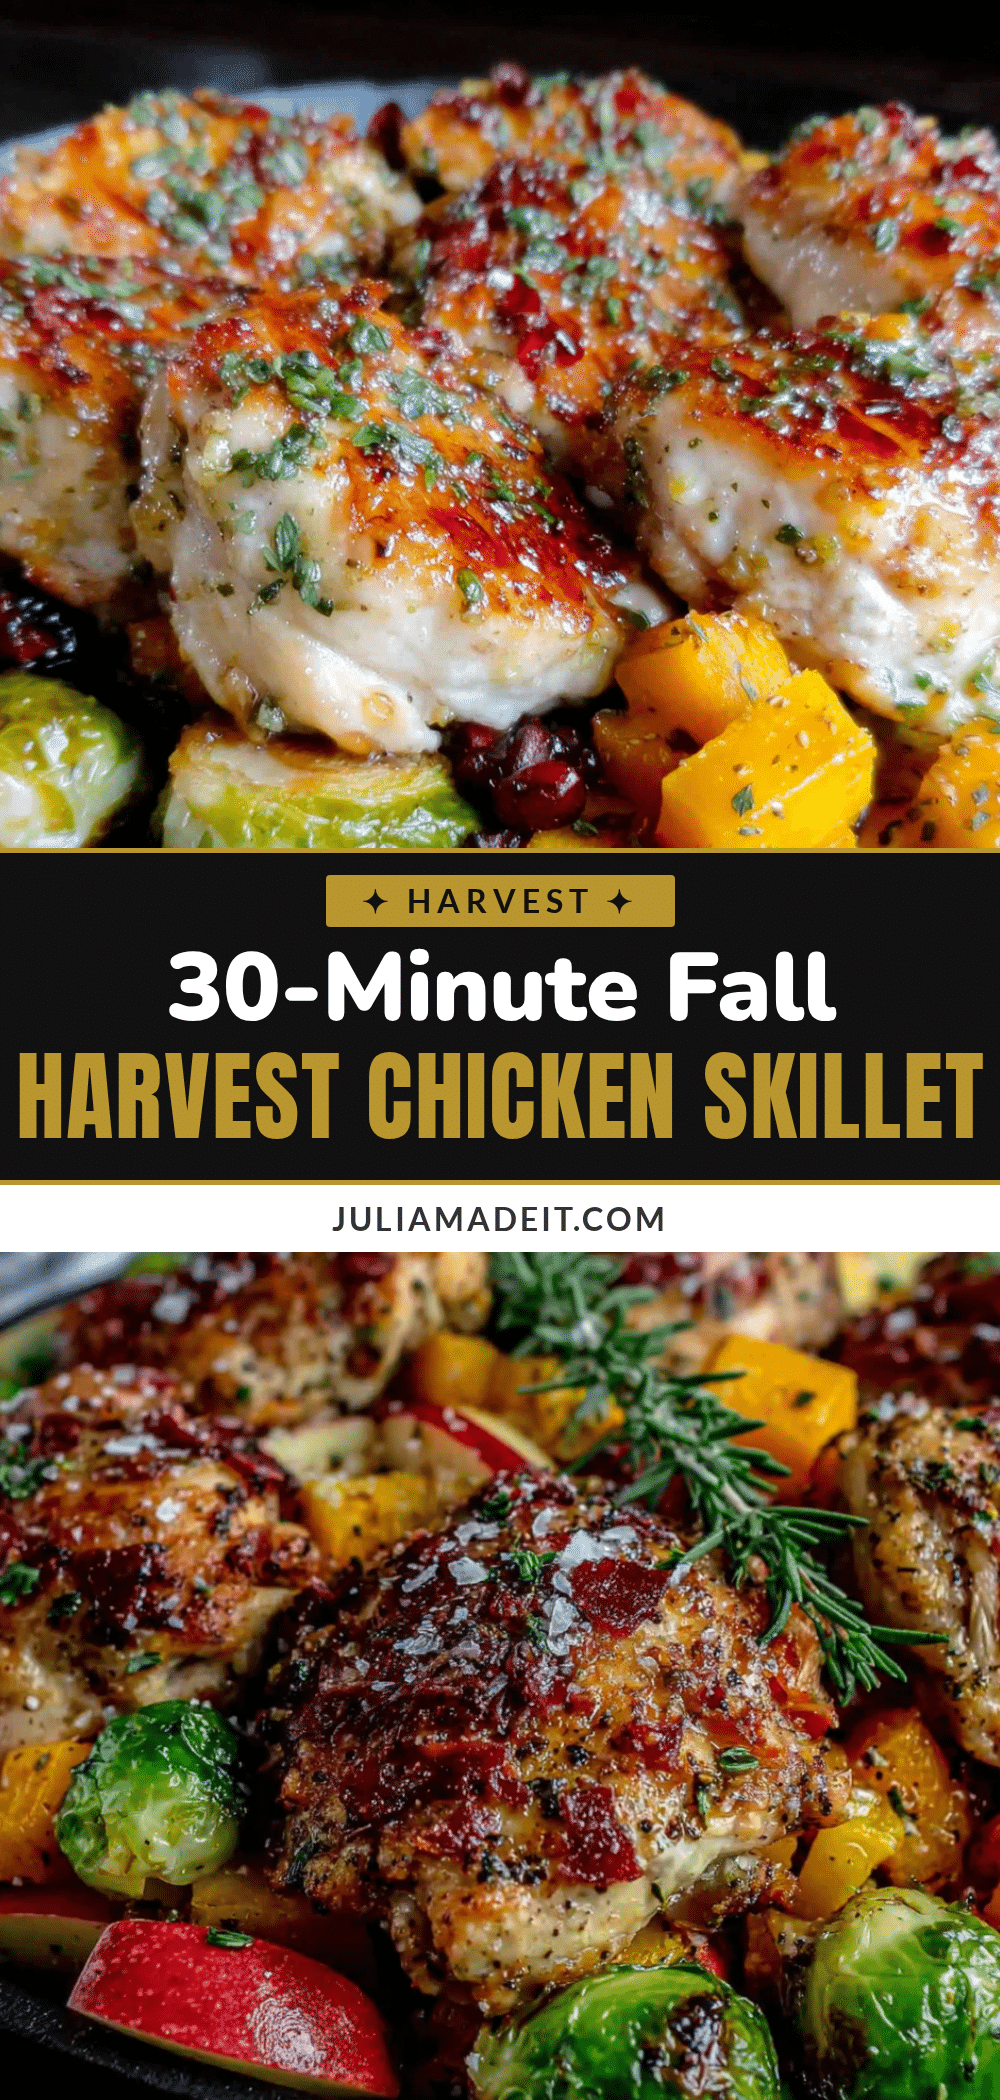
Easy 30-Minute Fall Harvest Chicken Skillet Recipe

A quick and cozy weeknight dinner featuring crispy chicken thighs, caramelized apples, and a savory pan sauce infused with sage and thyme. Ready in just 30 minutes, this one-skillet meal captures the essence of fall with simple, wholesome ingredients.
- Prep Time: 10 minutes
- Cook Time: 20 minutes
- Total Time: 30 minutes
- Yield: 4 servings 1x
- Category: Main Course
- Cuisine: American
Ingredients
- 1.5 pounds boneless, skin-on chicken thighs
- 2 medium apples (Honeycrisp or Granny Smith), sliced into 1/2-inch wedges
- 1 medium yellow onion, diced
- 3 cloves garlic, minced
- 6–8 fresh sage leaves
- 4–5 sprigs fresh thyme
- 1/2 cup low-sodium chicken broth
- 1/4 cup apple cider (unfiltered preferred)
- 2 tablespoons unsalted butter
- 1 tablespoon olive oil
- Salt and black pepper to taste
Instructions
- Prep your ingredients: dice the onion, mince the garlic, and slice the apples into 1/2-inch thick wedges. Remove the chicken from the fridge and pat it dry with paper towels. Season both sides generously with salt and pepper.
- Heat the skillet: Place a large cast iron skillet over medium-high heat. Add the butter and olive oil, swirling until the butter melts and starts to foam.
- Sear the chicken: Place the chicken thighs skin-side down in the hot skillet. Cook undisturbed for 5-6 minutes until the skin is deep golden brown and crispy. Flip and cook for another 3-4 minutes until the internal temperature reaches 165°F. Transfer to a plate and set aside.
- Cook the aromatics: Reduce heat to medium. Add the diced onion to the skillet and cook for 3-4 minutes until soft and translucent. Add the minced garlic and cook for 30 seconds until fragrant.
- Add the apples and herbs: Toss in the apple wedges, fresh sage leaves, and thyme sprigs. Cook for 2-3 minutes, stirring gently, until the apples start to soften and get a little color.
- Deglaze the pan: Pour in the chicken broth and apple cider, scraping up any browned bits from the bottom of the skillet. Let the liquid simmer for 2-3 minutes, reducing slightly.
- Finish the dish: Return the chicken thighs to the skillet, nestling them among the apples and onions. Spoon some of the pan sauce over the chicken. Let everything simmer together for 2-3 minutes.
- Rest and serve: Remove from heat and let the skillet rest for 5 minutes before serving.
Notes
Pat the chicken dry for crispy skin. Don’t move the chicken too soon; let it sear undisturbed. Use a meat thermometer to ensure 165°F internal temperature. Control heat to avoid burning garlic. For extra sauce, double the broth and apple cider. Add apples after onions to prevent them from turning into applesauce.
Nutrition
- Serving Size: 1 serving (about 1 c
- Calories: 420
- Sugar: 12
- Sodium: 480
- Fat: 22
- Saturated Fat: 8
- Carbohydrates: 18
- Fiber: 4
- Protein: 35
Keywords: fall harvest chicken skillet, 30-minute chicken recipe, apple chicken skillet, one-pan chicken dinner, easy fall dinner, cast iron chicken recipe